background image


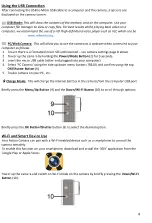
Using the USB Connection 

After connecting the USB to Micro USB cable to a computer and the camera, 3 options are 
displayed on the camera screen:  


USB Mode:


This will show the contents of the memory card on the computer. Use your 

computer file manager to view or copy files. For best results whilst playing back video on a 
computer, we recommend the use of a HD (high definition) video player such as VLC which can be 


www.videolan.org

.  

        PC/Web Camera:  

This will allow you to use the camera as a webcam when connected to your 

computer as follows:


1.


Ensure there is a formatted micro SD card inserted 

 see camera settings page 8 above. 

2.


Power up the camera by holding the 

Power/Mode Button

 (2) for 3 seconds. 

3.


Insert the micro USB cable (other end plugged into your computer). 

4.


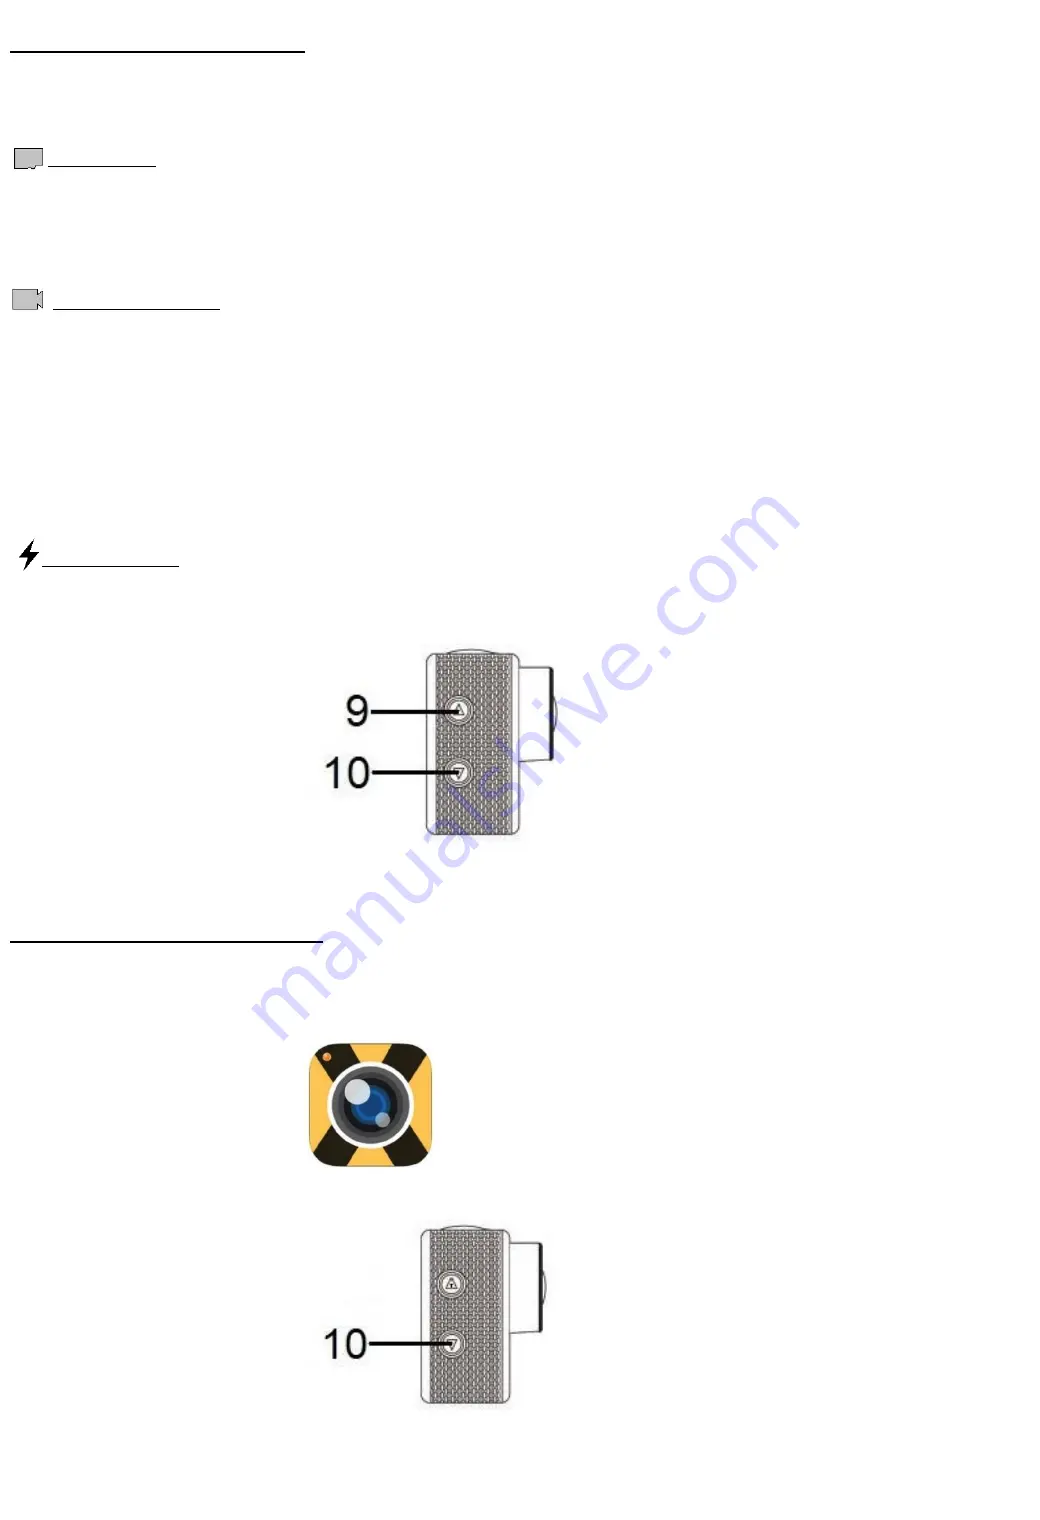
Select ‘PC Camera’ using the side up down menu buttons (9&10) and confirm using the top 

OK/Shutter Button

 (6) 

5.


Enable camera on your PC, etc. 


      Charge Mode:  

This will charge the internal battery in the camera from the computer USB port.


Briefly press the 

Menu/Up Button

 (9) and the 

Down/Wi-Fi Button

 (10) to scroll through options: 


Briefly press the 

OK Button/Shutter

 button (6) to select the desired option. 


Wi-Fi and Smart Device Use 

Your Action Camera can pair with a Wi-Fi enabled device such as a smartphone to control the 
camera remotely. 
To enable this function on your smartphone, download and install the 

‘XDV’

 application from the 

Google Play or Apple Store:  


Power up the camera and switch on Wi-Fi mode on the camera by briefly pressing the 

Down/Wi-Fi 

Button

 (10).  


Summary of Contents for AVS1360

Page 1: ...1 4K Ultra HD Action Camera...

Page 2: ...hold use only and should not be used for industrial purposes Do not use this Camera for anything other than its intended use Do not immerse the Camera in water or any other liquids Do not expose the C...

Page 3: ...low red once the internal battery is fully charged the Charging Indicator 8 will go out NB Charging time will take approximately 3 hours remove the charging cable once the Camera is fully charged Stor...

Page 4: ...nd videos 5 Settings Adjust the camera settings Video Recording Mode 1 Briefly press the Power Mode Button 2 on the front of the camera until the camera is in video recording mode 1 Insert a Micro SD...

Page 5: ...microphone symbol at the bottom left corner of the display will show as crossed out when the microphone is muted Still Photograph Mode 2 Briefly press the Power Mode Button 2 on the front of the came...

Page 6: ...10 to reduce the zoom level The set zoom level will be shown on the bottom right of the screen see the diagram above NB the resolution will vary slightly while using the zoom settings Time Lapse Mode...

Page 7: ...Power Mode Button 2 on the front of the camera until the camera is in Playback mode Briefly press the Menu Up Button 9 to move to the next video or photograph Briefly press and hold the Down Wi Fi Bu...

Page 8: ...S Drama Shot 3P S 5P S 10P S OFF 3 Image Settings Exposure 3 3 White Balance Auto Sunny Cloudy Incandescent Light Fluorescent Light Image Rotation ON OFF Tick mark enables this function Driving Mode O...

Page 9: ...he Power Mode Button 2 for 3 seconds 3 Insert the micro USB cable other end plugged into your computer 4 Select PC Camera using the side up down menu buttons 9 10 and confirm using the top OK Shutter...

Page 10: ...ication Model Number AVS1360 LCD 2 0 LTPS Lens 170 Degree A High Resolution Wide Angle Lens Video MP4 Compression Format H 264 Memory Micro SD Card up to 64GB Light Source Frequency 50Hz 60Hz USB USB...

Page 11: ...instructions contained in the User Manual The product must be used solely for domestic purposes The guarantee will berendered invalid if the product is re sold or has been damaged by inexpert repair...

Reviews: