


3
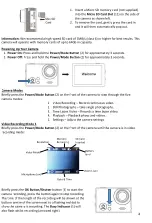
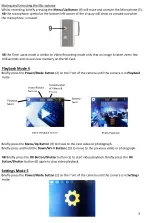
Description of Parts
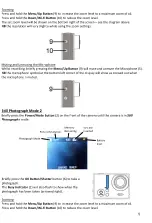
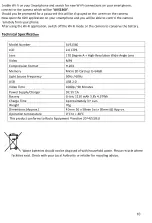
Charging Your Camera
Before first using your Camera, ensure it is fully charged as follows:
1.
Insert the Micro USB plug of the
Micro USB Charging Cable
(13) into the
Micro USB Charging
Port
(12) on the side of the Camera.
2.
Insert the large USB plug into a suitable USB charger or computer USB outlet rated to at least 1
Amp. (most USB chargers and USB outlets are rated at 1 Amp or above).
3.
Whilst the Camera is on charge, the
Charging Indicator
(8) will glow red, once the internal
battery is fully charged the
Charging Indicator
(8) will go out.
NB
Charging time will take approximately 3 hours – remove the charging cable once the Camera
is fully charged.
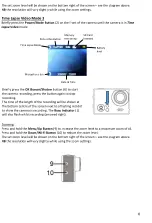
Storage Card
NB
there is no built-in memory in this camera and therefore a memory card (not supplied) must be
inserted before use.
1.
Busy Indicator.
2.
Power/Mode Button.
3.
Wi-Fi Indicator.
4.
Lens.
5.
Microphone.
6.
OK Button/Shutter.
7.
Battery Compartment Door.
8.
Charging Indicator.
9.
Menu/Up Button.
10.
Down/Wi-Fi Button.
11.
Micro SD Card Slot.
12.
Micro USB Charging Port.
13.
Micro USB Charging Cable.
14.
Helmet Mount.
15.
Handlebar Mount.
16.
Waterproof Case.
17.
Fixing Strap.
13
14
16
15
17


