


21
D-Link Surveillance Center Addon
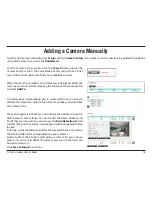
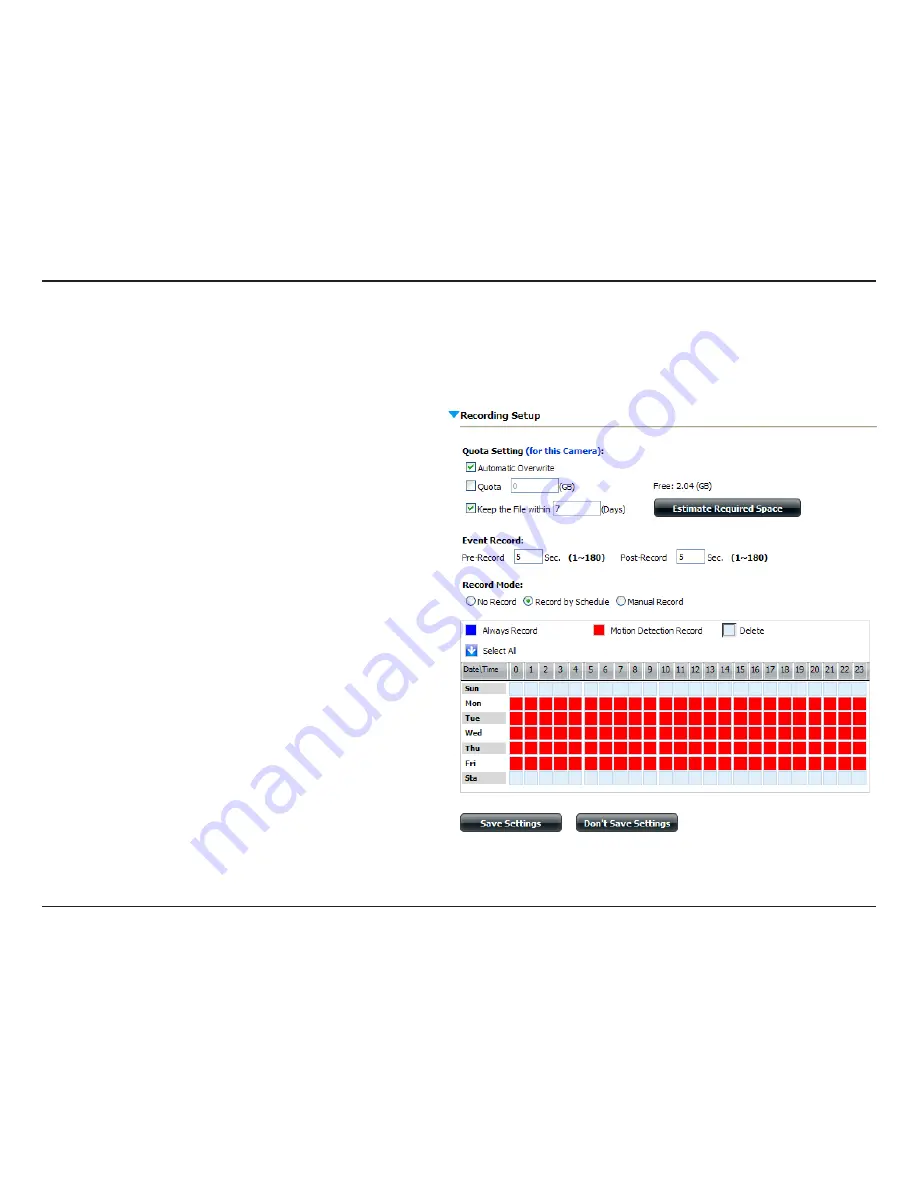
Recording Setup
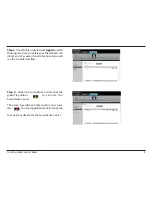
To access the recording setup window, click
Setup
and then
Recording Setup
on the left side of the screen.
You can use this page to set a quota for recordings. By
default, the NAS will keep the last 7 days of recordings and
automatically overwrite them. Click the
Estimate Required
Space
button to let the software calculate, based on your
settings, how much space will be required each day. This
can assist you in making a decision about how much space
to allocate to the recordings.
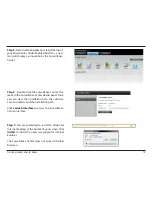
Event Record
allows you to specify a lead-in time in seconds
to pre-record and a lead-out time to continue recording
before and after a scheduled recording.
Use the
Record Mode
radio buttons to select how you want
to record. If you select to record by schedule, you will be
able to set a schedule using the graph below. Click on the
color of the function you want to perform and then click
in the box for the day and time that you want it to perform
that function.
Always Record
means that the camera will
always record for the specified period,
Motion Detection
will wait for motion on the camera to be detected before
it begins recording and
Manual Record
requires you to
manually click a record button to begin recording.
Click
Save Settings
when you have finished making
changes.
Summary of Contents for Storage
Page 1: ......
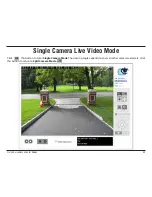
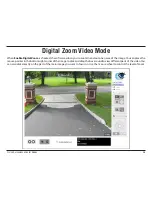
Page 31: ...31 D Link Surveillance Center Addon Live Camera Panel ...


