27
1.Click
2. If necessary, open the
Video Library
by clicking
in the
Editing pane
.
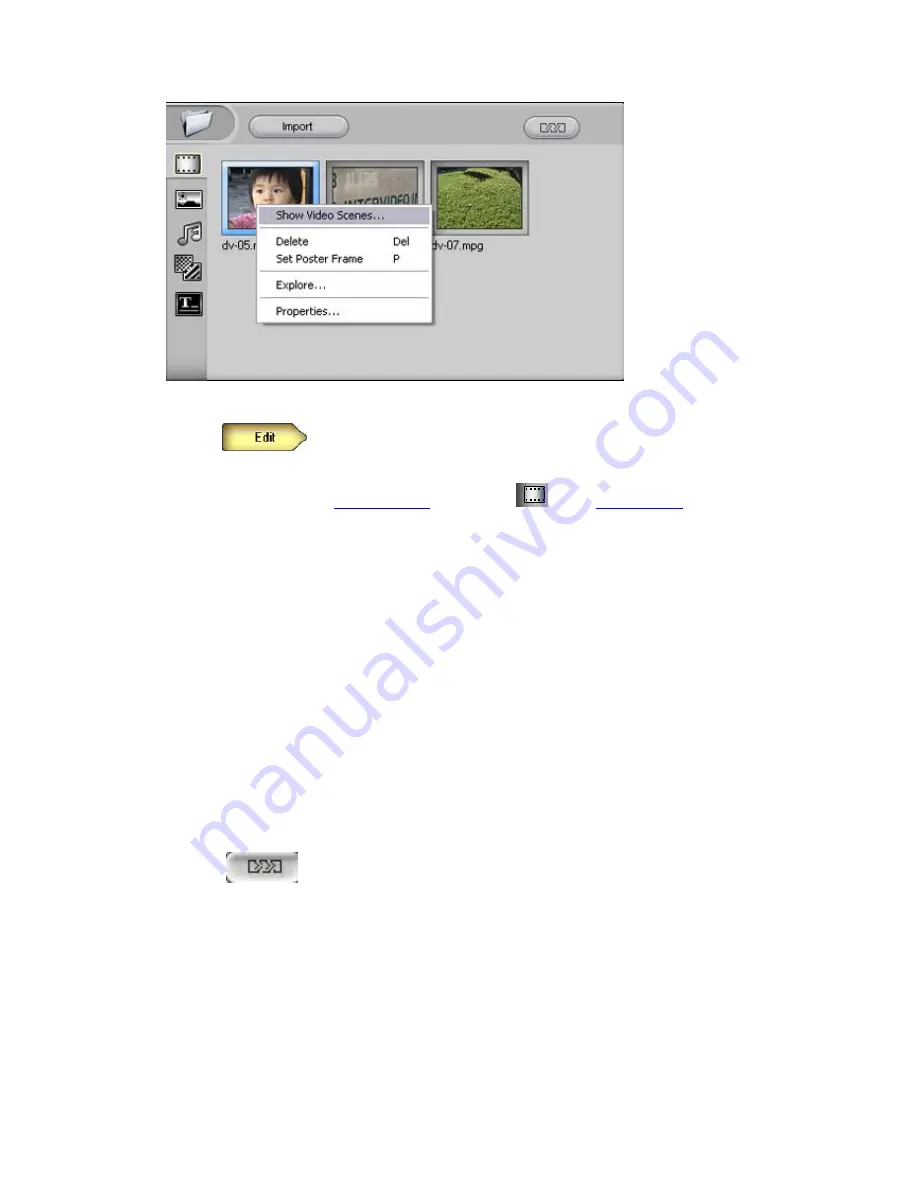
3. In the Video Library, right-click the video clip you want to break up. You may need
to scroll up or down in the Editing pane or resize it before the desired clip comes into
view.
4. Do one of the following: From the shortcut menu that appears, choose Show Video
Scenes.
5. Select either
Auto Detect
or
By Time
.
•
Choosing Auto Detect, you must set the Sensitivity at which it separates the
scenes by. For example, the light factor between scenes or details of each image.
From 1 being the lowest to 100 being the highest.
•
Choosing By Time will separate scenes into each clip depending on the time
you set it too.
6. Click
in the Editing pane.
•
WinDVD Creator 2 scans the video clip, looking for changes in the image from
frame-to-frame. If it finds a significant change, which is common where the camera
stopped and started, it breaks the clip into smaller clips (also called scenes) at the
point.
•
WinDVD Creator 2 creates a new set of video clips in the Video Library. These
clips are ordered from the start to the end of the original video clip. For example,
WinDVD Creator 2 might break up a video clip into five scenes as shown in the figure


