86
Chapter 5 Configuring the xStack Storage Array
2.
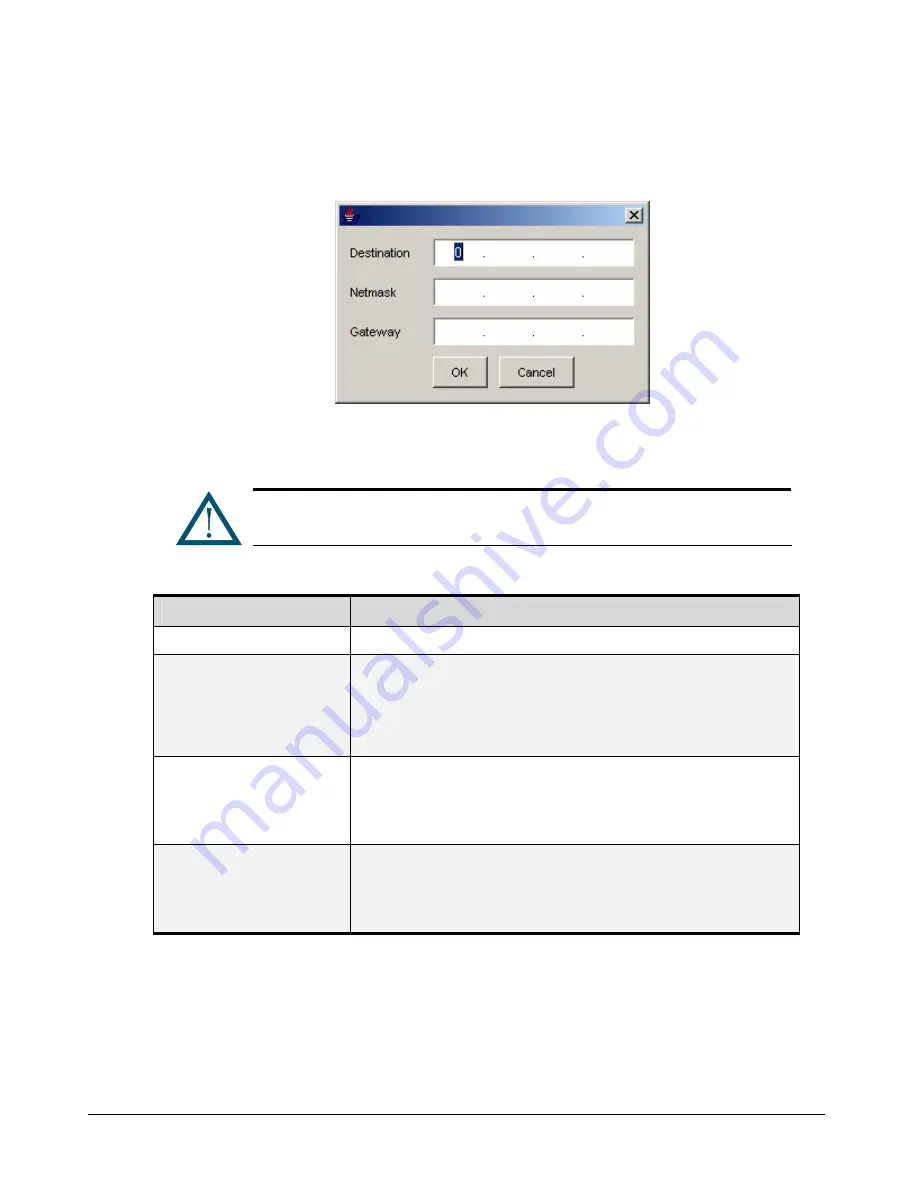
To add a route to the routing table, click the
Add
button. Then, when the dialog box in
Figure 5-37 appears, complete the fields and click
OK
. As you add route entries, record the
information in Appendix B.
Figure 5-37. Adding a Route Table
3.
To delete a route, click the route in the View Route Table and click the
Delete
button.
A warning message does not appear before you delete a route. Therefore, be
sure you do not need the route before you delete it.
Table 5-12 Route Table Settings
Setting
Description
Destination
Enter the IP address of the destination for this route.
Netmask
Enter the netmask (subnet mask) associated with the network destination or press the
Tab key to automatically set the default subnet mask to
255.255.255.0
.
Because of the relationship between the destination and the subnet mask in defining
routes, the destination cannot be more specific than its corresponding subnet mask. In
other words, there cannot be a bit set to 1 in the destination if the corresponding bit in
the subnet mask is a 0.
Gateway
Specifies the forwarding or next hop IP address over which the set of addresses defined
by the network destination and subnet mask are reachable. For locally attached subnet
routes, the gateway address is the IP address assigned to the interface that is attached
to the subnet. For remote routes, available across one or more routers, the gateway
address is a directly reachable IP address that is assigned to a neighboring router.
Metric
Specifies an integer cost metric (from 1 to 9999) for the route, which is used when
choosing among multiple routes in the routing table that most closely match the
destination address of a packet being forwarded. The route with the lowest metric is
chosen. The metric can reflect the number of hops, the speed of the path, path
reliability, path throughput, or administrative properties.
Summary of Contents for DSN-3200 - xStack Storage Area Network Array Hard Drive
Page 10: ...x Contents ...
Page 20: ...20 Chapter 2 Identifying Hardware Components Figure 2 6 Press Lever Inwards Until it Locks ...
Page 36: ......
Page 44: ...44 Chapter 4 Starting the xStack Storage Array for the First Time ...
Page 103: ...xStack Storage User s Guide 103 ...
Page 117: ...xStack Storage User s Guide 117 Figure 6 12 Viewing SMART Attributes ...
Page 160: ...160 Appendix D Replacing and Upgrading FRUs ...


