5 Configuration
D-Link Web Smart Switch User Manual
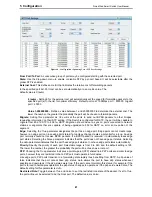
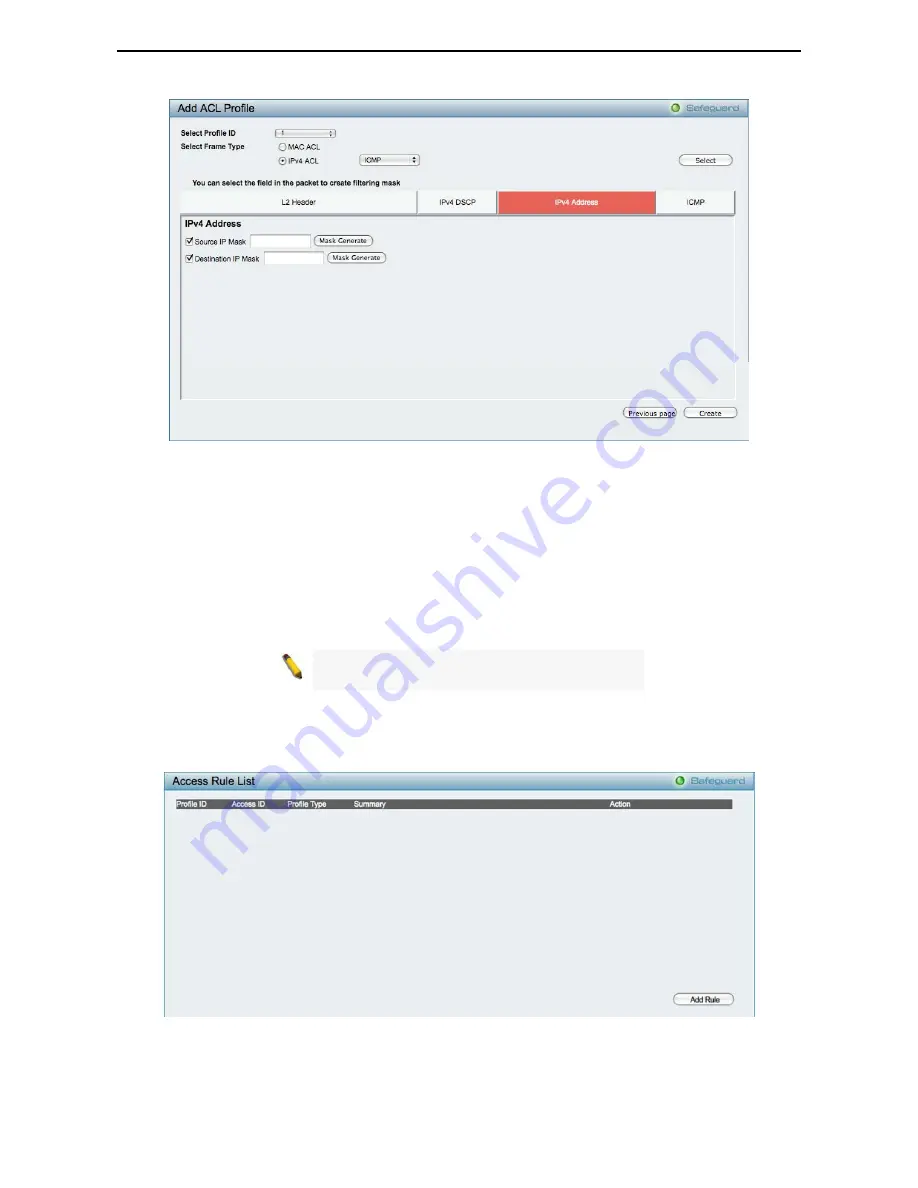
Figure 85 – Add Access Profile
The steps of adding an access profile is like below:
1) After selecting the
Profile ID
and
Frame Type
(MAC or IPv4), specify attributes like Untagged/Tagged (for
MAC), or ICMP/IGMP/TCP/UDP (for IPv4), then click
Select
and a simplified frame diagram will be displayed.
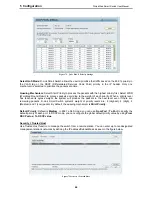
2) Select the field of interest and related columns will be displayed in lower part of the page. Enter the
filtering mask and click
Create
when done. A filtering mask is to specify the digit that you want to check. For
example, if you want to check a network of 192.168.1.0/24, then you should enter the IP mask as
255.255.255.0.
NOTE:
You cannot select Payload in a MAC ACL,
or L2 Header in IP ACL.
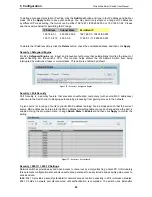
3) After the
Profile ID
has been created, it will go back to the main Access Profile List page, clicking the
Edit
/ New Rules
button to enter
Access Rule List
page.
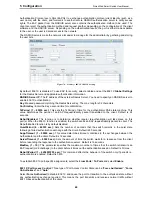
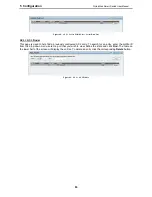
Figure 86 – Access Rule List
Profile ID:
Indicates the corresponding access profile Identification number.
Access ID:
Indicates the access rule Identification number.
Profile Type:
Displays the profile type.
5
5
3
3


