PSoC® 6 BLE Prototyping Board Guide, Doc. # 002-24993 Rev. **
19
Kit Operation
3.2
Programming and Debugging the Target PSoC 6 MCU
The target PSoC 6 MCU can be programmed and debugged using KitProg2. Before programming
the device, make sure that PSoC Creator and PSoC Programmer software are installed on the PC.
See
Install Software chapter on page 15
for more information.
3.2.1
Programming using PSoC Creator
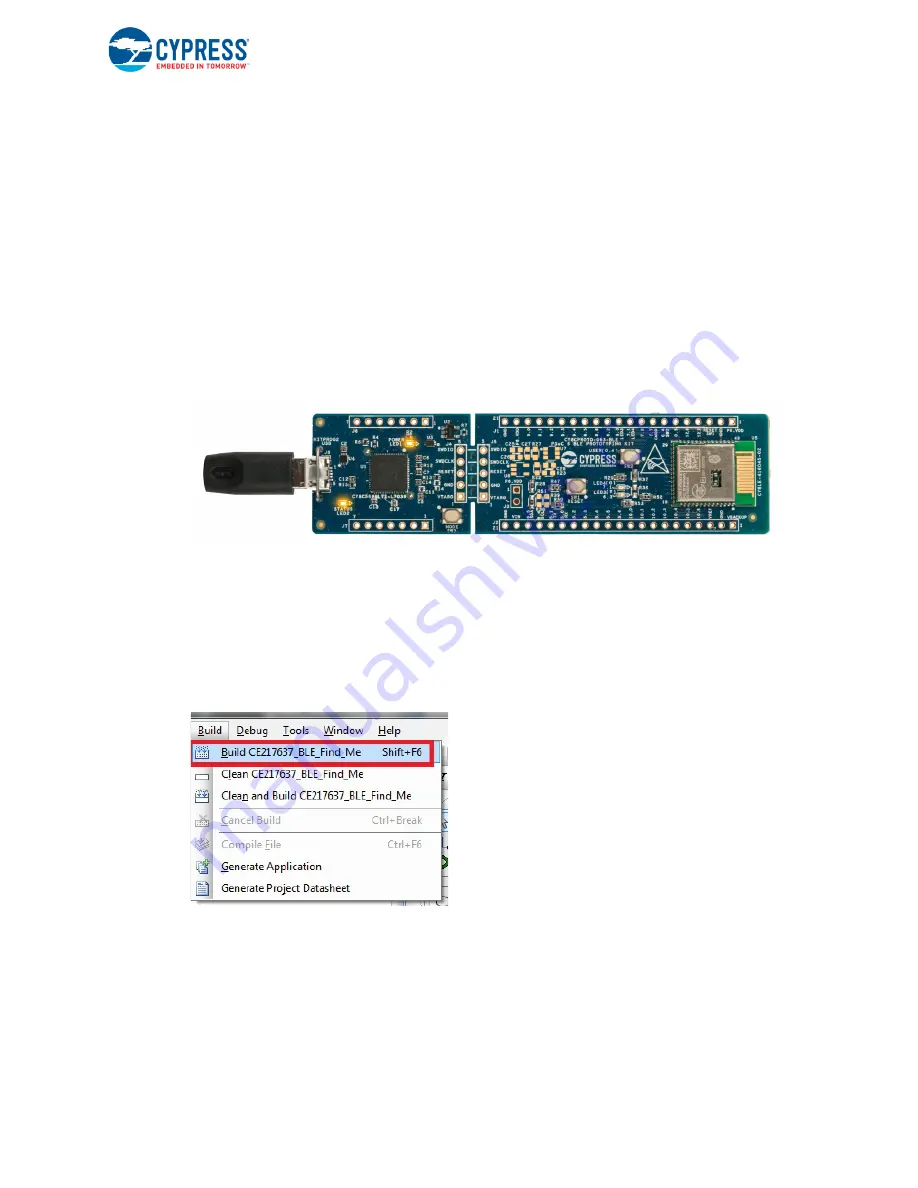
1. Connect the Prototyping Board to the PC through the USB Micro-B Connector (J8) as shown in
. The kit enumerates as a composite device. If you are plugging in the PSoC 6 BLE
Prototyping Board to your PC for the first time, the kit drivers will get installed automatically. The
amber status LED (LED2) will turn ON to indicate successful enumeration. If the amber status
LED (LED2) is OFF, see the
KitProg2 User Guide
for details on the KitProg2 status and
troubleshooting instructions.
Figure 3-2. Connecting the CY8CPROTO-063-BLE PSoC 6 BLE Prototyping Board to a PC
2. Open the desired project in PSoC Creator. From the PSoC Creator, go to
File
>
Open
>
Project/
Workspace
. You can browse and open a previously saved project. If you want to open one of the
code examples compatible with this kit, follow the instructions in the
3. Select the option
Build
>
Build <Project_Name>
or press
Shift
+
F6
to build the project as
shown in
.
Figure 3-3. Build a Code Example


