CYUSBS234 QUICK START GUIDE
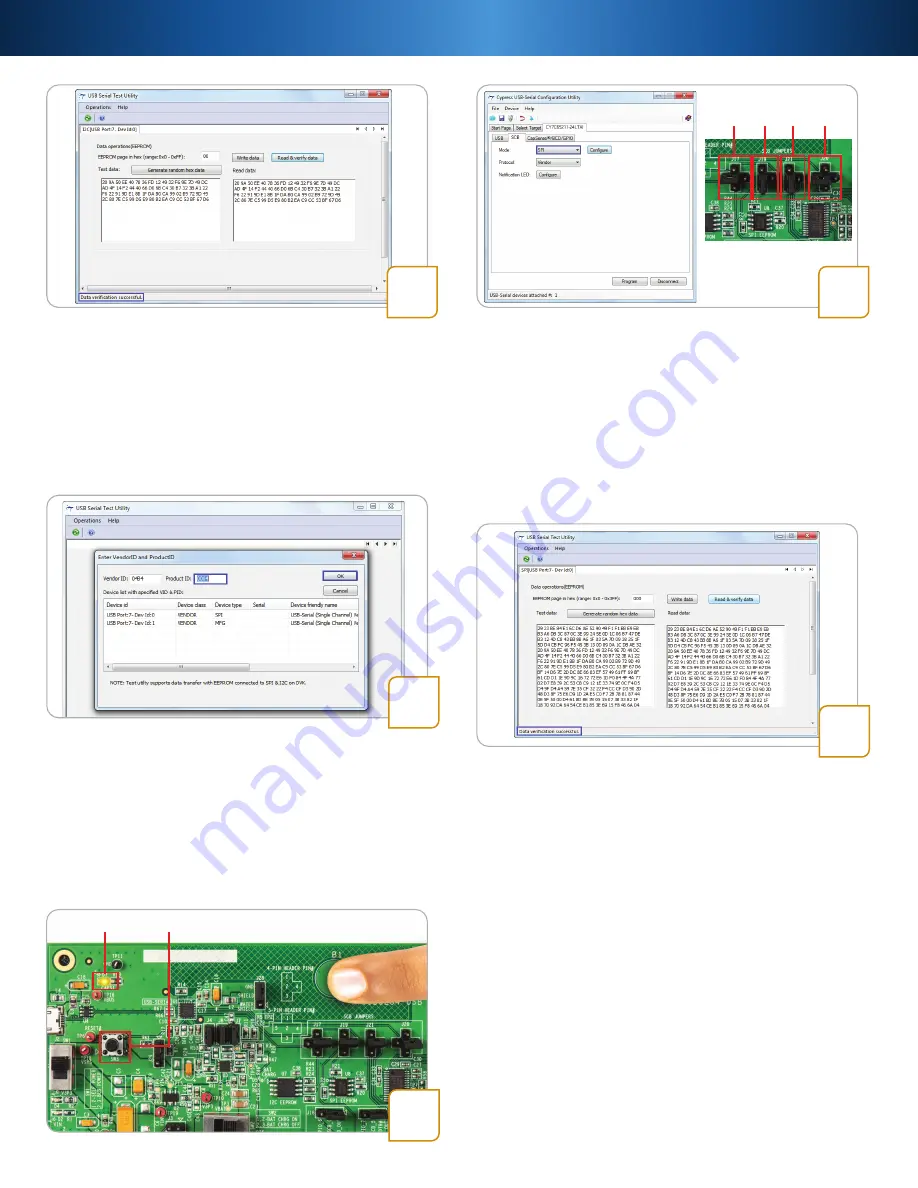
Step 9: USB–I2C Bridge Testing
• Click the
Write data
button. Data gets written at the
default EEPROM page address
• Click the
Read & verify data
button. When the received
and transmitted data is identical, the ‘Data verification
successful’ message appears at the bottom of the
window. The test proves successful data transfer with
the I2C interface
9
Step 12: USB–SPI Bridge Testing
• Click the
Write data
button. Data gets written at the
default EEPROM page address
• Click the
Read & verify data
button. When the received
and transmitted data is identical, the ’Data verification
successful’ message appears. The test proves successful
data transfer with the SPI interface
12
11
Step 10: USB–SPI Bridge Configuration
• Repeat step 6
• Click the
SCB
tab. Select
SPI
from the drop-down menu
and click the
Program
button. The 'Program succeeded’
message appears. Click
OK
to continue
• Click the
Disconnect
button. Press the reset switch, SW3
(refer to the figure in step 13). The board enumerates
as an SPI bridge
• Set jumpers J17, J19, J20, and J21 as shown above
10
Step 13: CapSense Button
• Touch the CapSense
®
button B1, as shown in the figure.
The D7 LED glows to indicate that the button is sensed
• Remove the finger from the B1 CapSense button and
the LED turns OFF to indicate that the button is released
13
LED D7
SW3
Step 11: USB–SPI Test Utility
• Run the USB Serial Test Utility from
Start > All
Programs > Cypress > CYUSBS234 DVK >
USBSerialTestUtility
• Change the Product ID to 0004 to match the default
Cypress PID. The test utility lists the SPI interface
available on the board. Click
OK
to continue
J17 J19 J21 J20


