CYUSBS234 QUICK START GUIDE
Step 5: 10-MB File Transfer at 1 Mbps, with no Data Loss
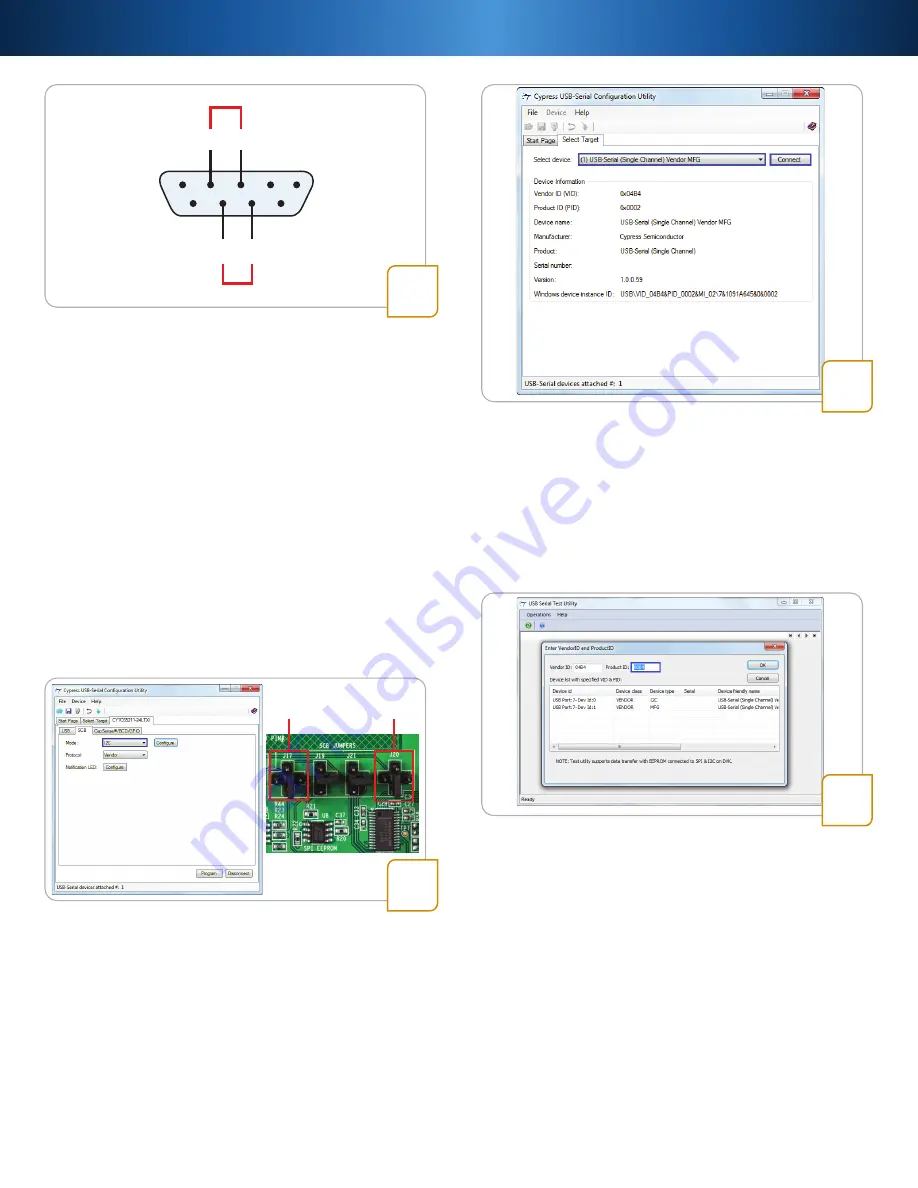
• Connect J15.3 (TXD) to J15.2 (RXD) and J15.7 (RTS)
to J15.8 (CTS), with the provided jumper wires
• Go to
Setup > Serial Port
in the Tera Term window,
and enter 1000000 in the baud rate box. Select
Hardware
in the
Flow control
drop-down menu; go to
Setup > Terminal > Receive
and select
CR+LF
.
Click
OK
• Enable file capture: go to
File > Log
; uncheck
Append
and select <file name> to save the received data
• Go to
File > Send File
and select the Test.txt file from
<Install directory>\Cypress\CYUSBS234 DVK\1.0
• The 'Tera Term: Send file' window shows effective
data throughput; multiply by 2X to get uni-directional
throughput
• Compare Test.txt and received file, using any file
compare utility to verify data integrity
7
Step 7: USB–I2C Bridge Configuration
• Click the
SCB
tab. Select
I2C
from the drop-down menu
and click the
Program
button. The 'Program succeeded’
message appears. Click
OK
to continue
• Click the
Disconnect
button to disconnect the board
from the configuration utility
• Press the reset switch, SW3 (refer to the figure in
step 13). The board enumerates as an I2C bridge
• Set jumpers J17 and J20 as shown in the figure above
to connect I2C EEPROM to the CY7C65211 device
Step 6: Device Connection to Configuration Utility
• Run the configuration utility from
Start > All Programs
> Cypress > CYUSBS234 DVK > USB Serial
Configuration Utility
• Click the
Select Target
tab. Select the device
USB-Serial (Single Channel) Vendor MFG
from the
drop down menu and click
Connect
Step 8: USB–I2C Test Utility
• Run the USB Serial Test Utility from
Start > All
Programs > Cypress > CYUSBS234 DVK >
USBSerialTestUtility
• Change the Product ID to 0004 to match the default
Cypress PID. The test utility lists the I2C interface on
the board. Click
OK
to continue
6
8
5
J17
J20
J15
1
2
3
4
5
6
7
8
7
(RTS) (CTS)
(RXD)
(TXD)
8
2
3
9


