GENERAL SETTINGS
IP address of the Default Gateway
A default gateway is required for
Cyberoam to route connections to the Internet.
DNS IP Address
___.___.___.___
System Time Zone
______________
System Date and Time
Email ID of the administrator where Cyberoam
will send System Alerts
______________
___.___.___.___
______________
5
CONNECTING CYBEROAM
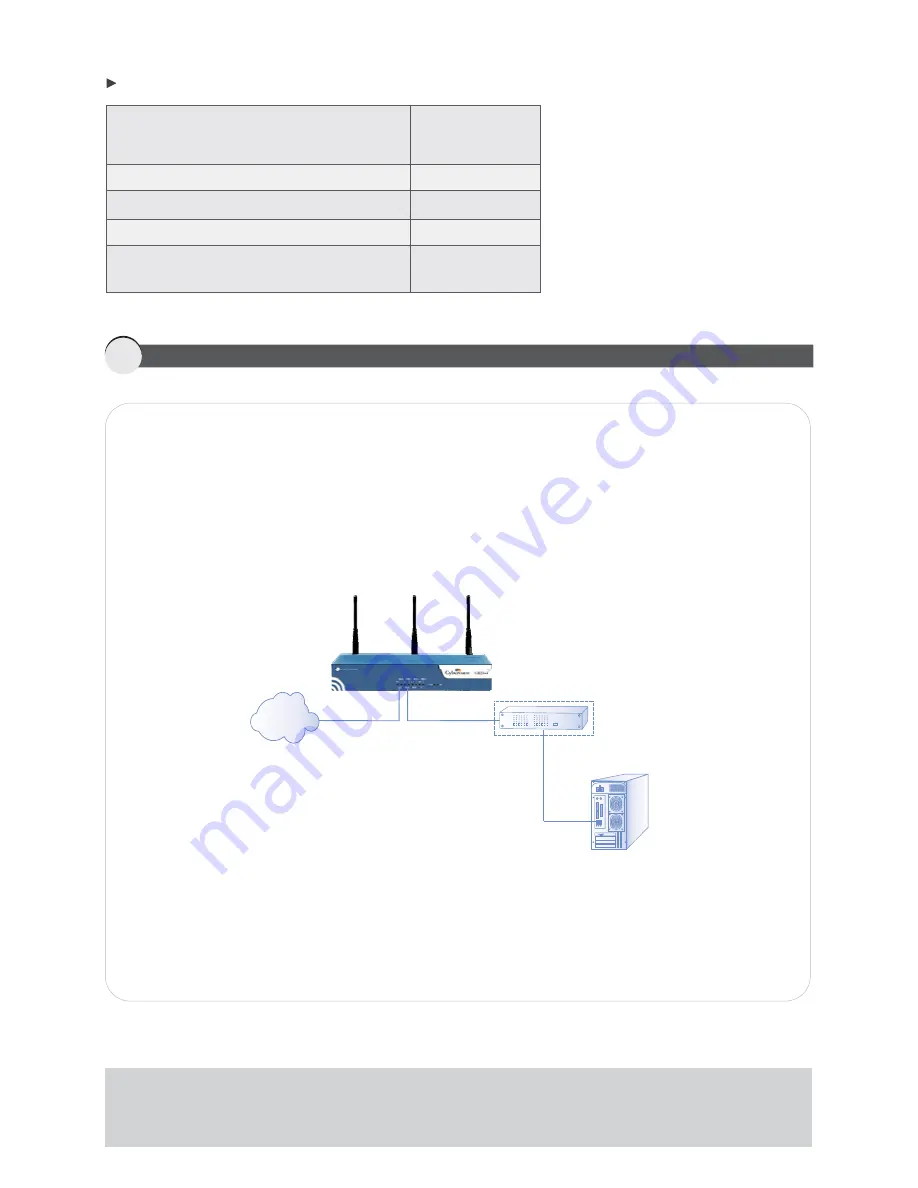
Ethernet connection
1.
Connect one end of the
cable into Port A on the Back panel of the Appliance and
other end into the Ethernet Adapter port of Management computer. Change the IP address of the
management computer to 172.16.16.2 and the subnet mask to 255.255.255.0.
2.
Connect one end of an Ethernet cable into Port B on the Back panel of the Appliance and other
end to your Internet connection e.g. DSL modem or cable modem. It is possible that cable might
already be connected between your computer and your modem. If so, disconnect it from your
computer and connect into Port B.
3.
Connect the AC Power connector into the Back panel of the Appliance and the other end into a
standard AC receptacle & turn on the power.
4.
Start your management computer. Following Appliance LEDs light up:
Power - Green indicating that Appliance is ON
HDD - Red indicating that hard disk is Active
Port A, Port B (Front panel) - Green indicating an active connection
straight-through
Note:
If you change the LAN IP address (Gateway mode) or Bridge IP address (Bridge mode), you must use this
address to reconnect to the Web Admin Console. You might also have to change the IP address of the management
computer to be on the same subnet as the new IP address.
Internet
Switch
(Optional)
Management
Computer


