32
Step 2. Assign a valid IP Address to the PDU
Option 1: Assisted Setup (recommended)
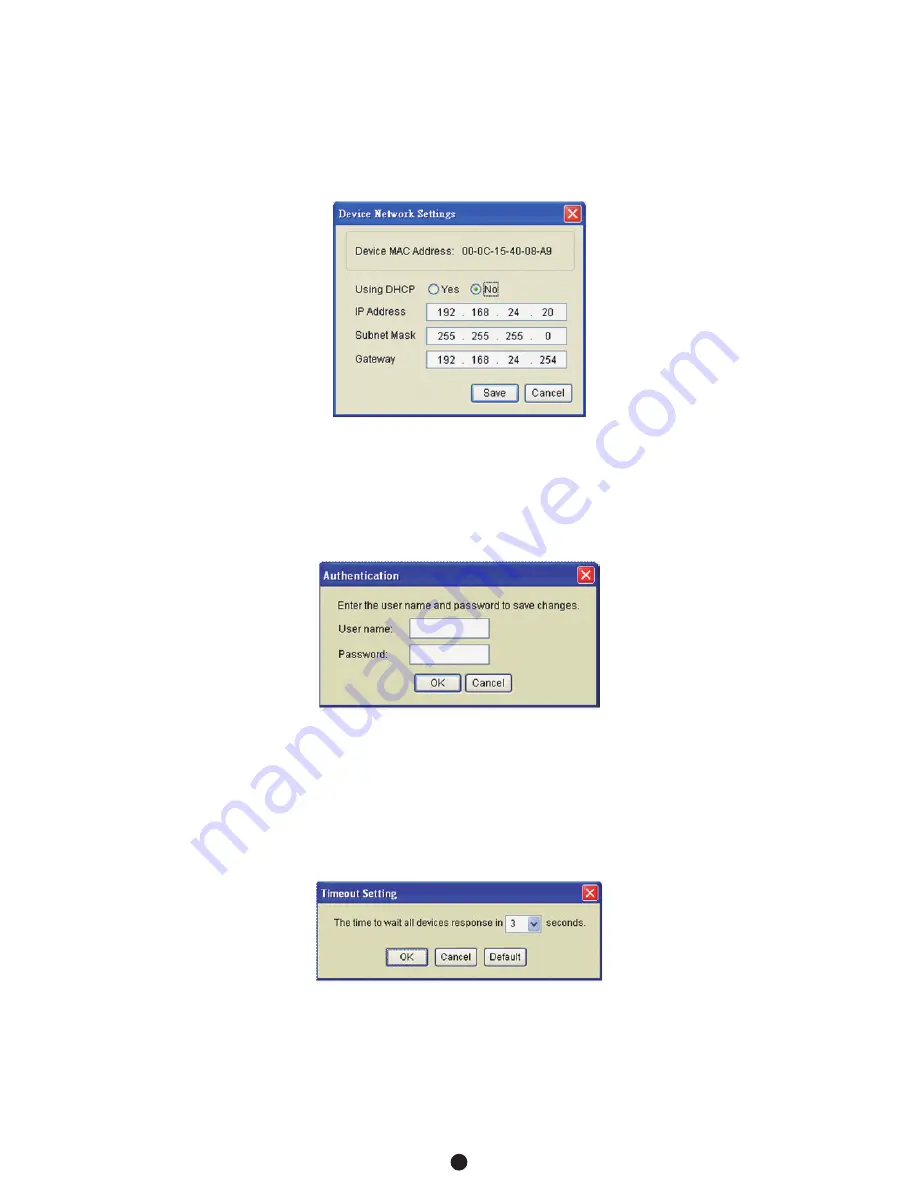
With the appropriate device selected from the Equipment
List, open the Network Settings menu (Shown in Figure 8)
[Tools=>Device Setup]. In the Device Network Setting Menu, enter
a valid IP address, subnet mask, and gateway address to setup the
PDU device.
Note:
The DHCP option is not available for all power devices.
Step 3. Authentication
Enter the user name and password of the PDU device at the
Authentication menu (Shown in Figure 9).
Note:
The default username is “
cyber
” and the default password is
“
cyber
”.
Advanced Settings
Timeout Settings
The Timeout Setting (Shown in Figure 10). [Edit=>Timeout Settings]
is used to specify the wait time when scanning for network PDU
devices. When there are many devices on the local network, it may
take extended periods of time to locate all the devices. The timeout
function is used to limit the search time.
The default setting is 3 seconds. Valid values are 3 to 60 seconds.
Figure 8. Network Setting Menu (Device Setup)
Figure 9. Authentication screen
Figure 10. Timeout Setting
Appendix B-Power Device Network Utility


