background image

MUTE  

PLAY       STOP       

PAUSE/STEP

ADD/CLEAR  NAVIGATION

SELECT

OPEN/CLOSE

STANDBY/ON

SCAN

SETUP

TITLE

TIMER

REC/OTR

EDIT

AV

TV

DV

DISC OPER

MENU

CH+

REV        PREV

FWD        NEXT

CH-

VOL+

VOL-

AUDIO SUBTITLE ANGLE RETURN

REPEAT

SLOW

ZOOM

GOTO

PS/IS

PROG

DISPLAY

RANDOM

0

//

DVD + ReWritable

1. TITLE
01/01/00
12:03:47
SP00:00:20

1. TITLE
01/01/00
12:06:50
HQ00:00:20

1. TITLE
01/01/00
12:08:57
SLP00:00:20

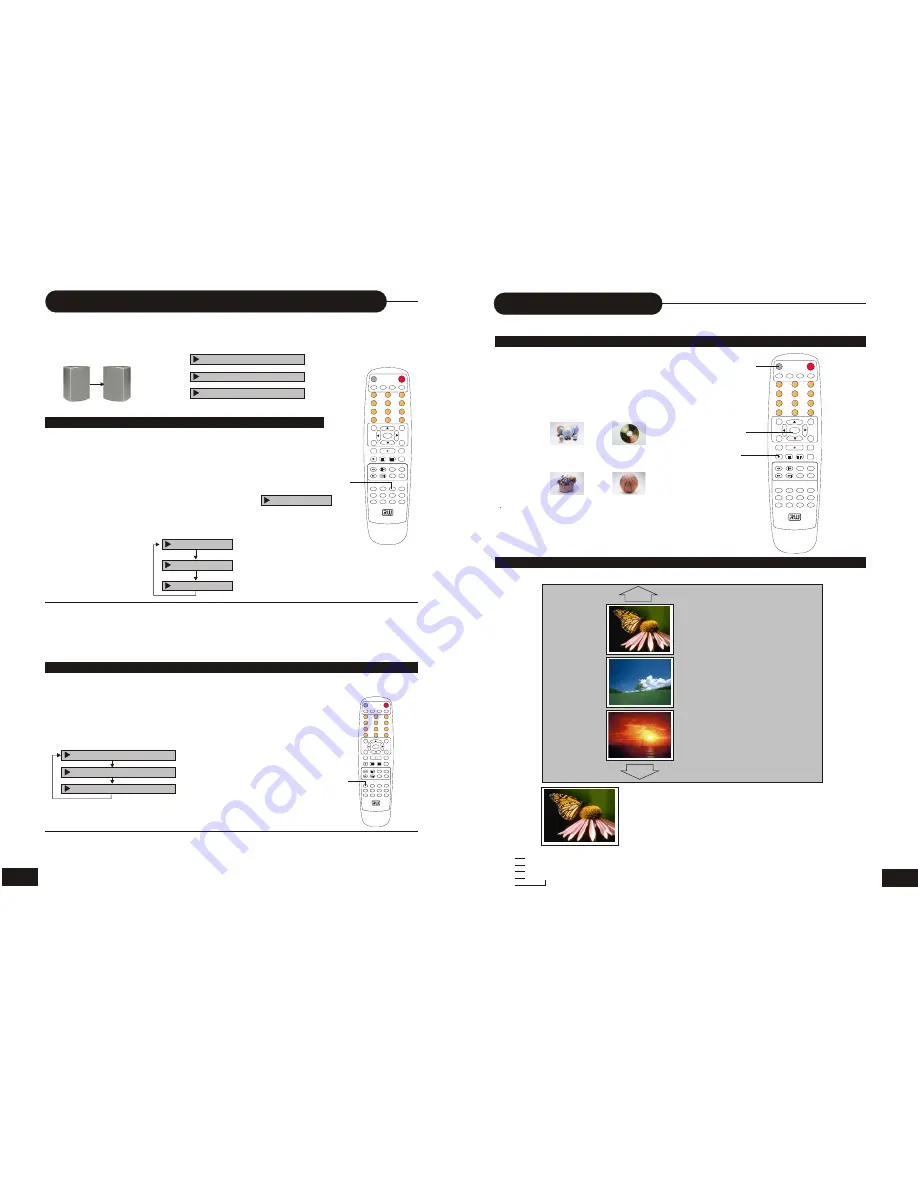
PLAYING A DVD+RW OR DVD+R DISC

Index Picture Screen

Playing Back a Disc

14

PLAYING A NORMAL DISC

1.Power on your recorder.

2.Insert a DVD disc.

3.Press Directional  Keys or the number buttons to select 
the title.

4

Press the SELECT or PLAY button.

The DVD video player will start playback from the title 
selected.

5. To remove the disc, press the OPEN/CLOSE button.

Title1    

Title 2

Title 4

Title3

OPEN/CLOSE

SELECT

PLAY

Description:

1.The name of the pre-recorded. The default is TITLE.
2.The date and time of the recording.
3.Title time of the recording.
4.The quality.
5.Length of the recording

1.       1. TITLE
2.       01/01/00
3.       12:03:47
4.       SP 00:00:20
5.

21

Selecting Camera Angles, Languages & Audio Settings

THIS RECORDER ALLOWS YOU TO SELECT FROM SEVERAL DIFFERENT ANGLES AND 
LANGUAGES.

HOW TO CHANGE THE CAMERA ANGLE

If the video on the DVD was recorded with multiple angles, you have the
option to change the camera angle of the scene you are watching.

Press the ANGLE button while playing back a scene recorded with
multiple angles.

• You may only press the ANGLE button when the angle icon
   is shown on the DVD display.

• Each time you press the ANGLE button, the angle will be changed.

Note:

• The angle function will not work on DVD video discs that do not contain recorded multiple angles.
• During still playback, you are able to change the camera angle. When you resume to normal playback, the camera angle 
 will change to the new settings.
• The angle icon indicator will illuminate while playing back a title that contains at least one scene recorded from multiple angles.

HOW TO SELECT LANGUAGE AND  AUDIO SETTING

This player allows you to select a preferred language and sound recording system from those
included on the DVD video disc.

1. Press the AUDIO button during playback
2. Press the AUDIO button repeatedly to 
    cycle through the options

Note:
• The player returns to the initial default settings when you turn on the player or replace a disc.
• The player plays a default sound when unsupported format is selected.
• On MP3/CD disc, AUDIO is used for the selection of LEFT, RIGHT and STEREO.

ANGLE1  

ANGLE2

Selecting the camera angle

Selecting a language

ANGLE :01/03

AUDIO :02/03 ENG DOLBY

AUDIO :03/03 CHI DOLBY

AUDIO :01/03 GER DOLBY

ANGLE :01/03

ANGLE :02/03

ANGLE :03/03

AUDIO :02/03 ENG DOLBY

AUDIO :03/03 CHI DOLBY

AUDIO :01/03 GER DOLBY

ANGLE

AUDIO

Summary of Contents for DVDR5000

Page 1: ...REWRITABLE Manufactured under license from Dolby Laboratories Dolby Pro Logic and the double D symbol are trademarks of Dolby Laboratories Confidential Unpublished Works 1992 1997 Dolby Laboratories...

Page 2: ...ct the DVD player directly through the TV and not through any other source What you re viewing is the effect of the copy protection circuitry Required on all DVD players If you don t have a video inpu...

Page 3: ...ualified service personnel should remove the cover WARNING CAUTION CAUTION 1 CAUTION RISK OF ELECTRIC SHOCK DO NOT OPEN CAUTION TO REDUCETHE RISK OF ELECTRIC SHOCK DO NOT REMOVECOVER OR BACK NO USER S...

Page 4: ...n of antenna discharge unit connection to grounding electrodes and requirements for the grounding electrode 16 Lightning For added protection for this product during a lightning storm or when it is le...

Page 5: ...way from direct sunlight domestic heating equipment 4 If placed in a cabinet please allow at least 2 5 cm 1 inch of free space around the player for proper ventilation TO OBTAIN ACLEAR PICTURE This pl...

Page 6: ...diting 31 CHAPTER EDITING From the control bar select the fourth icon press SELECT repeatedly It will cycle as follows When is selected by pressing SELECT a new chapter marker will be added to the cur...

Page 7: ...dex Picture screen pops up 2 Use the direction keys to highlight the title which you want to edit 3 Press EDIT the edit bar appears on the screen while playing back Press RIGHT LEFT to highlight one i...

Page 8: ...MPONENT OUTPUT FOR PROGRESSIVE SCAN Source Quality ONCE Start End Item Editor Confirm DV SP 0 1 0 1 0 0 1 4 4 1 1 5 1 1 Cancel Recording Options 29 1 First setup the clock of your system as CLOCK SETU...

Page 9: ...UDIO SUBTITLE ANGLE RETURN REPEAT SLOW ZOOM GOTO PS IS PROG DISPLAY RANDOM 0 1 2 3 4 5 6 7 8 9 DVD ReWritable 1 2 23 24 26 28 29 30 31 33 37 39 35 32 34 38 40 41 42 36 27 25 3 4 5 6 7 8 9 11 13 15 17...

Page 10: ...TV channels first 1 Press SCAN to access the TV setup menu 2 Use the UP DOWN button to highlight SCAN and press SELECT It will search channels automatically During auto searching press STOP to cancel...

Page 11: ...FERENCES DISPLAYING THE SETUP MENU SCREEN The SETUP MENU screen asks you to select a setting category from General Speaker Audio and Preferences The selected category will provide you the setting deta...

Page 12: ...eo cable Do not connect the Yellow video cable or S video cable of using the Component cables COMPOSITE VIDEO S VIDEO YUV 25 Setting the Parental Lock YOU CAN USE THE PARENTAL LOCK FUNCTION ONLY WITH...

Page 13: ...any connections YOUR RECORDER Video in Video out Audio in Audio out or TV set VCR Connect your recorder with the S Video cable if the Signal Source has an S Video input Do not connect the yellow video...

Page 14: ...anual of the connected system Turn off the power and unplug both units before setting up any connections TV set Audio out Video out Video in Audio in or DV input DIGITAL Video 23 Selecting Subtitles T...

Page 15: ...ng in a Favorite Order THIS PLAYER ALLOWS YOU TO PROGRAM UP TO 99 ITEMS INTO MEMORY AND THEN PLAY THEM BACK IN THAT ORDER PROGRAM PLAYBACK HOW TO SET TITLES CHAPTERS OR TRACKS IN A FAVORITE ORDER 1 Pr...

Page 16: ...rding 1 1 TITLE 2 01 01 00 3 12 03 47 4 SP 00 00 20 5 21 Selecting Camera Angles Languages Audio Settings THIS RECORDER ALLOWS YOU TO SELECT FROM SEVERAL DIFFERENT ANGLES AND LANGUAGES HOW TO CHANGE T...

Page 17: ...the time for the point you want to start at Audio Select your desired Audio setting if available Subtitle Select to choose an available Subtitle menu by inputting numbers Angle Select your desired cam...

Page 18: ...ype such as MP3 Audio CD etc PLAY PRVERSE FORWARD ZOOM PAUSE STEP 19 Playing Repeatedly THIS RECORDER ALL ALLOWS YOU TO PLAYBACK A SPECIFIC TITLE CHAPTER TRACK OR SEGMENT REPEATEDLY TITLE REPEAT CHAPT...

Page 19: ...may vary depending on the contents of the disc This player allows you to locate consecutive chapters or tracks Press the SKIP or button repeatedly to display the requested chapter or track The player...

Reviews: