10
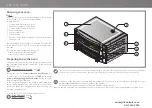
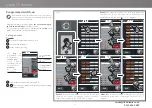
Fig.5.
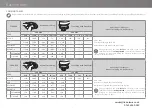
Fig.6.
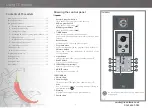
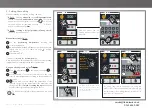
Fig.7.
The oven can be switched on:
•
manually
: switching the oven on when it must be used it
is necessary to wait at least an hour for the oven to preheat
and get the right temperature.
Check the following use procedure (points A, B, C, D,
etc.)
•
programming it
: setting the number of hours missing to
the next switch-on the oven will switch on automatically.
See page
12
•
automatically
using a clock or SMS (with external modules
not supplied by the Manufacturer).
Use guided procedure
The number of the buttons in the following procedure
(e.g. light button
7
) refer to
Fig.4.
A - Turning the oven on manually
Fig.5.
Pressing the ON/OFF key,
6
the display
1
lights up and
shows the current temperature of the cooking chamber (e.g.
25°C).
B - Setting the preheating
Fig.6. - Fig.7.
Set the
preheating temperature
acting on the
2
“+” or “-”
keys until the display shows
1
the desired value (see table on
page
8
, preheating information).
Acting on the
4
and
5
keys, set the
top
as well as the
bottom
power
(see table on page
8
, preheating information).
After setting these three parameters, the oven starts heating
straight away.
The preheating temperature must be the
same as the
next cooking
and depends on the type of product to
cook. If necessary, check page
7
for some advice.
During preheating, the steam holes in the back of the
cooking chamber must be kept always closed, to
prevent the elements from being on too long and
warming the refractory surfaces too much, causing the first
pizzas to burn.
The led
3
will switch o
ff
after about an hour: this means the
oven has reached the temperature set for pre-heating and is
ready to cook.
C - Setting the cooking
Fig.6. - Fig.7.
When preheating is complete, set the
cooking temperature
acting on the
2
“
+” or “-” keys until the display shows
1
the
desired value (see table on page
10
, cooking information).
Set also the
power of the top and bottom
acting on the
4
and
5
keys.
After setting these three parameters, the oven starts heating
straight away.
During cooking, the led
3
may switch back on; this
means the elements have come back on to keep the set
temperature constant.
top p
ow
er
bott
om p
ow
er
Using CD models
0161 696 0052


