background image

7

E

. 0

4.

99

• 

G

.0

8.

08

.1

9

Function

Function

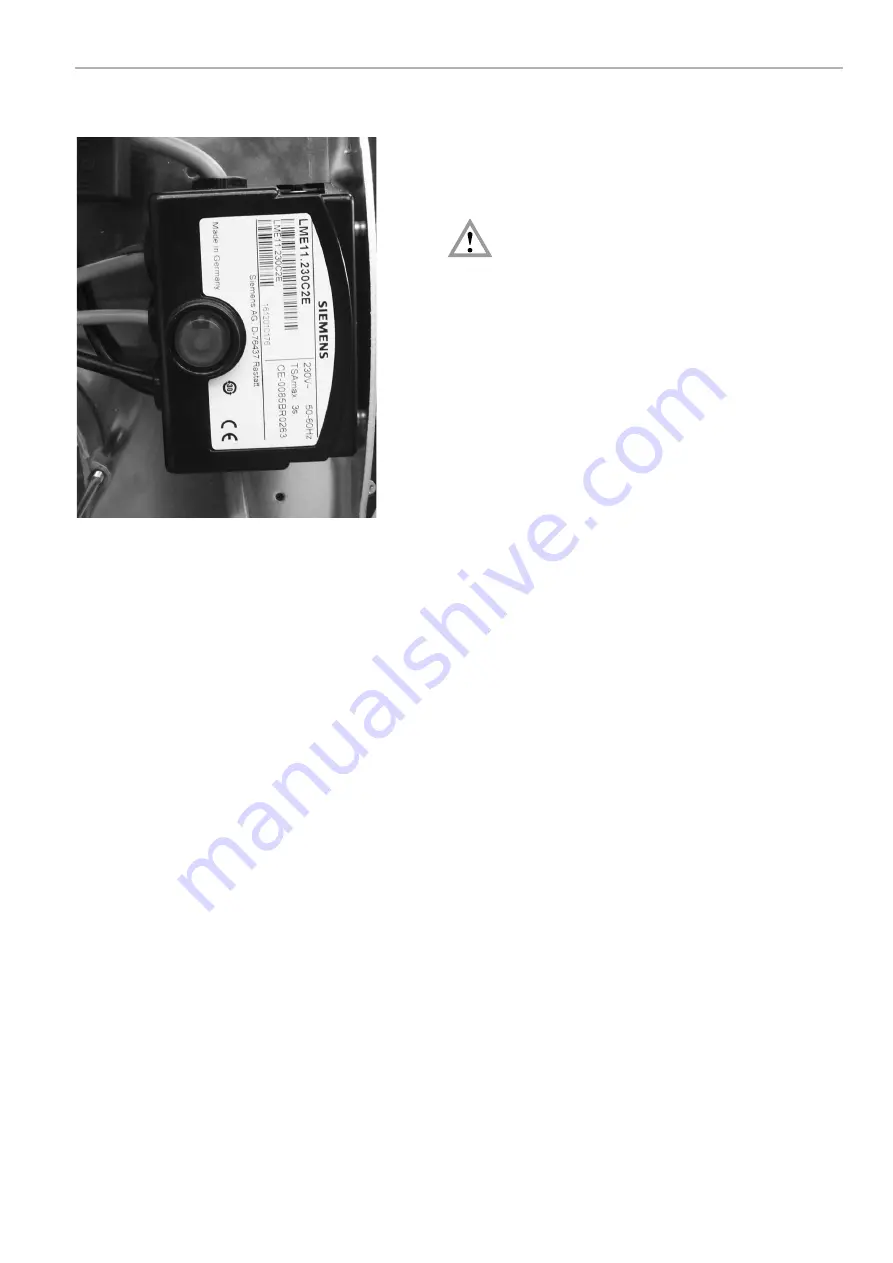
Control unit LME

Testing the control unit for proper functioning

Danger of fatal injury from electric shocks!

Disconnect  electrical  cable  from  power  supply  before
carrying  out  any  work  on  live  parts!  Troubleshooting
may only be carried out by authorised and trained per-
sonnel! Unlocking may only be carried out by an autho-
rised specialist.

After startup and after maintenance of the burner, the following controls to perform.

Burner startup with broken lines to the flame detector:

Disconnect the cable to the flame monitor and restart the burner.
At the end of the safety time the controller makes a lockout

Reestablish the connection.

Burner operation with simulated loss of flame:

Pull the compact unit the square plug from the gas pressure switch and jumper the contacts in the 
connector.

Start the burner.

Connect operation are the ball valve.
After loss of flame, the controller makes a lockout.

Remove the jumper in the connector and insert it back to the gas pressure switch of the compact unit.

Burner operation with simulated air pressure loss:

Pull are the operation from the air hose to the "+" input of the air pressure switch.
The controller makes a lockout.

Insert the air hose back onto the air pressure switch

Safety and switching functions

In the event of a flame failure during operation, the fuel supply is immediately switched off and the control
box goes into fault mode. A restart takes place in all cases following a mains power failure. A fault is trig-
gered immediately if there is flame detection during pre-ventilation. The position of the air pressure monitor
is continuously checked. There can be no start-up if it is not in its neutral position. A fault is triggered if the
working contact fails to close during pre-ventilation, or reopens. In the event of a lack of air during operation,
the air pressure monitor contact opens and the valves close immediately. The device goes into fault mode.

Summary of Contents for GIERSCH RG1-Fa

Page 1: ...Technical Information Installation Instructions Gas Edition August 2019 Right reserved to effect techn modifica tions in the interest of product improvement RG1 GB...

Page 2: ...ng the mixer unit 5 Establishing electrical connections 6 Function 7 Control box LME 7 Air flow setting measurement A 10 Air flap positioning motor 10 Compact gas unit 11 Adjustable gas pressure switc...

Page 3: ...Checking scope of delivery and connection data Before installing the GIERSCH gas burner please check that all items included in the scope of delivery are present Scope of delivery Burner sliding flan...

Page 4: ...ot intended Key for code designation Technical specifications Burner type Technical data RG1 L Na RG1 L Nb RG1 L Fa RG1 L Fb Min burner output in kW 12 25 15 25 Max burner output in kW 40 61 40 61 Min...

Page 5: ...th non corrosive foaming agent for leaks and vent gas pipe When venting gas discharge safely to atmosphere with a hose Comply with DVGW TRGI 1986 96 Section 7 TRF 1988 DIN 4756 and local regulations S...

Page 6: ...connector unit X11 according to connection diagram Attach 7 pin connector unit for boiler control X11 to black brown socket unit on burner X12 Supply lead to 7 pin connector unit X11 must be protected...

Page 7: ...ball valve After loss of flame the controller makes a lockout Remove the jumper in the connector and insert it back to the gas pressure switch of the compact unit Burner operation with simulated air p...

Page 8: ...lor Waiting time tw other waiting states OFF Oil preheater on Yellow Ignition phase ignition controlled Flashing yellow Operation flame o k Green Operation flame not o k Flashing green Extraneous ligh...

Page 9: ...at terminal 10 according to the error code table The diagnostics of the cause of fault is quit and the burner switched on again by resetting the burner control Press the lockout reset button for about...

Page 10: ...urn screw 3 anticlockwise Air Air flap positioning motor L type Cooling of furnace avoided during burner standstill SA2 F Position OPEN CLOSED of electric motor driven unit indicated at display lever...

Page 11: ...x 70 mbar KE 10 min 18 mbar Max pressure drop 50 mbar supply pressure output pressure Ambient temperature 10 C to 60 C Connecting flanges The connecting flanges are secured with 4 screws The flanges c...

Page 12: ...tput at 92 Gas type Natural gas LL Hi n 9 3 kWh m3 Air flow measurement A kW kW Gas nozzle pressure mbar Gas flow m3 h mm 14 1 13 LL 1 8 1 6 6 7 17 4 16 LL 2 6 2 0 8 9 23 9 22 LL 4 8 2 7 9 11 28 3 26...

Page 13: ...ding to adjustment tables PP 10 11 Check exhaust gas values here without fail CO CO2 or O2 Depending on the system the setting values must be corrected After completion of adjustment check the setting...

Page 14: ...adjust main gas pressure according to the specifi cations of the adjustment tables Ps starting gas pressure to approx 40 60 of main gas pressure min 4 mbar Precision adjustment KE 10 Measure gas nozzl...

Page 15: ...gas burner adjustment The values given in the tables are setting values for start up The necessary system adjustment must be newly determined in each case General The calorofic value Hi n of fuel gass...

Page 16: ...le given above is VB 3 3 m3 h Gas flow setting Mean geodesic height of supplied region ASL m from 1 51 101 151 201 251 301 351 401 451 501 551 601 651 701 to 0 50 100 150 200 250 300 350 400 450 500 5...

Page 17: ...flow plate for RG1 Nb 1 34 90 10162 12 Gas nozzle without flow plate for RG1 Fa 1 34 90 10163 12 Gas nozzle without flow plate for RG1 Fb 1 34 90 10164 13 Air pressure monitor DL2E 1 47 90 29266 14 M...

Page 18: ...ng range 0 200 A DC l 5 A MMI 2 A DMG o k l 5 A MMI 2 A DMG Unsafe operation Clean burner pipe Bend ionisation rod in flame area If necessary replace combination electrode If necessary reverse polarit...

Page 19: ...GmbH Adjutantenkamp 18 in D 58675 Hemer declare under our responsibility that gas burner type RG is conform with the regulations of these directives MD2006 42 EG EMC2014 30 EU GAD 2016 426 EU LVD2014...

Page 20: ...overall dimensions boiler connection dimensions Working ranges DVGW checked working ranges as per DIN EN 676 All dimensions in mm 70 316 min 290 130 min 155 228 40 140 140 87 340 10 80 33 RG1 Pipe out...

Reviews: