21
22
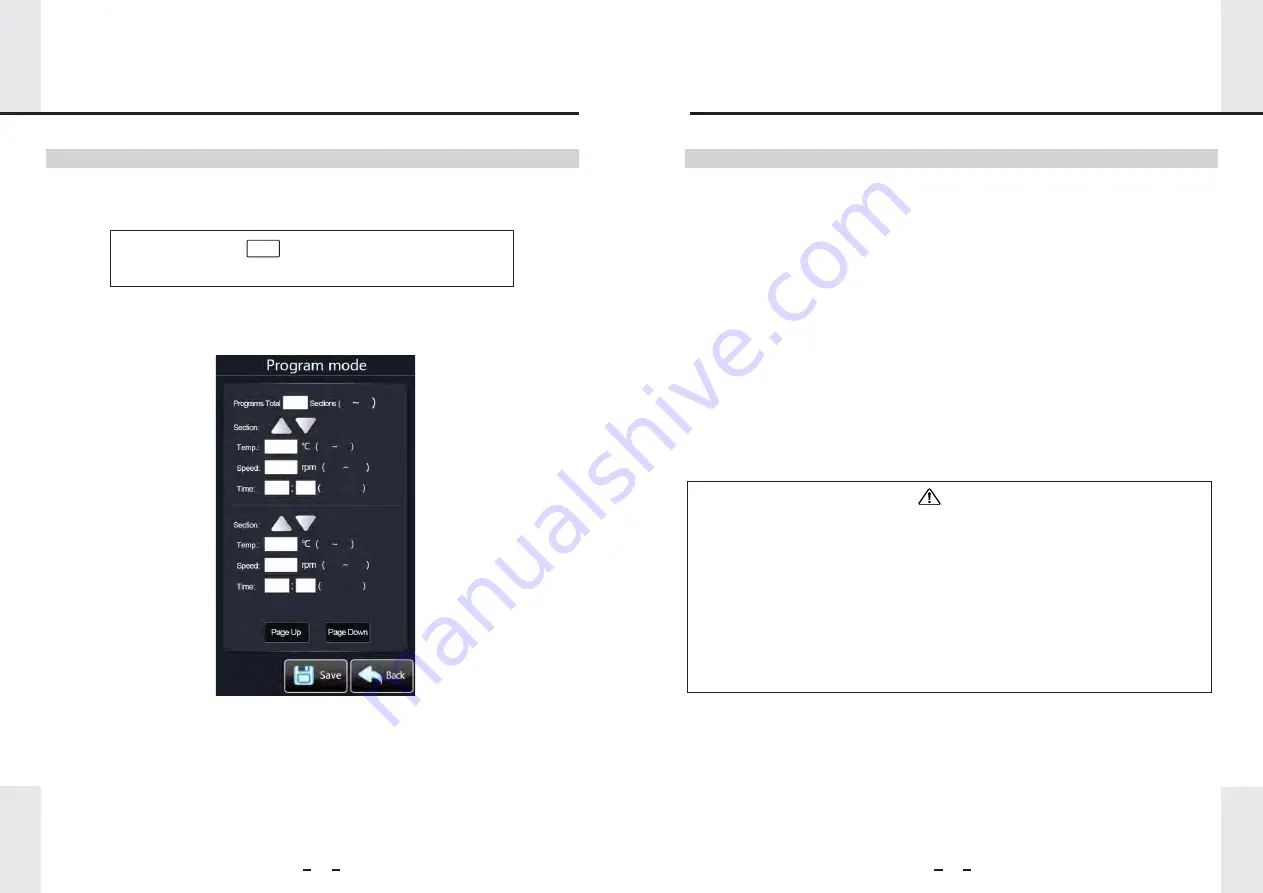
1. Select “Program Control” in “Running Mode Setting” and press “Edit” enter the “Program
Control Mode” interface. (Figure 4)
2. 1 to 12 segments can be set in program control mode. To set the parameter values
(temperature, speed, and time) click the value display window, input the parameter
value, confirm, save, and return.
Mode: Prog. Edit Section 1,Total 12 Sections
Time left: 00h 00min. 00s Set Time: 3h 10min.
8.2 Program Mode Operation
Figure
4: Program Control Mode
3
37.0
40.0
100
30
0
1
18
1
1
12
4
.
0
4
.
0
60.0
60.0
0
,
30
30
300
300
999 h 59 m
999 h 59 m
8. Settings
8. Settings
8.3 Instrument Settings
1. Click "Main set" to enter the interface shown in Figure 3 (page 20).
2. The following functions (a-h on the following pages) can be set by choosing the
corresponding button, inputting the password, and entering the corresponding
interface to input the relevant settings.
3. Click the corresponding button to input the desired parameter value, or click the
corresponding "ON / OFF" to control the instrument-related function switch.
4. After setting, press "Save" and "back" or press "back" button to return to the
instrument setting interface (Figure 3).
5. After setting the needed parameters and controls, click the "back" button under the
“Main Set” page (Figure 3) to return the main interface to observe the running status
of each function.
1. After function parameters are set, press "Save" and then “Back", or just press
"Back", and the instrument will run under the new parameters.
“Save” then “Back”: If you press the "Save" button before returning to the Main Set
page, the saved parameters will still exist and continue running if the instrument is
powered off and back on.
“Back” only: If you do not press "Save" and only press “Back” to return to the Main
Set page, the modified parameters will run while the instrument’s power remains on.
If the unit is turned off and back on, changes not saved will be discarded and reverted
to the last parameters saved.
Note


