


Cryo-con Model 24C
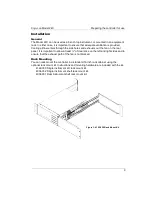
Preparing the controller for use
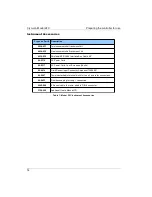
Apply Power to the Controller
Connect the power cord and turn the controller on by pressing the
Power
key for a
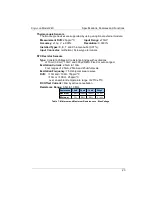
minimum of 2 Seconds. The front panel will show a Power Up display with the model
number and firmware
revision.
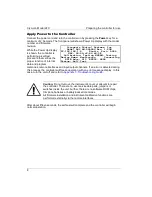
While the Power Up display
is shown, the controller is
performing a self-test
procedure that verifies the
proper function of internal
data and program
memories, remote interfaces and input/output channels. If an error is detected during
this process, the controller will freeze operation with an error message display. In this
case, turn the unit off and refer to
Appendix C: Troubleshooting Guide
.
Caution:
Do not remove the instrument’s cover or attempt to repair
the controller. There are no user serviceable parts, jumpers or
switches inside the unit. Further, there are no software ROM chips,
trim pots, batteries or battery-backed memories.
All firmware installation and instrument calibration functions are
performed externally via the remote interfaces.
After about fifteen seconds, the self-test will complete and the controller will begin
normal operation.
8
Cryogenic Control Systems, Inc.
Model 24C SN:209999 Rev: 1.23B
IP:192.168.1.5 Static Port: 5000
MAC: 00:50:c2:6f:40:3E
Calibration: Testing NVRAM: Testing
Device Name: NewCryocon Connecting
GPIB Adrs: 012 RS232: 9600
Status: Self Test


