RTX220 QR - Manual
1.3 Warnings and Notices
Please read the following before beginning installation.
• The main circuit boards of the SecureDock and carrier are
susceptible to static electricity. Proper grounding is strongly
recommended to prevent electrical damage to the enclosure or
other connected devices, including the computer host. Avoid all
dramatic movement, vibration and percussion.
• Avoid placing the SecureDock and carrier close to magnetic
devices, high voltage devices, or near a heat source, including
any place where the product will be subject to direct sunlight.
Do NOT allow water to make contact with any Security Keys,
carrier or SecureDock.
• Though the Security Key port is mechanically identical to a
standard Mini-USB port, inserting Security Keys into any other
Mini-USB port will damage the keys and render them useless.
Please only use Security Keys in DataPort Secure products.
Likewise, inserting a Mini-USB cable or other device into the DataPort
SecureDock with Internal Key Security Key port on the carrier can
cause internal damage and potentially lead to loss of data.
• Any time power is cycled on the DataPort SecureDock with
Internal Key, the encryption key will need to be installed in
order to access the data on the drive.
2. Installation Steps
2.1 Security Key Installation
The Security Key Installation steps only need to be followed if you
have purchased a version of the DataPort SecureDock that does
not include an internal Security Key.
a. Slide the two large tabs in on the rear of the SecureDock. Then
slide the cover back approximately two inches until it catches
and then pull up to remove the cover.
b. Use a Phillips-head screwdriver to remove the screws securing
the receiving frame to the SecureDock.
c. Unplug the power (the 4-wired cable) and data connectors (the
red SATA cable) from the rear of the receiving frame and remove
the receiving frame from the SecureDock.
d. Remove the screw holding the Security Key bracket in place to
the rear of the receiving frame.
e. Slide the Security Key connector board off the rear of the
receiving frame.
f. Insert a Security Key into the connector board.
g. Slide the connector board back into place.
h. Fasten the Security Key bracket in place with the screw re-
moved in Step D above.
i. Reinsert the receiving frame into the SecureDock. Make sure
to reconnect all connections and resecure the frame to the
SecureDock using the screws you removed in Step B above.
j. Place the cover back onto the SecureDock with the CRU logo
facing toward the front of the SecureDock and in the same posi-
tion that you pulled it off in Step A above. Press down and then
slide it forward into place.
h. Slide out the two large tabs on the rear of the SecureDock to
secure the cover back in place.
2.2 Hard Drive Installation
a. Remove the carrier from the DataPort SecureDock with Internal
Key.
b. Use a Phillips-head screwdriver to remove the screw securing the
carrier cover to the back of the carrier, then slide the cover off.
c. Insert a SATA hard drive into the unified power and data con-
nector inside the carrier.
d. Secure the hard drive to the carrier by using the mounting
screws provided.
e. Attach the Temperature Control Cooling Sensor to the top of the
Page 2
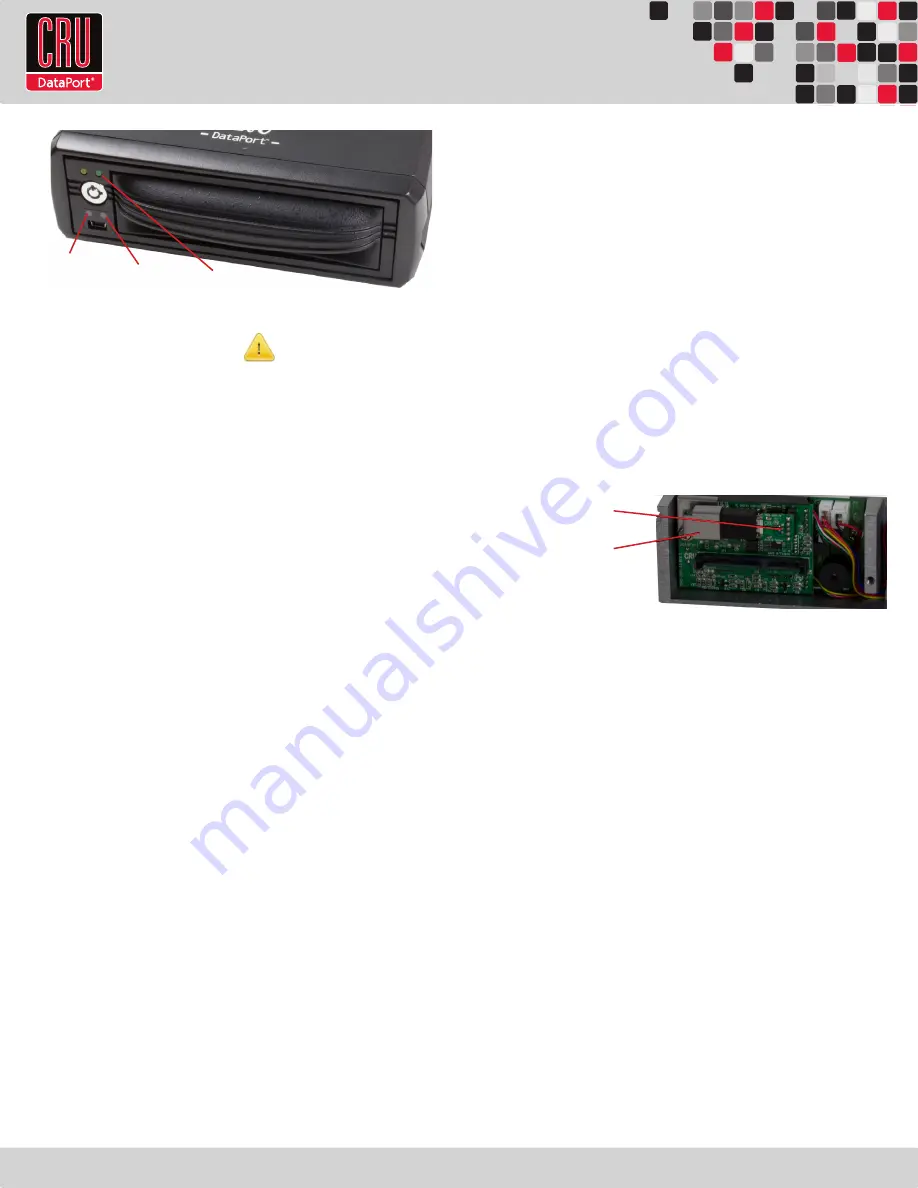
Security Key
Error LED
Power LED
Encryption
Enabled LED
Security Connector Board
Security Key Bracket


