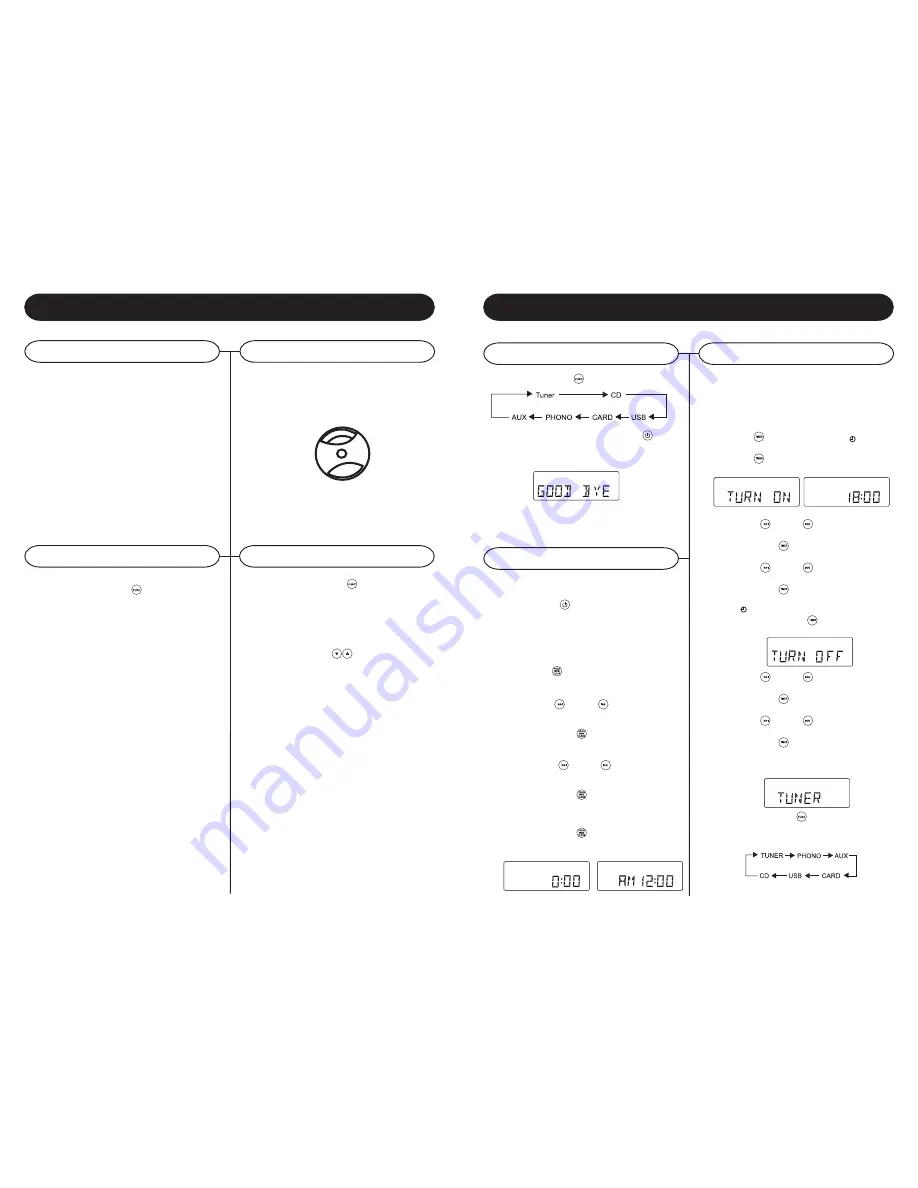
Accessory: ADAPTER FOR 45 RPM
4
Cassette Operation
Basic Operation
Setting the Timer
Basic Operation
7
Turntable
Turntable Operation
Function Select
1
Press the
FUNCTION
/
to set the unit to
PHONO mode.
2
While in Phono mode, insert a prerecorded
tape through the CASSETTE DOOR.
3
Adjust the volume level by turning the
VOLUME
DOWN/UP
KNOB /
.
4
For fast forwarding, press the EJECT/F.F. half
way in. Pressing again will stop the fast
forwarding and return the cassette to the
playing mode.
5
To stop and eject the cassette, press the
EJECT/F.F. in completely.
6
When one side of the tape finishes playing, the
cassette will automatically stop.
Note:
1. Remove the tape from the unit when
it is not in use or stopped.
2. Phono function is disabled while a
cassette is in use.
PREPARING TO USE THE TURNTABLE
1
Lift up lid and remove black tie-wrap by untwisting
and gently sliding out from TONE ARM .
2
Remove cardboard shipper.
3
Remove white protective needle cover by gently
pulling towards front of unit.
4
Release TONE ARM and hold-down clip by
gently pushing to the right. This will unlock tone
arm from its ARM REST .Re-lock the hold-down
clip when moving the unit to another location.
1
Press the
FUNCTION
/
to set the unit to
PHONO mode.
2
Set the SPEED CONTROL SWITCH to the
correct speed (33 1/3, 45 or 78 rpm) for the
selected record.
3
Use the CUE LEVER to raise the TONE ARM
off its rest. To start the record, move the TONE
ARM to the right until you hear a click. The
turntable will start to turn.
4
Move the TONE ARM left and use the CUE
LEVER to lower it to the point where you want
the record to start.
5
At the end of the record, the TONE ARM will
stop. You must return it to its rest by hand.
To play a 45 rpm record, remove the adaptor by
placing thumb & forefinger in recesses and pulling
it upwards. Then placing it on the SPINDLE. The
record can then be placed on the turntable.
1
Press
FUNCTION /
to select among:
2
When the unit is on, press
POWER
/
to
switch the unit off. LCD backlight will be turned
off and shown message GOOD BYE for 2
seconds, then the STANDBY LED is turned on.
Note:
In the standby mode, EQ setting, sound
settings tuner presets and the volume level (up to
a maximum volume level of 30) will be stored in the
units memory.
After connecting the system to power supply, set
the clock first.
1
Press
POWER
/
to switch the unit to Standby
mode.
-The display shows the time
-0:00 flashes by default if you have not set the
clock
2
In the Standby mode, press and hold
PROGRAM
/
over 1 second.
-The hours digit starts flashing
3
Press the
FF/
or
FB /
repeatedly to set
the hours.
4
Press
PROGRAM
/
again to confirm.
The minutes digit starts flashing
5
Hold down
FF/
or
FB /
repeatedly to set
the minutes.
6
Press
PROGRAM
/
again to confirm.
The minutes digit stop flashing, the clock begins
to run.
7
Press
PROGRAM
/
to select between 12
and 24 hours, shown as below
The unit can be used as an alarm clock, whereby
the selected source (CD, TUNER, USB, SD CARD
OR PHONO) to start playback at a preset time.
Make sure the clock is set before using the timer.
1
In the standby mode, press and hold
TIMER
/
over 1 second, icon
" "
and
message TURN ON start flashing. Press
TIMER
/
again to begin the SYSTEM
POWER ON timer setting.
2
Press
FF/
or
FB /
repeatedly to set
hours.
3
Press
TIMER
/
to enter minutes setting
mode.
4
Press
FF/
or
FB /
repeatedly to set
minutes.
5
Press
TIMER
/
again to begin SYSTEM
POWER OFF timer setting.
Icon
" "
and message TURN OFF start
flashing.Press
TIMER
/
again to begin timer
setting.
6
Press
FF/
or
FB /
repeatedly to set
hours.
7
Press
TIMER
/
on the remote to enter
minutes setting mode.
8
Press
FF/
or
FB /
repeatedly to set
minutes.
9
Press
TIMER
/
again to begin setting the
source from wake up.
Default at TUNER mode. Message TUNER
start flashing.
10
Press
FUNCTION
/
to select wake up
source.The unit will be waked up from last
tuned station if TUNER mode is selected.
Setting The Clock


