Crestron
Touch Screens with RoomView Scheduling for Crestron Fusion
The Room is Not Available
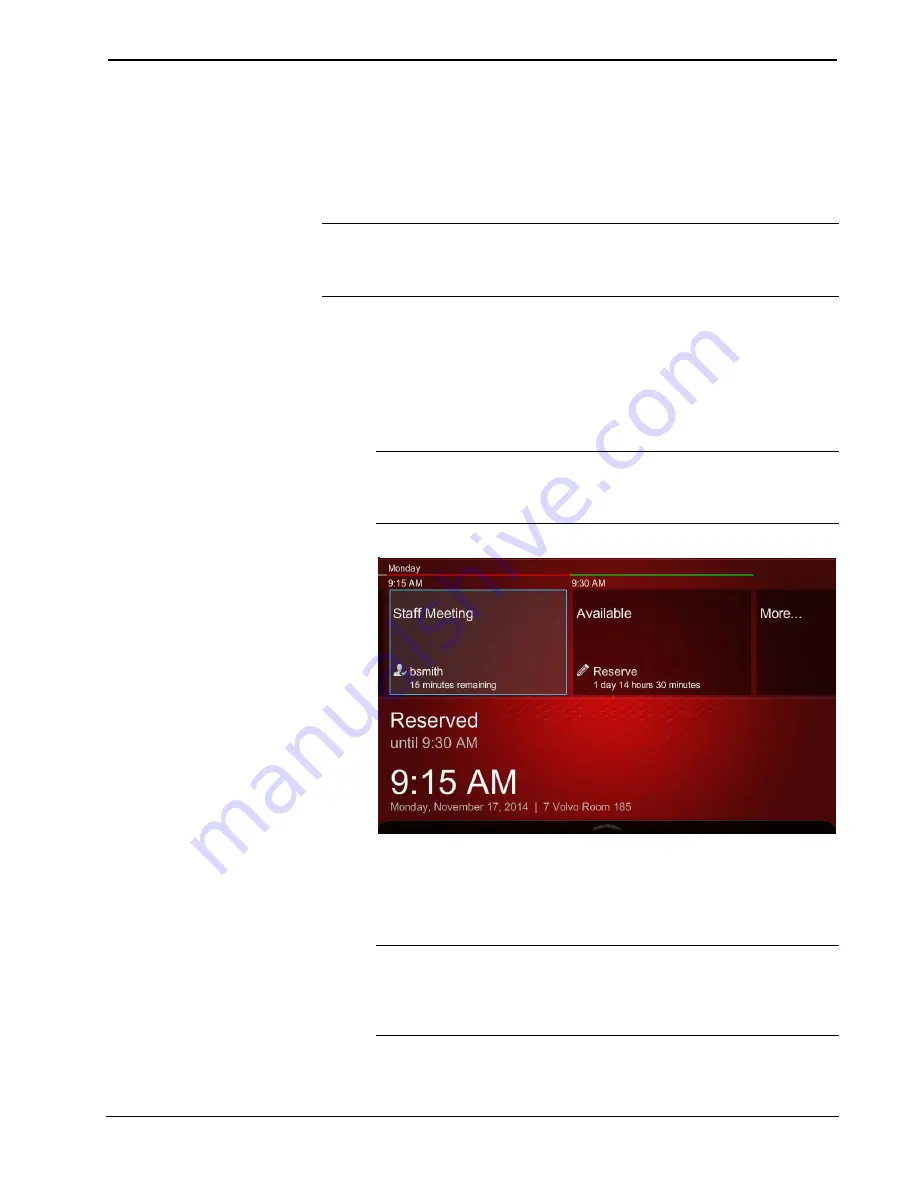
If the room is not available, as indicated by the red screen and hard buttons, the
room’s schedule can be viewed and the room reserved for another time. Another
room can be reserved from the current room’s touch screen by touching
Find
on the
pull-up toolbar at the bottom of the Schedule View.
NOTE:
The pull-up toolbar is opened by touching the small tab at the bottom of the
screen. It can also be set to display at all times. For more information, refer to
“Custom Properties” in the Touch Screens with RoomView Scheduling for Crestron
Fusion Operations Guide (Doc. 7552).
Schedule the Current room for Another Time
To schedule or reserve the current room for another time, perform the following
steps:
1.
Swipe from right to left across the Schedule View to display the items on
the room’s schedule timeline. The up and down hard buttons can also be
used.
NOTE:
If the touch screen privacy level has been set, the room is
displayed as
Reserved
and the information in the Schedule View is
displayed as
Private
. Refer to the Touch Screens with RoomView
Scheduling for Crestron Fusion Operations Guide (Doc. 7552).
Reserved Screen
2.
Touch the
Reserved
time slot to view the organizer and the required and
optional attendees listed in the
Attendees
section of the reservation details
screen. To view details for the active item at the current time, tap
Details
on
the toolbar, or if the touch screen has a
MORE
or a
SELECT
button, press
that.
NOTE:
Touch screen security may be set to restrict access to the details of
a private reservation or other touch screen functions. If required, a PIN code
must be provided by the administrator to unlock the panel. This is
accomplished by touching the pull-up toolbar at the bottom of the screen,
touching
Log in
, and entering the touch screen PIN code.
User Guide – DOC. 7553D
Touch Screens with RoomView Scheduling for Crestron Fusion
•
9


