Crestron
D3 Pro
™
Software
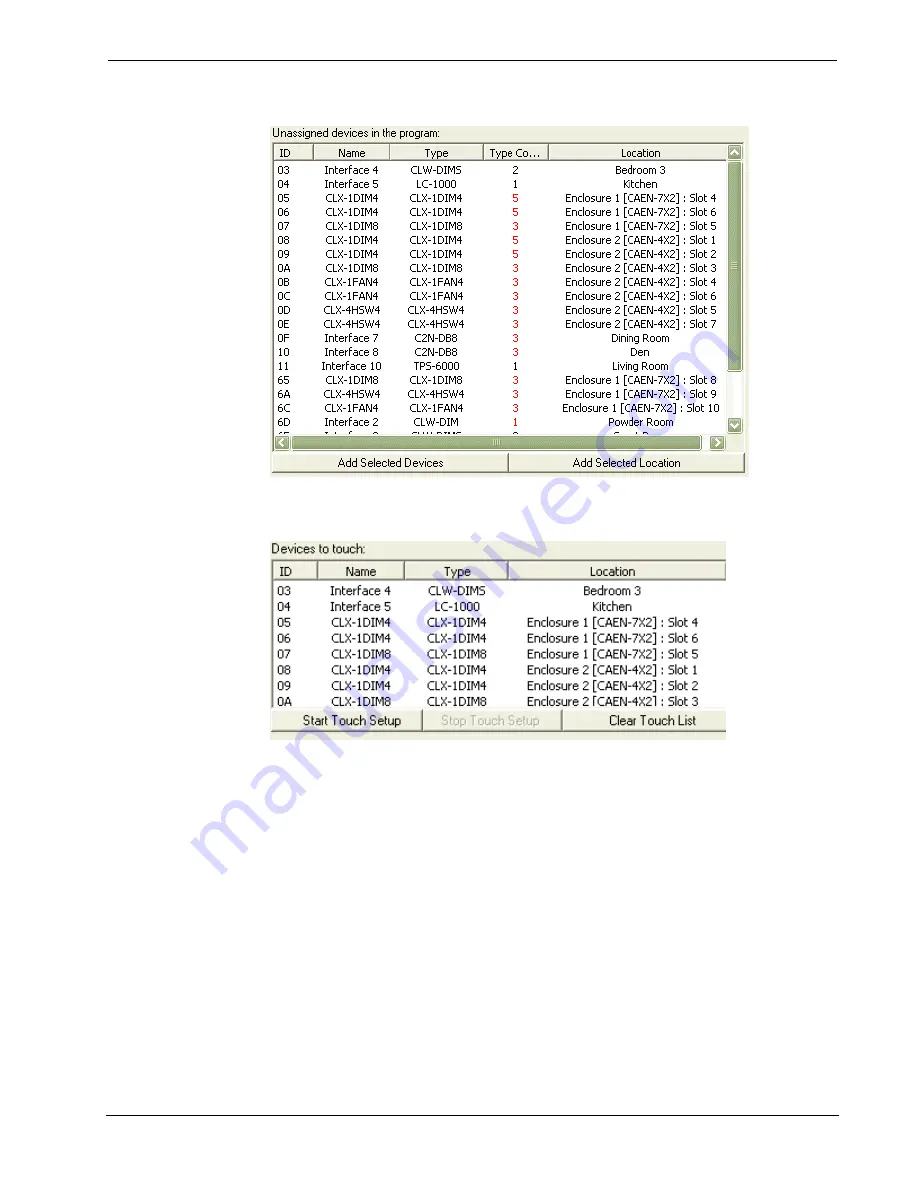
When you bring all the devices you want to configure to the Touch list, click
Start
Touch Setup
to put those devices into setup mode.
All touch-settable devices will indicate when they are in setup mode in some way.
Most will flash one or more LEDs. Go to each device in the order that it appears on
the list. Look for an indication that it is presently in setup mode. (If a given device
does not appear to be in setup mode when it should be, return to the PC, remove that
device from the touch list, and start the process over. You can return to that device
later.) To identify the device to the control processor and thus assign its ID, you must
press the device's setup button. Some devices will have a button marked "setup" (e.g.
CLX- modules) and others will use buttons that are normally used for something else
(e.g. on keypads any button can be used as the setup button). Press the setup button
until the device stops flashing, then move to the next device on the list and repeat the
process.
As you set IDs for each touch-settable device, its entry will be removed from both the
Touch list and the
Unassigned devices on the network
list and
a new entry for that
device will appear in the
Assigned Devices
list.
When you have finished setting all Cresnet IDs, click
Save & Exit
to close the
Wizard.
Reference Guide – DOC. 5998a
Crestron D3 Pro™
•
91


