1-4 Installing Video Blaster WebCam 3
12. When the Scanner and Camera Installation Wizard dialog box appears, click the Next
button.
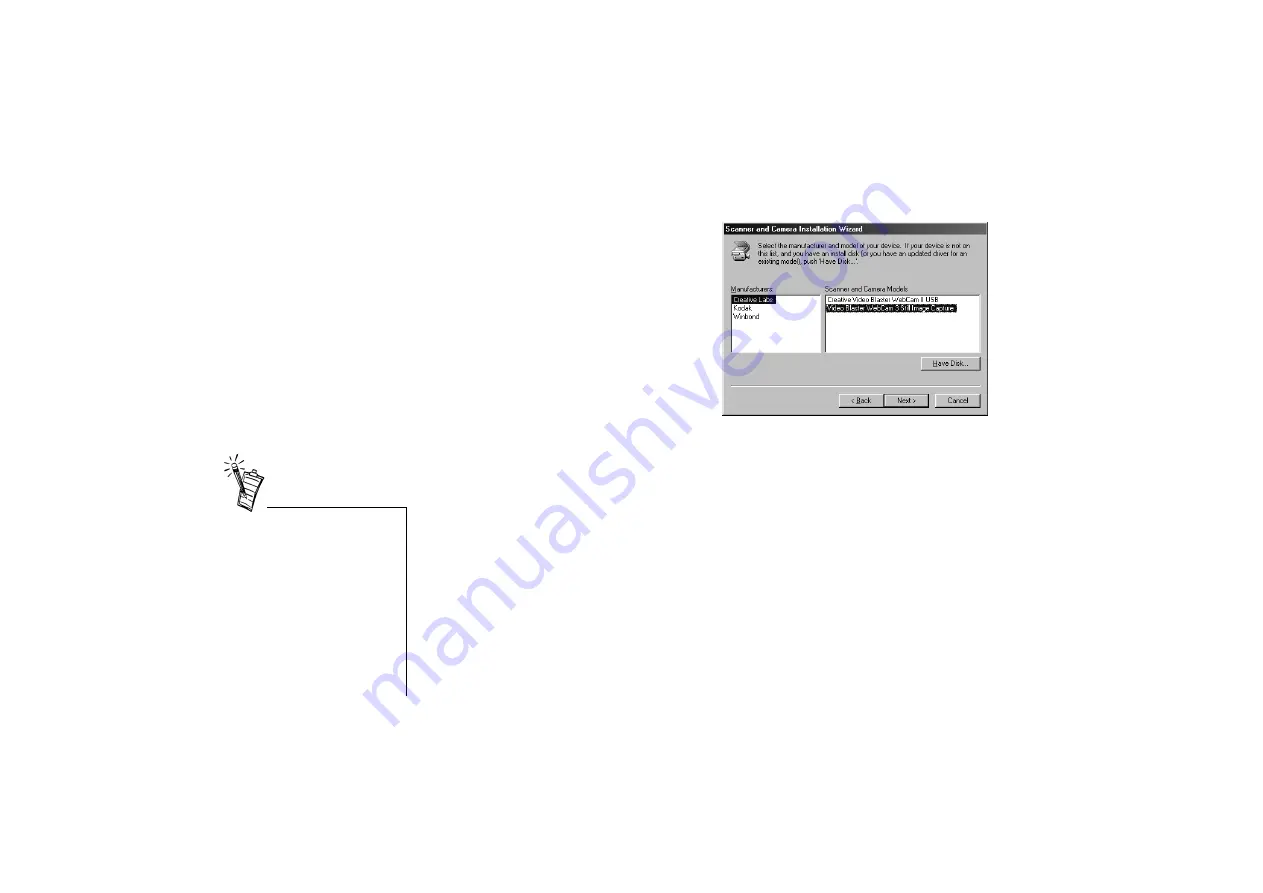
13. In the Manufacturers list, select
Creative Labs, and then in the Scanner
and Camera Models list, select Video
Blaster Webcam 3 Still Image Capture.
Note: If the correct model is not listed:
Select Have Disk
Browse to D:\Drivers where
wec3cam.inf and webc3usd.inf are
located.
Click on OK
14. Click the Next button.
15. Click the Next button again.
Note: Any selection in the Available
ports list box will not have any effect on
this installation process.
16. Click the Next button again.
17. Click the Finish button.
The drivers are copied to your system.
18. When you are prompted to restart your system, click the Yes button.
19. After Windows has restarted, proceed to install the applications for WebCam 3.
Click Start -> Run.
20. In the Run dialog box, type
D:\CTRUN\CTRUN.EXE
A dialog box that lists the applications available appears.
21. Select the applications you want to install, and then click the OK button.
Figure 1-5: Selecting the Manufacturer and Model.
• If you have a microphone,
connect it to your audio card.
Most audio cards have an
external microphone
connector.
• Consult the documentation
for your audio card for more
information concerning the
use of a microphone and, in
particular, how to adjust the
volume.


