7
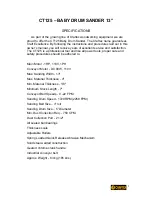
CT125 – BABY DRUM SANDER 13”
UNPACKING AND ASSEMBLY
Carefully unpack the CT125 from its crate and unsure that everything is in tact.
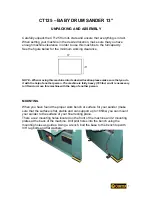
When setting your machine in the desired location, make sure that you have
enough machine clearance in order to use this machine to the full capacity.
See the figure below for the minimum working clearance.
NOTE – When moving this machine into its desired location please make sure that you do
it with the help of another person. The machine is fairly heavy (185 lbs) and it is necessary
to lift and or move this machine with the help of another person.
MOUNTING
When you have found the proper work bench or surface for your sander (make
sure that the surface is flat, stable and can support up to 185lbs) you can mount
your sander to the surface of your final resting place.
There are 2 mounting holes located on the front of the machine and 2 mounting
plates at the back of the machine. Drill pilot holes into the bench using the
mounting holes as guides. Using a wrench, bolt the base to the bench top with
3/8” lag bolts and flat washers.
Summary of Contents for CT125
Page 1: ...CT125 BABY DRUM SANDER 13 ...
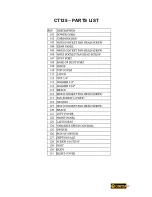
Page 19: ...19 CT125 PARTS LIST ...
Page 20: ...20 CT125 PARTS DIAGRAM ...
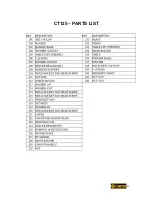
Page 21: ...21 CT125 PARTS LIST ...
Page 22: ...22 CT125 PARTS DIAGRAM ...
Page 23: ...23 CT125 PARTS LIST ...
Page 24: ...24 CT125 PARTS DIAGRAM ...
Page 26: ...26 ...
Page 27: ...27 ...
Page 28: ...28 ...
Page 29: ...29 ...


