Assembly Instructions
2
3
1
A
B
E
B
A
E
7
E
F
E
G
9
9
9
10
10
10
9/10
E/F/G
Assembly Instructions
A
F
D
E
E
7
D
E
4
4
F
D
6
6
A
B
F
G
H
F/G
H
3
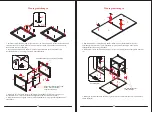
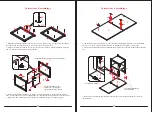
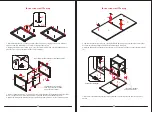
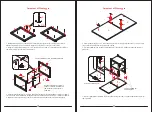
9. Using the pilot holes as a guide, attach the Back Panel (D) to the pre-attached hinges on the Middle
End Frame (F) with six 15 mm Screws (6).
10. Position the front post of the Left End Frame (E) onto the Locator Pin (7) installed on the Large
Top Panel (A) and attach to the Back Panel (D) with two 25 mm Bolts (4).
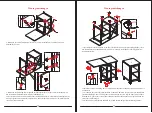
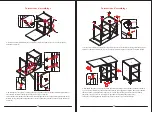
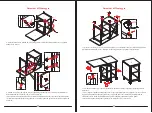
12. Ask for assistance to lift the unit upright and position at the desired location.
13. You can collapse the Large Top Panel (A) to save space. To fold the desk, lift up the Large Top
Panel (A) a little so that you can swing the Left End Frame (E) all the way to the front of the right
pedestal, then lay down the Large Top Panel.
14. Extend the Large Top Panel (A) in reverse order as needed.
11. Attach three Swivel Casters (9) to the front posts and three Locking Casters (10) to the back posts
of the End Frames (E, F and G). Tighent the casters in place with the provided open wrench.
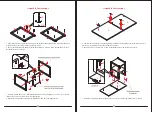
8. Attach two Metal Bars (H) to the back of the End Frames (F and G) with four 12 mm Bolts (3).
06
07


