Convision CC-6357 Manual Download Page 13

Manual CC 6357 

13 

Note 


• When the SHUTTER is set to ESC after selecting the Internal Synchronization Type, the picture may 
become unstable if the camera faces a bright fluorescent light. Therefore, take care when choosing the 

installation position. 
• ESC and MANUAL modes are only available together when the lens is set to MANUAL. 
• When the SHUTTER is set to MANUAL or A.FLK mode, SENS-UP will be disabled. 
 

 AGC (AUTO GAIN CONTROL): 

The higher the gain level, the brighter the screen - but the higher the noise. 

- OFF: Deactivates the AGC function. 
- LOW: Allows automatic gain control from 0 to 24dB. 

- HIGH: Allows automatic gain control from 0 to 42dB. 
 

 SENS-UP: 

When it is night or dark, the camera automatically detects the light level and maintains a clear picture if 

this mode is activated. 
- OFF: Deactivates the SENS-UP function. 

- AUTO: Activates the SENS-UP function. 
 

 RETURN: 

Select this to save the changes in the EXPOSURE menu and return to the SETUP menu. 


Note 

• If you press the SET button in ‘AUTO’ mode, You can adjust brightness by increasing or decreasing 
the shutter speed. (X2~X256) 

• Note that the higher the zoom level, the brighter the screen, but the more likely it is that an after-image 
will appear. 

• Although Noise, Spots, and Whitish symptoms may occur in SENS-UP operation when the zoom level 
is increased, this is normal. 
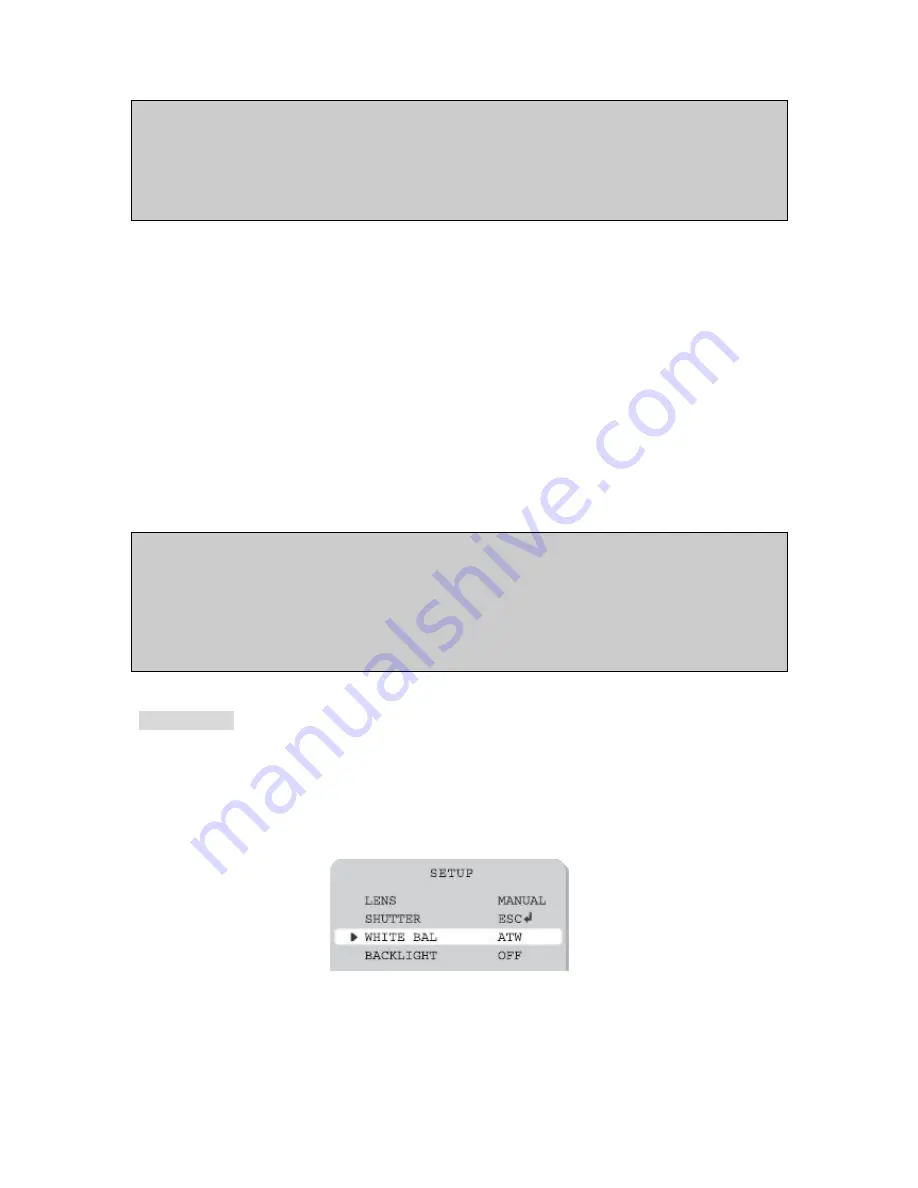


White Balance 


The screen colour can be adjusted by using the WHITE BALANCE function.  
 

1. When the SETUP menu screen is displayed, select ‘White Bal.’ by using the Up and Down buttons so 
that the arrow indicates ‘White Bal.’  

2. Select a desired mode using the Up and Down buttons.  


¾


Select one of the following 5 modes, as appropriate for your purpose. 

Summary of Contents for CC-6357

Page 1: ...Manual CC 6357 1 Manual CC 6357 Date January 2011 Convision Systems GmbH...

Page 2: ...de reasonable protection against harmful interference when the equipment is operated in a commercial environment This equipment generates uses and can radiate radio frequency energy and if not install...

Page 3: ...t for a long period a fire may be caused Do not install the camera on a surface that can not support it If the camera is installed on an inappropriate surface it may fall and cause injury Do not hold...

Page 4: ...6 Features 7 Components 8 Names and Functions of Parts 8 Dimensions 9 Installation 9 How to Use the Camera 10 Menu 10 How to Set up the Functions 11 Lens 12 Exposure 12 White Balance 13 BACKLIGHT 14...

Page 5: ...nded by manufacturer 6 Power source This product should be operated only from the type of power source indicated on the marking label Precautions Operating Before using make sure power supply and othe...

Page 6: ...ality compression algorithm H 264 Compression in various resolution CIF Half D1 D1 Wide range of video transmission rate 32kbps 4Mbps Various transmission mode CBR VBR Motion detection Audio Multi tri...

Page 7: ...l resolution have been improved resulting in clear and sharp images displayed even in the dark Motion Detection The camera detects motion and generates a screen message without an external sensor DIS...

Page 8: ...nents 1 Color Dome Camera 2 Adapter Plate 3 Screws Names and Functions of Parts 1 Lens Vari Focal DC Auto Iris Lens 2 3 Axis Bracket Please loosen screws and fix tilted and panned position 3 VBS Extra...

Page 9: ...Manual CC 6357 9 Dimensions Installation...

Page 10: ...on the 3 axis camera bracket and adjust the direction and angle of view Make sure to retighten the camera bracket screws Set all desired functions using the OSD menu 4 Dome Cover Mounting Replace the...

Page 11: ...enu can be operated with 5 buttons on the page Web View page Setup Camera 1 Please press the Setup button Main setup menu is displayed on the monitor screen 2 Select a desired function using the Up an...

Page 12: ...d within the range of 1 70 The optimum level of brightness for the user can be achieved by adjustment If you select the MANUAL mode it can be adjusted in ESC mode MANUAL Manual lens selection 3 Press...

Page 13: ...intains a clear picture if this mode is activated OFF Deactivates the SENS UP function AUTO Activates the SENS UP function RETURN Select this to save the changes in the EXPOSURE menu and return to the...

Page 14: ...owing conditions the WHITE BALANCE function my not operate properly In such cases please select the AWC mode 1 When the objects surroundings have a very high colour temperature eg a clear sky and suns...

Page 15: ...rence in the effectiveness of HLC according to the amount of light area in the screen optimise the installation angle for the best HLC performance In a dark environment the HLC is only activated when...

Page 16: ...r in a normal environment but switches to B W mode when ambient illumination is low To set up the switching time or speed for AUTO mode press the SET button EXTERN This mode allows you to apply a desi...

Page 17: ...cture horizontally on the screen D ZOOM You can use a digital zoom of x1 x10 SHARPNESS As you increase this value the picture outline becomes stronger and clearer Adjust this value appropriately depen...

Page 18: ...mode using the Up and Down buttons CAM TITLE If you enter a title the title will appear on the monitor 1 If the SPECIAL menu screen is displayed use the Up and Down buttons so that the arrow indicate...

Page 19: ...ng the 4 direction buttons and press the SET button When the position is determined select END and press the SET button to return to the SPECIAL menu SYNC In areas where the supply is at 60Hz you can...

Page 20: ...ss the Up and Down buttons so that the arrow indicates PRIVACY Set up the mode using the 4 direction buttons AREA SEL You can select up to 8 areas AREA MODE Determines whether to use the area selected...

Page 21: ...can select the menu language according to your requirements RESET Resets the camera settings to the factory defaults RETURN Select this to save the SPECIAL menu settings and return to the SPECIAL men...

Page 22: ...is dark Please adjust the contrast feature of the monitor If you have an intermediate device set the 75 Hi z properly and check the terminals Please check if an auto iris lens is being used and adjus...

Page 23: ...ion 0 Lux with IR LED 18pcs Gain Control OFF LOW HIGH White Balance ATW AWC Manual Outdoor Indoor Electronic shutter Speed Auto Manual 1 60 1 120 000 Auto Manual 1 50 1 120 000 Sens Up OFF AUTO O S D...

Reviews: