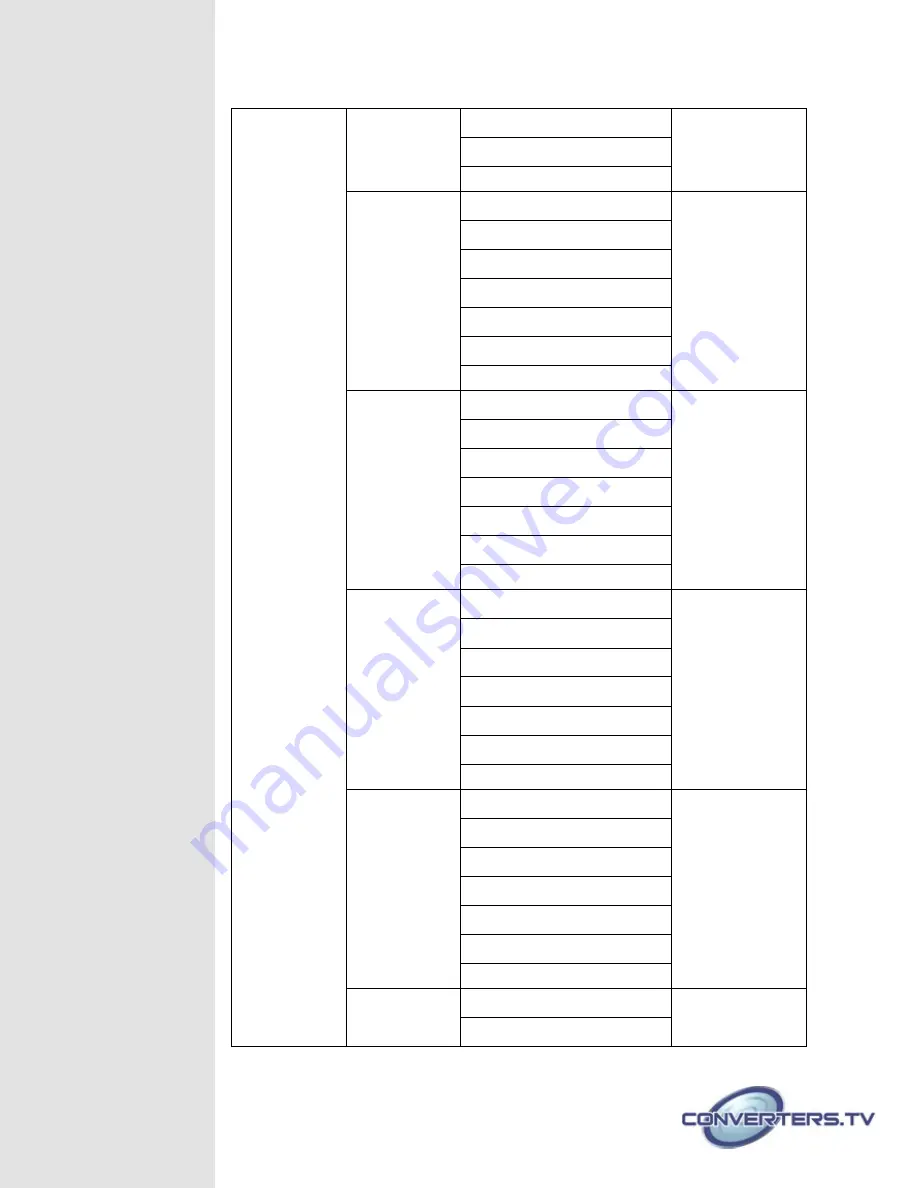
Converters.TV 15401 Operation Manual Download Page 10

Minimum For Cr 16~240 
Maximum For Cr 16~240 

Chromakey On/

Off

White

Minimum For Y 234~235 
Maximum For Y 234~235 
Minimum For Cb 127~129 
Maximum For Cb 127~129 
Minimum For Cr 127~129 
Maximum For Cr 127~129 

Chromakey On/

Off

Yellow

Minimum For Y 218~220 
Maximum For Y 218~220 
Minimum For Cb 16~18 
Maximum For Cb 16~18 
Minimum For Cr 137~139 
Maximum For Cr 137~139 

Switch On/

Off

Cyan

Minimum For Y 187~189 
Maximum For Y 187~189 
Minimum For Cb 152~154 
Maximum For Cb 152~154 
Minimum For Cr 16~18 
Maximum For Cr 16~18 

Chromakey On/

Off

Green

Minimum For Y 171~173 
Maximum For Y 171~173 
Minimum For Cb 40~42 
Maximum For Cb 40~42 
Minimum For Cr 25~27 
Maximum For Cr 25~27 

Chromakey On/

Off

Magenta

Minimum For Y 77~79 
Maximum For Y 77~79 

Summary of Contents for 15401

Page 1: ...4 SDI Input to 2 HDMI Output Switcher with Multi view PiP 15401 Operation Manual ...

Page 2: ...250M Supports HD SDI SMPTE 292M at bitrates of 1 485Gbit s and 1 485 1 001 Gbit s input signals up to 200M Supports 3G SDI SMPTE 424M 425M AB at bitrates of 2 970 Gbit s and 2 9701 1 001 Gbit s input signals up to 100M HDMI output compatible with DVI Combine four SDI inputs single into HDMI and output on to two synchronize HD screen Seamless switching between channels and windows Zoom and Shrink 4...

Page 3: ... input channel must press channel input 1 s button Channel input 2 4 s button will not activate under window A s selection Windows E H s size are adjustable through the OSD menu setting and only window G H is PIP Picture in Picture where E F are POP Picture out Of picture settings Under window E H when the size setting is overlapping one another channel display sequence is CH4 CH3 CH2 CH1 That is ...

Page 4: ...Laptop RS 232 equipped device with D Sub 9pin cable for RS 232 command sending 6 DC 12V Plug the 12V DC power supply into the unit and connect the adaptor to an AC outlet Remote Control 1 Power Press this button to switch on the device or press it again to set it to standby mode 2 Info Press this button to show system information 3 Input CH 1 4 Press these buttons to rotate SDI 1 4 input source on...

Page 5: ...s this button to display the screen in mirror image 12 Rotation Press this button to rotate the image 90 left and right or 180 upside down 13 Audio 1 4 Press these buttons to select audio from SDI input source 1 4 14 FAV 1 4 Press these buttons to bring up the customized screen settings Note Functions only work under Window A to D The system will force to switch to Window A when operate under Wind...

Page 6: ...etup Channel 1 Select Size CH1 Wxxx Hxxx Width Unit Width Ten Width Hundred Height Unit Height Ten Height Hundred Position CH1 Hxxx Vxxx Horizontal Unit Horizontal Ten Horizontal Hundred Vertical Unit Vertical Ten Vertical Hundred Priority 1 4 Image Output On Off Window Reset Menu Exit Channel 2 Select Size CH1 Wxxx Hxxx Width Unit Width Ten ...

Page 7: ...rtical Ten Vertical Hundred Priority 1 4 Image Output On Off Window Reset Menu Exit Channel 3 Select Size CH1 Wxxx Hxxx Width Unit Width Ten Width Hundred Height Unit Height Ten Height Hundred Position CH1 Hxxx Vxxx Horizontal Unit Horizontal Ten Horizontal Hundred Vertical Unit Vertical Ten Vertical Hundred Priority 1 4 Image Output On Off ...

Page 8: ...d Position CH1 Hxxx Vxxx Horizontal Unit Horizontal Ten Horizontal Hundred Vertical Unit Vertical Ten Vertical Hundred Priority 1 4 Image Output On Off Window Reset Menu Exit Label2 VIDEO 1 VIDEO 2 VIDEO 3 VIDEO 4 Menu Exit Favors Store FAV 1 Store Yes No FAV 2 Store Yes No FAV 3 Store Yes No FAV 4 Store Yes No Menu Exit Menu Exit ...

Page 9: ...r On Off Fade In Out On Off Rotation R90 L90 Up Side Down180 Off Window Reset Menu Exit Channel 4 Convert Mirror On Off Fade In Out On Off Rotation R90 L90 Up Side Down180 Off Window Reset Menu Exit Chromakey Setup3 User 1 Minimum For Y 16 240 Maximum For Y 16 240 Minimum For Cb 16 240 Maximum For Cb 16 240 Minimum For Cr 16 240 Maximum For Cr 16 240 Chromakey On Off User 2 Minimum For Y 16 240 Ma...

Page 10: ... 218 220 Minimum For Cb 16 18 Maximum For Cb 16 18 Minimum For Cr 137 139 Maximum For Cr 137 139 Switch On Off Cyan Minimum For Y 187 189 Maximum For Y 187 189 Minimum For Cb 152 154 Maximum For Cb 152 154 Minimum For Cr 16 18 Maximum For Cr 16 18 Chromakey On Off Green Minimum For Y 171 173 Maximum For Y 171 173 Minimum For Cb 40 42 Maximum For Cb 40 42 Minimum For Cr 25 27 Maximum For Cr 25 27 C...

Page 11: ...Cr 239 240 Chromakey On Off Blue Minimum For Y 30 32 Maximum For Y 30 32 Minimum For Cb 239 240 Maximum For Cb 239 240 Minimum For Cr 116 118 Maximum For Cr 116 118 Chromakey On Off Black Minimum For Y 16 17 Maximum For Y 16 17 Minimum For Cb 127 129 Maximum For Cb 127 129 Minimum For Cr 127 129 Maximum For Cr 127 129 Chromakey On Off Exit Ethernet Setup IP Mode Static DHCP Time Out 10 60min Off R...

Page 12: ...CH 2 is the top layer to be overlaid The RGB setting is for the CH2 video where the minimum setting figures cannot be greater than the maximum figures and the maximum figures cannot be lower than the minimum setting figures 4 Figures in BOLD are default settings RS 232 Protocol Splitter Remote Controller Pin Assignment Pin Assignment 1 NC 1 NC 2 TX 2 RX 3 RX 3 TX 4 NC 4 NC 5 GND 5 GND 6 NC 6 NC 7 ...

Page 13: ...0Hz 8 1080p 60Hz 9 1024x768 60Hz 10 1280x800 60Hz 11 1280x1024 60Hz 12 1366x768 60Hz 13 1440x900 60Hz 14 1600x900 60Hz 15 1600x1200 60Hz 16 1680x1050 60Hz 17 1920x1200 60Hz 18 Native RrES Show current output resolution SIODD 0 1 Enable disable on screen information display 0 Off 1 On RIOSDD Show information OSD display current state SOSDH 0 20 Set OSD horizontal position 0 20 ROSDH Show OSD horizo...

Page 14: ...el 1 4 SPIRE Reset brightness contrast saturation all channel value to default SIMRE 1 3 Reset brightness or contrast or saturation value to default 1 Brightness 2 Contrast 3 Saturation SHSIZE X Y Set image horizontal size X Channel 1 4 Y 0 1920 RHSIZE 1 4 Show image horizontal size current value 1 4 Channel 1 4 SVSIZE X Y Set image vertical size X Channel 1 4 Y 0 1080 RVSIZE 1 4 Show image vertic...

Page 15: ...Window A 2 Window B 3 Window C 4 Window D 5 Window E 6 Window F 7 Window G 8 Window H 9 FAV 1 10 FAV 2 11 FAV 3 12 FAV 4 SMIRROR 0 1 Set enable disable mirror effect 0 Off 1 On RMIRROR Show mirror current to screen SFADE 0 21 Set fade in out time 0 Off 1 1 0s 2 1 1s 3 1 2s 4 1 3s 5 1 4s 6 1 5s 7 1 6s 8 1 7s 9 1 8s 10 1 9s 11 2 0s 12 2 1s 13 2 2s 14 2 3s 15 2 4s 16 2 5s 17 2 6s 18 2 7s 19 2 8s 20 2...

Page 16: ...omakey current to screen 0 User 1 1 User 2 2 White 3 Yellow 4 Cyan 5 Green 6 Magenta 7 Red 8 Blue 9 Black SCHRSW 0 1 Set enable disable chromakey effect 0 Off 1 On RCHRSW Show chromakey effect current to screen SIPM 0 1 Set IP mode to DHCP or Static 0 DHCP 1 Static RIPM Show current IP mode to screen SIPADD XXX Set static IP address xxx xxx xxx xxx xxx 0 255 RIPADD Show static current IP address t...

Page 17: ...l channels 1 4 Channel 1 4 RVICH Show output channel the video source SMUTE 0 1 Set mute audio 0 Unmuted 1 Mute RMUTE Show current mute to screen SAUDIO 1 4 Set output audio to specified source 1 4 Input 1 4 RAUDIO Show output audio source to screen SCHRE 0 4 Reset the Windows E Windows FAV4 CH1 CH4 settings to factory defaults 0 All channels 1 4 Channel 1 4 SWICORE Reset the Windows A Windows D s...

Page 18: ...of an active network system and open the CDPS V2 000 application Click on Find Devices on Network and a list of the devices connected to the system will show up Double click on the product name and an InfoFrom will appear to show the products detail Then user may use the IP Address to find the control device through Telnet or WebGUI or even RS 232 Hyper Terminal tools Note The default IP setting i...

Page 19: ...nder MS windows click Start menu and type cmd in the search field then press enter Under Mac OS X go to Go Application Utilities Terminal See below for reference Once in the command line interface CLI type telnet then the IP address and hit enter ...

Page 20: ...Press Help or then hit enter to bring up all available commands Note Any commands will not be executed unless followed by a ...

Page 21: ...er will display device s Image Adjust Output Resolution Window Setup OSD Settings Window Convert Chromakey Setup Ethernet pages for users to control Image Adjust Click on Image Adjust to show current I O information and Channel input status Set power status select source settings and adjust each channel s contrast brightness and saturation or to set the setting back to default Output Resolution Cl...

Page 22: ...E H with its size and position simply drag and pull each channel to the desired position Once the setting is done it can be labeled and saved Note This page is only selectable under Window mode E H and under these modes Window Convert and Chromakey Setup will not be selectable ...

Page 23: ...set OSD size timeout and transparent settings and allow info display On or Off Window Convert Click on Window Convert to set each window s appearance by mirror fade in out or rotation Note This page is only selectable under Window mode A D ...

Page 24: ...akey Setup Click on Chromakey Setup to set each window s chromakey Note This page is only selectable under Window mode A D Ethernet Click on Ethernet to set IP status IP address and other IP related setting ...

Page 25: ... 50 59 94 60 1080i 50 59 94 60 1080p 23 98 24 25 29 97 30 50 59 94 60 1080PsF 23 98 24 25 29 97 30 SDI Cable Length 250m SD SDI 200m HD SDI 100m 3G SDI BELDEN 1694A cable HDMI Cable Length 5M 1080p 50 60 ESD Protection Human Body Model 8kV air gap discharge 4kV contact gap discharge Power Supply 12V 3A DC US EU standards CE FCC UL certified Dimensions 482mm W 274mm D 52mm H Weight 2976g Chassis Ma...

Page 26: ......

Reviews: