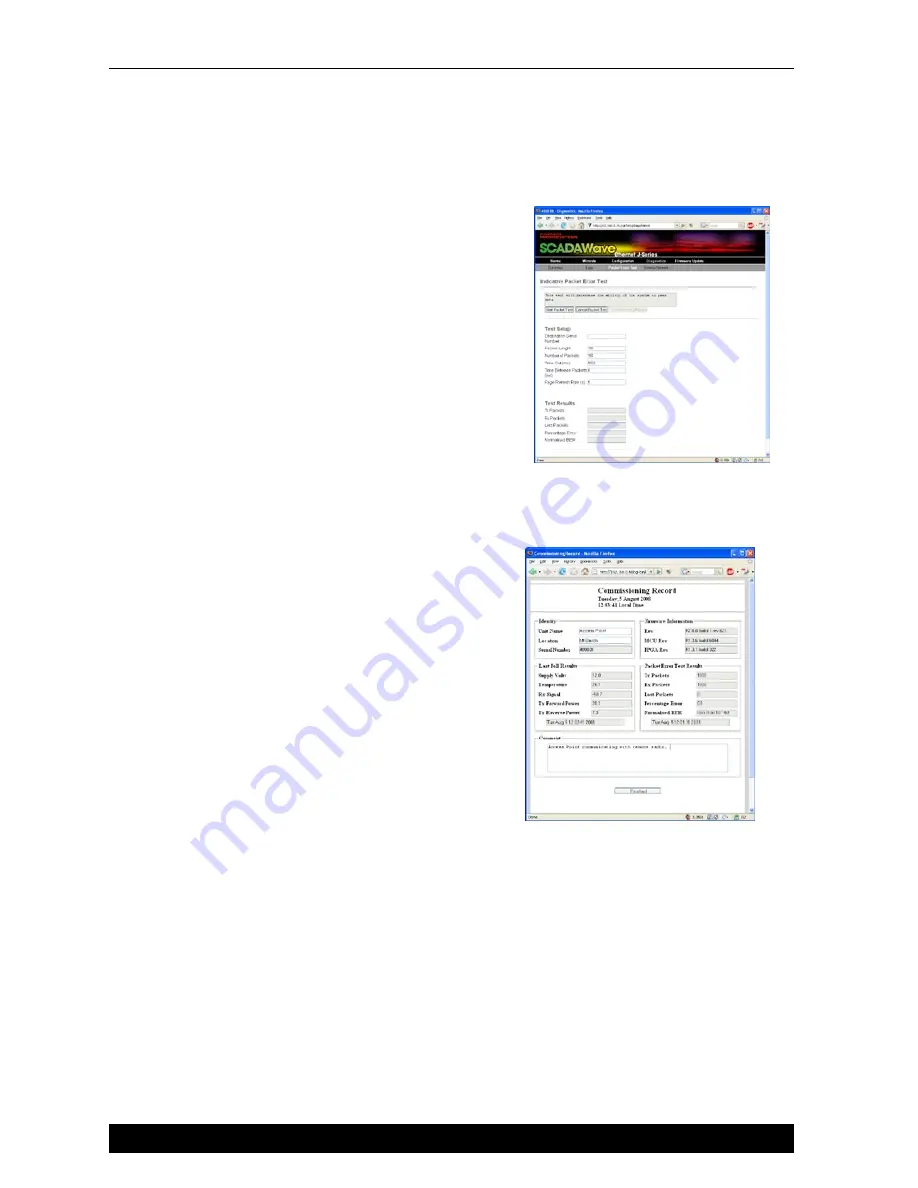
Step 9 - Packet Error Testing
This tool provides a useful way to test a radio
communications link by
transmitting data packets between two units in a loop-
backed mode.
To start the test, direct the browser to Access Point by
typing the IP address of this unit into your URL. Select the
“Diagnostics” menu and click on the “Packet Error Testing”
sub-menu.
Enter the “Destination Serial Number” of the Remote radio
and ensure the “Number of Packets” is set to 1000. Now
click on the “Start Packet Test” button. The radio will indicate
the packet test has started and is currently running.
When the test is complete, a note stating “Packet error test
completed” will be shown and the test results summarized
in the “Test Results” section.
The test results show TX & RX Packets, Lost Packets and the Packet Error Rate.
Step 10 - Commissioning Record
After an Indicative Packet Error test has been performed,
a Commissioning Record can be prepared. This facility
is activated by clicking on the “Commissioning Record”
button.
It is recommended that the radio is configured to obtain
the current date / time from an NTP server, otherwise the
date / time shown may not be correct.
The user can enter an appropriate Unit Name and
Location for reference purposes. Additionally, a comment
may be added noting the type of antenna in use. Once
this information has been added, the web page can be
printed (using the print facility in your web browser). It
may be useful to print the commissioning record to PDF
for future reference.
This now completes the requirements for setting up a Point to Point J Series Link. The radios are
now ready for application testing. The application can be connected to either LAN1 or LAN2 or
both (as required). For more information on testing, please consult the J Series User Manual.
Quick Start Guide
Quick Start Guide - Ultra JR50 Ethernet Data Radio
13


