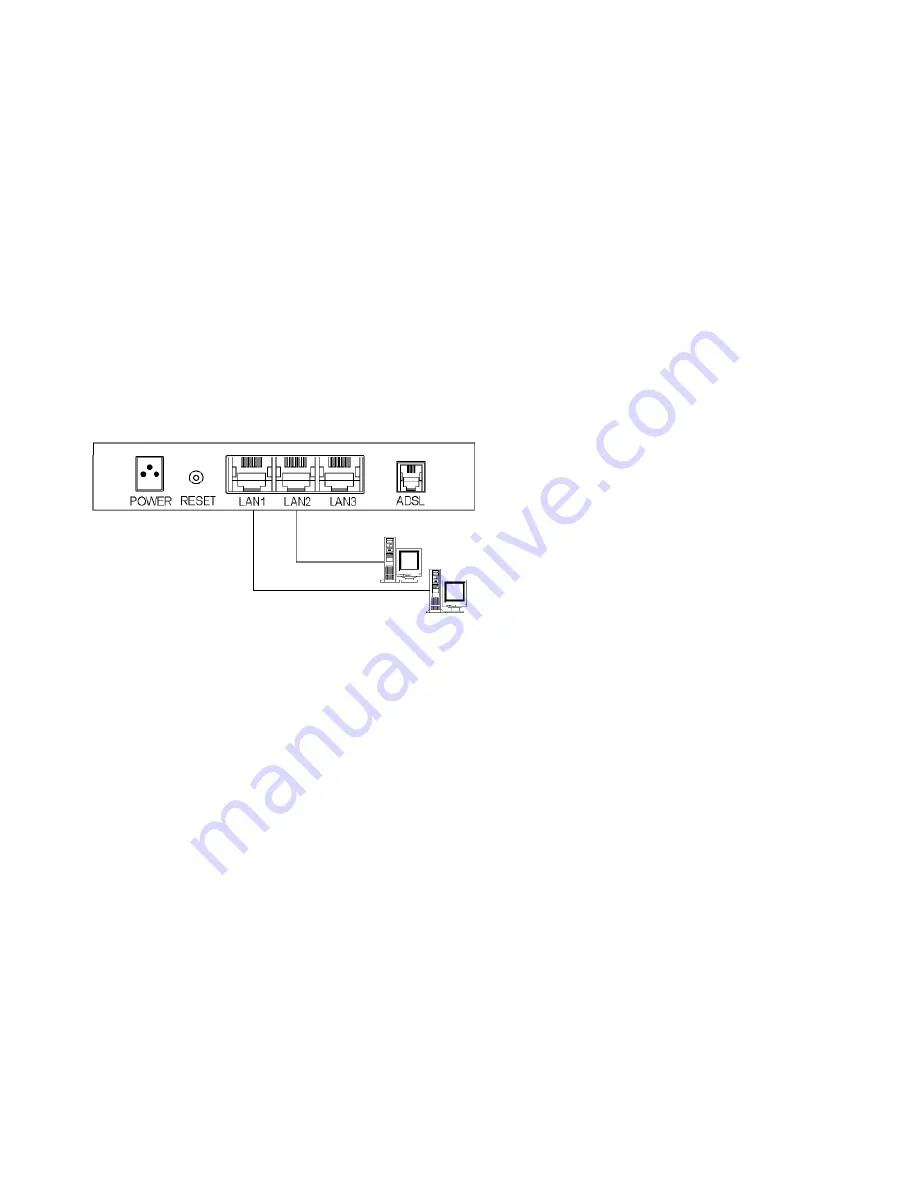
Step 2. Connect a Workstation to the Router's LAN port
All LAN Ports Support Auto-Crossover (MDI/MDI-X) . Using the Ethernet cable to connect directly between them.
Step 3. Connect the Power Adapter to the Router
Connect the power adapter to the port labeled POWER on the rear panel of router.
Step 4. Connect All Cables to the Network
The procedure for connecting cables differs depending on whether or not your telephone equipment is connected to a POTS splitter.
POTS Splitter Configuration
(ADSL over POTS)
Summary of Contents for AccessRunner CX82310
Page 19: ......
Page 26: ... Firmware Version This field display the Conexant firm ware vxworks z version number ...
Page 31: ... LAN These fields display the IP address Subnet Mask and MAC address for the LAN interface ...
Page 33: ......
Page 35: ...Per VC Settings ...
Page 41: ......
Page 43: ......
Page 45: ......
Page 49: ...NAPT Static ...
Page 51: ...NAT Static ...
Page 53: ... Public Port This field allows the user to enter the port number of the Public Network ...
Page 55: ......
Page 57: ......
Page 59: ......
Page 65: ... Reset Counters This button allows user to reset the ATM Status counter ...
Page 67: ... Reset Counters This button allows user to reset the TCP Status counter ...
Page 69: ...Routing Table ...
Page 72: ... Aging Timeout This field allows the user to enter the update period for the MAC table ...
Page 76: ......
Page 81: ...2 User The User Password Configuration page allows the user to set the password for the user ...
Page 82: ......
Page 87: ......
Page 89: ... Testing Ethernet LAN Connection This test checks the Ethernet LAN interface connection ...
Page 91: ...The Code Image Update page allows the user to upgrade the image code locally ...
Page 93: ... Clear Log This field allows the user to clear the current contents of the System Log ...
Page 95: ...Initially the wizard starts the Device dialog screen ...
Page 97: ...Figure 2 Device dialog screen ...
Page 99: ...Figure 3 Network dialog screen ...
Page 101: ...Figure 4 Security dialog screen ...
Page 103: ...Figure 5 Advanced dialog screen ...
Page 115: ...To check LEDs light up when you finish connecting two pieces of hardware ...


