12
D. DIGITAL CHART RECORDER SET UP
The Digital Chart Recorder is the next generation Solid State Data Recorder/Panel
Recorder. This instrument has all the capability of a traditional paper recorder – variable
chart speeds, the ability to review historic data, see trends and more. All pull data is
stored on the 256MB Compact Flash Card that comes with the unit.
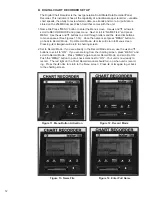
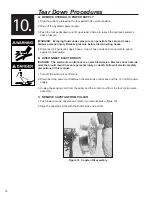
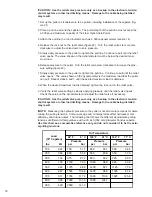
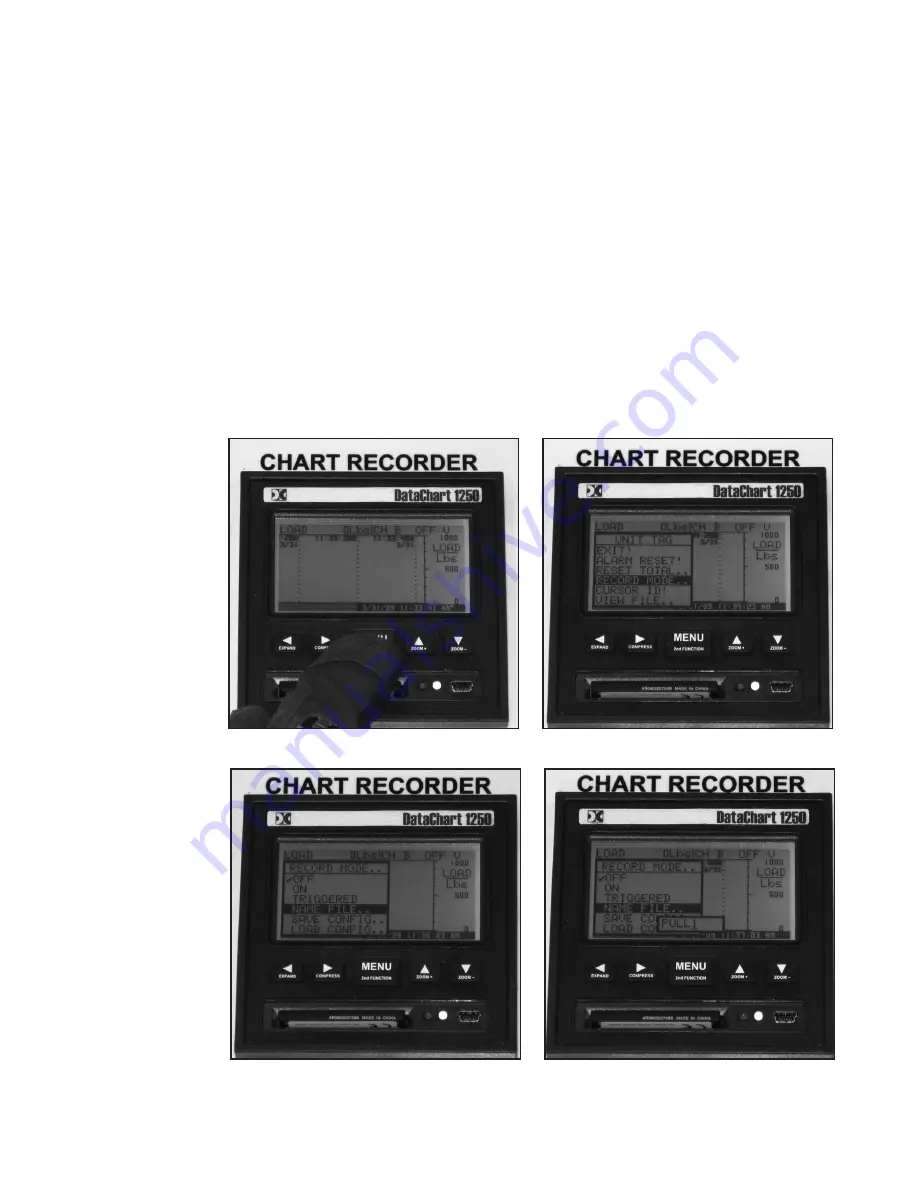
1. Name File Press “MENU” button to enter the Menu screen. Use ▲ and ▼ arrows to
scroll to RECORD MODE and press menu. Next, scroll to “NAME FILE” and press
MENU. Use the ▲ and ▼ buttons to scroll through letters and the ◄ and ► buttons
to move spaces. (See Figures 11-14). Once the name is set press “MENU” button to
go back to Record Mode. From Record Mode, ◄ or ► will return to Menu screen.
Pressing ◄ or ►again will return to charting screen.
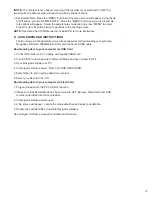
2. Set to Record Mode: If you are already in the Record Mode screen, use the ▲ and ▼
buttons to scroll to “ON”. If you are starting from the charting screen, press “MENU” and
scroll to Record Mode. Press “MENU” again to enter Record Mode, and scroll to ON.
Push the “MENU” button to put a check mark next to “ON”. Your unit is now ready to
record. The red light on the Chart Recorder panel should turn on when unit is record-
ing. Press the ◄ or ► to return to the Menu screen. Press ◄ or ► again to get back
to the charting screen.
Figure 13. Name File
Figure 14. Enter Pull Name
Figure 11. Menu Button Activation
Figure 12. Record Mode


