


X.
MAKING MANUAL CONNECTIONS
creAtIng new remotes
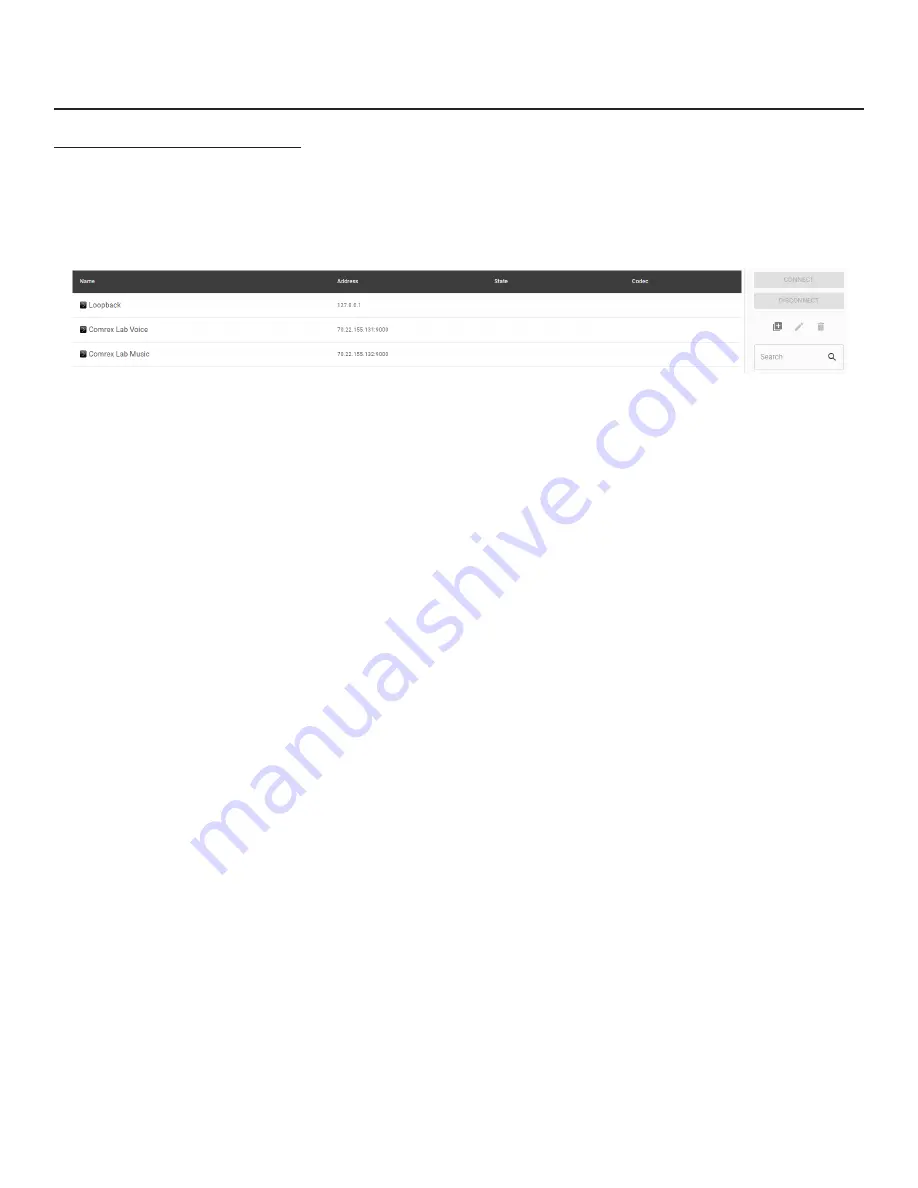
When connections are added to the list manually, we call them “remote entries,” or “remotes” for short.
To create a
new remote connection, click on the “Plus Sign” (+) on the right of the screen (
1
in
Figure
40
)
to
Add A New Remote
Connection
. This will bring up a dialogue box where a new remote’s parameters may be defined (
Figure
40
).
FIgure 40
edIt remote settIngs
Choose a name for the remote (e.g. WXYZ), followed by the IP address of the remote. If there’s a non-standard port
being used on the receiving codec (e.g. a MultiRack instance), you’ll need to apply it here after the IP address (e.g.
192.168.7.23:9004).
Choose whether this connection will use the CrossLock protection layer. For manual connections, this requires special
configuration on each end of the link to authorize CrossLock between the codecs. See the section below about special
notes for CrossLock connections.
The Switchboard ID field is only required when using the CrossLock function without the Switchboard server. For most
codecs, this is the primary Ethernet MAC address of the far-side codec. If you are connecting to a MultiRack instance, you
may need to add the suffix to designate the instance ID (e.g. 00:01:0c:c0:78:12-4).
The Connection Password function can be used to filter incoming connections. With this function, attempted incoming
connections will be rejected without the proper case-sensitive password. For outgoing connections, the password is
entered when the remote is created during the Add New Remote process. For incoming connections, the password is
set on the System Settings tab. There is no way to retrieve a forgotten password. The only way to address a forgotten
password is to change it.
Remotes require selection of a codec profile as seen in
Figure 41
. The MultiRack includes several factory profiles to
choose from, each of which enables a full-duplex link. Factory-provided profiles offer commonly used encoders and
settings. Depending on use and environment, custom profiles can be made in the Profile Manager tab (Figure 40). See
the section on Profile configuration for more on this. Once defined on the Profile Manager tab, the new profiles will be
available in the Select Profile window and can be assigned to an outbound remote.
1
64
Summary of Contents for ACCESS MultiRack
Page 1: ...Product Manual ...
Page 27: ...27 Figure 11 network recovery mode ...


