20
Choosing Your Native or Preferred Language for the OSD Display
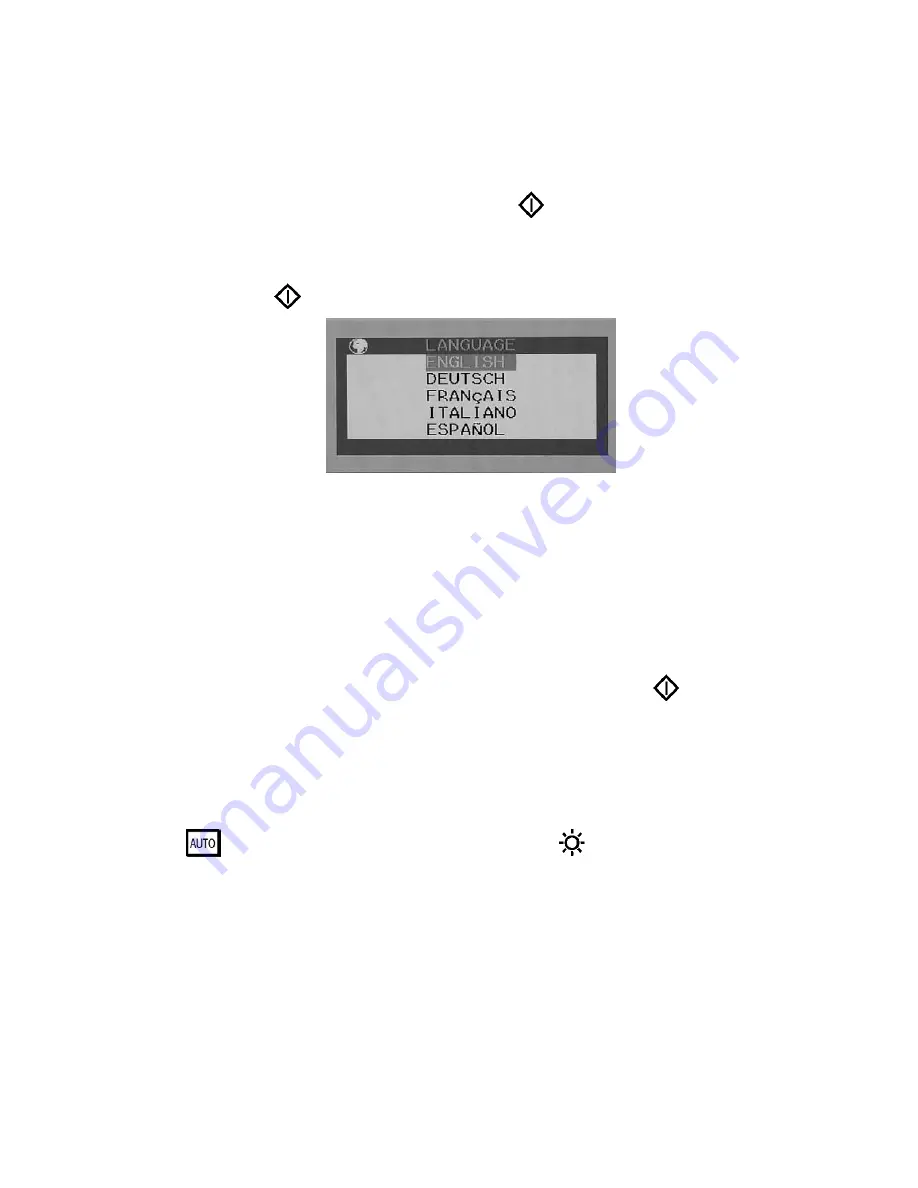
There are five language options for the OSD display: English, Deutsch, Français, Italiano, and
Español. To make your choice, follow the steps below:
1. Open the OSD
Main Menu
by pressing the
Select
(
)
button.
2. Press the
Up
(
▲
)
or
Down
(
▼
)
buttons to move forward or backward to the LANGUAGE
icon and highlight it.
3. Press the
Select
(
)
button to select it. This will open the LANGUAGE submenu.
4. Press the
Up
(
▲
)
or
Down
(
▼
)
buttons to select the language you prefer.
Tip:
As you choose an item, your OSD information displayed immediately updates to reflect
this setting.
Exiting the OSD Menu
In the OSD Main Menu, just press the
Up
(
▲
)
or
Down
(
▼
)
buttons to move forward or
backward to the EXIT icon, highlight it, and select it by pressing the
Select
(
)
button. The OSD
menu will close.
Using the Direct Keys
There are two direct keys that function while the OSD
Main Menu
is inactive: one executes Auto
Setup
(
)
and the other opens the OSD
BRIGHTNESS
(
)
submenu.
Performing Auto Setup Using the Direct Key
Use Auto Setup whenever you apply a new video mode or change the refresh rate. While the Auto
Setup routine is running, you should have a stable image displayed on the screen. Do not move
items around the screen, changing display mode, play games, or view video during Auto Setup.
For display image with black background, such as DOS mode, please do not perform Auto Setup.


