background image

COVER series MZ  – User manual


COMEX S.A.


35 


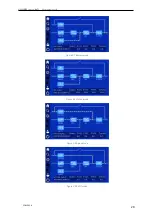
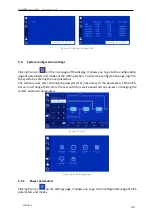
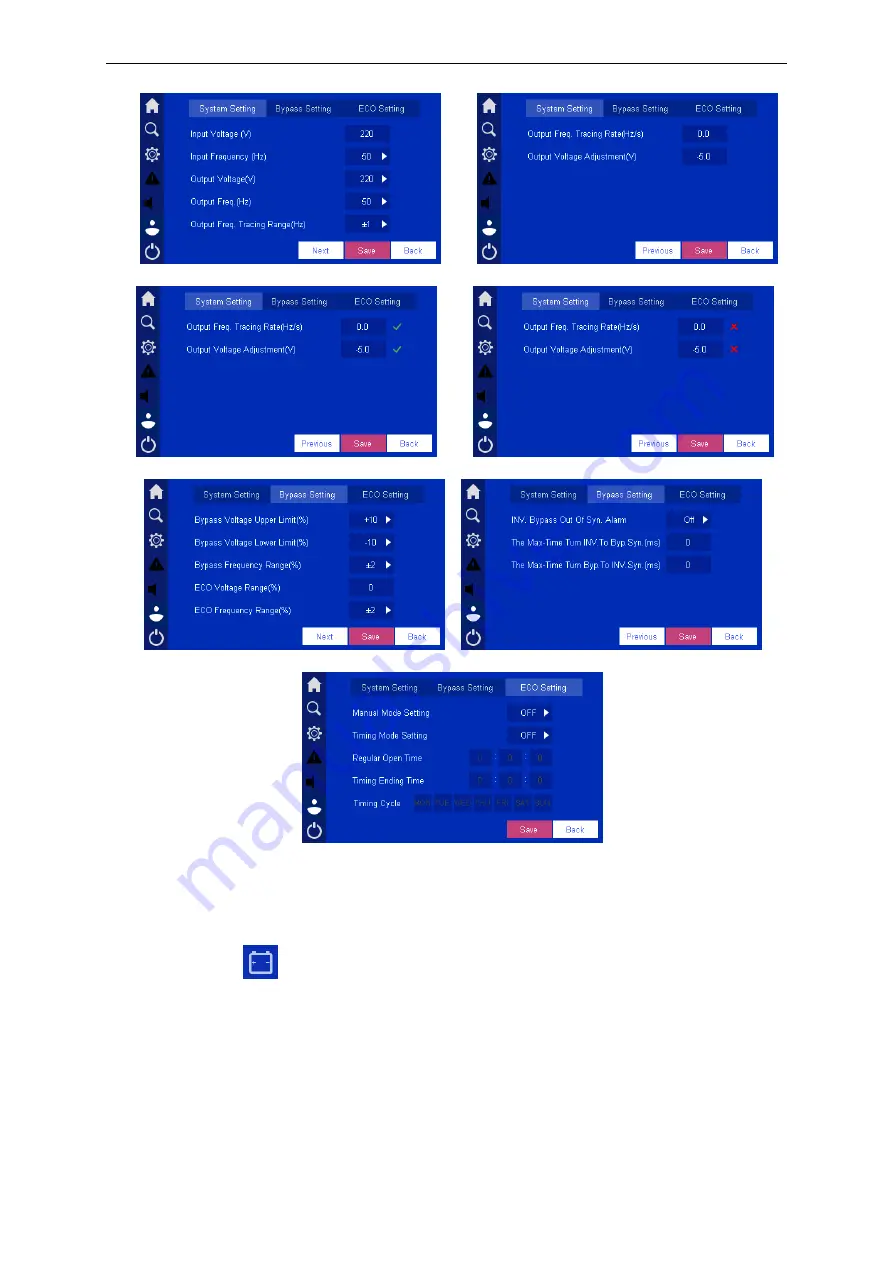
Figure 5-25 Power supply parameters of the rectifier, bypass and ECO mode settings 


5.5.2. 


Battery settings 

Clicking  the  icon 

  on  the  settings  page,  allows  you  to  go  to  the  battery  parameters 

configuration page. 
 

Summary of Contents for COVER MZ 30K

Page 1: ...COMEX S A Uninterruptible Power Supply COVER MZ 20 30 60 80 kVA User manual ...

Page 2: ...f this document is copyrighted by the publisher and can not be reproduced without prior permission We reserve the right to modify the design and specifications without prior notice Copyright 2018 COMEX S A All rights reserved ...

Page 3: ...cting wires 12 2 7 Communication 14 2 7 1 Extended communication card Dry Contact 14 2 7 2 Control module 15 2 7 3 SNMP card 15 2 7 4 Monitoring card 15 3 UPS operation modes 17 3 1 Introduction 17 3 2 Principle of operation 17 3 2 1 Bypass module 18 3 3 Power supply operation modes 18 3 3 1 Online mode 18 3 3 2 Battery mode 18 3 3 3 The restart mode of the power supply after power back 19 3 3 4 B...

Page 4: ...er supply power supply by mechanical bypass 25 4 5 Emergency shutdown using EPO 25 5 LCD panel operation 26 5 1 Introduction 26 5 2 Indication of UPS operation status on the display 27 5 3 Reading work parameters 31 5 3 1 Power supply to bypass track 31 5 3 2 Power supply to the rectifier s track 31 5 3 3 Battery 32 5 3 4 UPS output 32 5 4 Reading information about UPS Event log 32 5 4 1 Event Log...

Page 5: ...ery Grounding should be carried out in accordance with prevailing standards and practical knowledge applicable at the place of installation The leakage current exceeds 3 5 mA and is less than 1000 mA When choosing immediate action RCCB or RCD devices the transient and fixed leakage currents that may occur during commissioning must be taken into account Select residual current circuit breakers RCCB...

Page 6: ...e at their terminals exceeds 400 Vdc and is potentially lethal Battery manufacturers give detailed precautions that must be followed when working on or around battery powered large batteries Such measures should always be strictly observed Particular attention should be paid to recommendations regarding local environmental conditions and the provision of protective clothing first aid and fire figh...

Page 7: ...covered by the guarantee Warning dangerous batteries Special precautions must be observed when working with batteries connected to the power supply After connecting the battery the voltage on the terminals exceeds 400 Vdc and is potentially fatal To protect your eyes against accidental arcing it is recommended to use safety goggles Additionally it is recommended to Remove rings watches and all met...

Page 8: ... and at a lower temperature will reduce their capacity Any increase in battery operating temperature by a further 8 C reduces the service life by 50 Keep batteries away from heat sources and hot air outlets When installing the battery outside the UPS use the battery circuit protector located as close as possible to the battery The cables connecting the batteries and the UPS should be as short as p...

Page 9: ...s equipped with brake wheels and the 80kVA power supply has additional feet to stabilize the UPS after it has been positioned at its destination as shown below Check the correctness of the delivered equipment on the label located on the back of the UPS door The label contains basic information about the model power etc Note Dispose of the safety materials wood plastic etc after disassembly in acco...

Page 10: ...ssive moisture and heat source Suitable fire protection The working temperature should be in the range of 20 25ºC At this temperature the batteries exhibit optimum performance 2 4 2 Design and dimensions of the UPS The appearance and dimensions mm of the UPS are shown in the figures below Figure 2 2 The front side view of the MZ 20K 30K UPS Figure 2 3 The front side view of the MZ 60K UPS ...

Page 11: ...However for access to the device from each side it is recommended to keep min 50 cm of service space It is required to provide adequate space from the front of the power supply for easy operation and the possibility of drawing cold air from the environment Recommended space from the front 80 cm Due to the required access to the back of the power supply and the free air blow and circulation the rec...

Page 12: ...ans In addition personnel with appropriate knowledge and qualifications should have knowledge about standards on the local market regarding the type and cross sections of cables their arrangement and loadability It is recommended to use flexible LgY or OpD type hoses 2 5 1 UPS input power supply The UPS should be supplied from an electrical switchgear equipped with a suitable security device selec...

Page 13: ... figure below Figure 2 5 Marking the RCD 2 5 2 Battery circuit protection The battery required for the correct operation of the power supply consists of 30 40 12 V batteries connected in series A 3 wire installation is required with a neutral center point taken from the central connection between the 20 and 21 batteries in the case of a 40 battery chain The battery circuit must be protected by a s...

Page 14: ...ower rating of the power supply and the AC input voltage The output and bypass cables must be matched to the rated output current given in the table taking into account the power rating of the power supply and the AC output voltage Battery cables must be matched to the discharge current of the battery at the voltage at the end of discharge given in the table taking into account the power rating of...

Page 15: ... INCIDENT INCLUSION SO THAT THE VOLTAGE DOES NOT APPEAR ON THE CABLES WHEN THE UPS IS POWERED 2 6 1 Maximum currents of the power supply The currents for the maximum system power given in the table below depending on the power of the system The given currents are used to select the appropriate protections in the power battery and receiver lines as well as the appropriate cable cross sections Curre...

Page 16: ...lectric shock or fire 2 6 2 Connecting wires Warning The operations described in this chapter should be performed by a properly trained team of service technicians The contracting authority is responsible for preparing the power supply and receiving installation for the power supply Figure 2 9 View of terminal block for connecting MZ 20K 30K cables Figure 2 10 View of terminal block for connecting...

Page 17: ...the power cords are inserted A terminal strip for connecting wires is located in the front of the power supply Connecting the battery in the MZ 60K and MZ 80K UPS from the rear of the power supply 3 Connect the protective ground wire The connection must comply with local regulations and applicable standards 4 Connect the UPS power supply rectifier and bypass 5 Connect the power cords between the U...

Page 18: ...e front door of the power supply and consists of an extended DryContact relay card 1 option slave control module 2 option master control module 3 SNMP card 4 option and monitoring cards 5 Figure 2 3 Communication interface of the MZ 80K power supply The cables connected to the DryContact interface must be potential free and separated from the AC working conductors Wires should be double insulated ...

Page 19: ...rounding of the battery The occurrence of the event results in the closing of NO COM 2 ND10 3 ND11 4 ND12 Reserve The occurrence of the event results in the closing of NO COM 2 7 2 Control module The UPS is equipped as standard with a control module that manages the operation of the UPS which is also used for parallel communication of the power supplies An optional solution is a redundant control ...

Page 20: ...A 250V signals 3 ND3 Low battery voltage The occurrence of the event results in the closing of NO COM pins and the opening of NC COM pins Permissible values of 1A 250V signals Table 2 5 Input signals No Description Signal Function 1 EPO1 External NO signal from the emergency switch REPO The occurrence of the event requires the closing of the NO COM pins 2 EPO2 External NC signal from the emergency...

Page 21: ...uency double processing with pulse width modulation PWM all controlled using digital signal processing DSP which ensures high reliability and convenience of use 3 2 Principle of operation As shown in the figure below the supply voltage from the professional network powers the UPS rectifier The rectifier converts alternating voltage AC to DC voltage The DC voltage supplies the inverter system which...

Page 22: ... the UPS is in the Bypass electronic mode Warning When the UPS operates in Bypass or Bypass service mode connected receivers are not protected by power failures and mains disturbances 3 3 Power supply operation modes COVER MZ series power supply is a device with double energy conversion which allows you to work in the following modes depending on the configuration Online mode Battery mode The rest...

Page 23: ...n equipped enables periodic maintenance works on the device without depriving the connected receivers of the power supply The service Bypass can only be enabled when the UPS is in the Bypass electronic mode Therefore first of all switch the UPS to Bypass mode and then turn on the service Bypass switch Warning When the UPS is in Bypass service mode power modules and LCD display do not work It shoul...

Page 24: ...n parallel to 8 devices which means that the maximum power of the MZ80K UPS system is 640kVA In the parallel operation of the power supplies the load is divided evenly between all working UPS units In the case of a redundant system eg N 1 failure of a single unit does not affect the operation of other devices and the system guarantees continuity of guaranteed power for the full power of the design...

Page 25: ... 4 1 Power connectors The UPS can be switched on or off from the power supply by means of connectors mounted inside the power supply and accessible after opening the front door 60 80K or rear side of UPS 20K 30K The power supply s appearance is shown below which is equipped with 4 connectors Power breaker Bypass breaker output breaker and a Maintenance bypass breaker at the back of the housing Fig...

Page 26: ...UPS from complete shutdown The following procedure should be used when starting up the power supply from the total off state Warning When performing the following procedure voltage appears at the output terminals of the power supply If the receivers are connected to the power supply output check whether the power supply is safe If the receivers are not ready for power connection make sure that the...

Page 27: ...tput breaker The guaranteed voltage is applied to the receivers 4 2 2 Starting UPS with the battery pack 1 Check if the batteries are connected Close the battery breaker located near external batteries 2 Press the cold start button on the power supply located on the front panel of the power supply 3 The inverter starts automatically the inverter diode flashes The output of the power supply is swit...

Page 28: ...UPS will switch from Bypass mode to the normal operation mode On Line 4 3 4 Switching from normal operation to service Bypass mode The procedures described below allow you to switch the UPS from normal operation to service bypass mode Bypass service mode Warning Before performing the following procedure make sure that the voltage and frequency parameters in the Bypass path are correct and that the...

Page 29: ...efore accidental use 4 Turn on the Power Breaker After approximately 30 seconds the inverter must be started according to the procedure described in 4 3 3 5 Close the battery breaker located in or outside the UPS The battery diode will go off 4 4 The procedure of complete switching off the power supply power supply by mechanical bypass To completely turn off the UPS and powered receivers perform t...

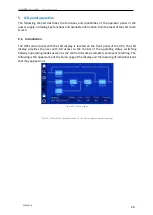
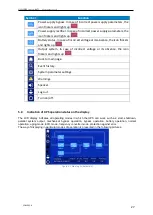
Page 30: ...control panel with the LCD display is located on the front panel of the UPS The LCD display provides the user with full access to the control of the operating status switching between operating modes as well as the control of work parameters and event recording The following is the appearance of the home page of the display and the meaning of individual icons that may appear on it Figure 5 1 Touch...

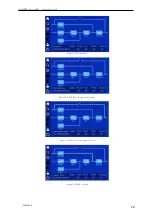
Page 31: ...r its absence the icon flickers and lights up Back to main page Event history System parameter settings Warnings Speaker Log out Turn on off 5 2 Indication of UPS operation status on the display The LCD display indicates all operating modes in which the UPS can work such as start shutdown parallel system output mechanical bypass operation bypass operation battery operation normal operation aging m...

Page 32: ...COVER series MZ User manual COMEX S A 28 Figure 5 3 Shutdown Figure 5 4 Exit from the parallel system Figure 5 5 Work on the bypass service Figure 5 6 Bypass mode ...

Page 33: ...COVER series MZ User manual COMEX S A 29 Figure 5 7 Battery mode Figure 5 8 Online mode Figure 5 9 Aging mode Figure 5 10 ECO mode ...

Page 34: ... bypass output mode Figure 5 13 Fault protection When an abnormal power supply is detected an exclamation mark icon on the left side of the menu is highlighted Clicking the icon allows you to view the current alarm states with the exact date and time of the occurrence of the event as shown below ...

Page 35: ...y parameters of the bypass Available parameters are described in the display picture below Figure 5 15 Information on the bypass power supply 5 3 2 Power supply to the rectifier s track Clicking the icon on the main page of the display allows you to go to the preview of the power supply parameters of the rectifier circuit Available parameters are described in the display picture below Figure 5 16 ...

Page 36: ...rs 5 3 4 UPS output Clicking the icon on the main page of the display it allows you to go to the preview of the output parameters of the power supply Available parameters are described in the display picture below Figure 5 18 Information on the UPS output parameters 5 4 Reading information about UPS Event log Clicking the icon on the home page of the display allows you to go to the page with the h...

Page 37: ...e icon on the information page allows you to go to the page with the UPS event history The page contains all recent events and alarms that have been registered by the system Figure 5 20 Event Log 5 4 2 User Log Clicking the icon on the information page allows you to go to the page with the history of UPS startups and user activities Figure 5 21 User Log 5 4 3 Information about the device Clicking ...

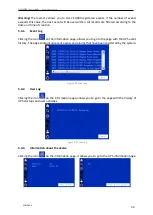
Page 38: ... configuration page log in to the system by entering the user password The ordinary user after entering the password 111 has access to the parameters of the UPS but can not change them Only the user with the service password has access to changing the system operation parameters Figure 5 23 Log in Figure 5 24 UPS settings page 5 5 1 Power parameters Clicking the icon on the settings page it allows...

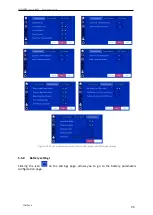
Page 39: ...anual COMEX S A 35 Figure 5 25 Power supply parameters of the rectifier bypass and ECO mode settings 5 5 2 Battery settings Clicking the icon on the settings page allows you to go to the battery parameters configuration page ...

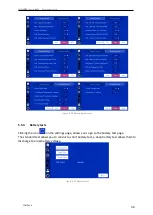
Page 40: ...ameters 5 5 3 Battery tests Clicking the icon on the settings page allows you to go to the battery test page The standard test allows you to conduct a short battery test a deep battery test allows them to discharge to a low battery voltage Figure 5 27 Battery tests ...

Page 41: ...he UPS ventilation function in order to dedust it Figure 5 28 Special funtions 5 7 Display settings Clicking the icon on the settings page allows you to go to the settings page related to the current system date language and contrast Figure 5 29 Display settings 5 8 Password settings Clicking the icon on the settings page allows you to go to the page with the option to set a new password ...

Page 42: ...ute or activate the alarm by clicking on the icon After silencing the alarm the arrival of a new one will cause the signaling to be restarted 5 10 Turn On Off Clicking the icon goes to the page Enable Disable the UPS inverter Depending on the current operating mode inverter on or off you will go to the page as in the picture below To confirm the operation press OK Figure 5 31 On Off page of the in...

Reviews: