Page
30
of
40
SoniQ i
Clip
: By enabling this, a portion of the image can be selected by dragging the image preview. And its height and
width can be adjusted. Also, the crop margins can be adjusted in x and y direction.
Tile:
By enabling this, desired number of counts in x and y directions can be printed. Also, the distance between
each count can be adjusted.
Copies:
Feeding any number of copies will repeat the prints in Y direction. Careful, the Print will stop and restart
after each copy.
Foot note:
You can add footnote printing with each printed image. Parameters required can be selected.
Step 5
: After making the desired changes,
click
on the
OK
button to apply the settings (Refer to Fig 41).
Ripping and Printing
Ripping is an independent process which converts a raw image file into the machine-readable format and get the
file ready for printing. The Rip software supports the pdf, tiff, jpeg, eps, psd, bmp file formats. After ripping the
image file, the output file will be in
“.prt”
or
“.prn”
file format. Thus, you should first rip the image file before
printing and then issue the Print command. While ripping, the color profiles are used to automatically perform
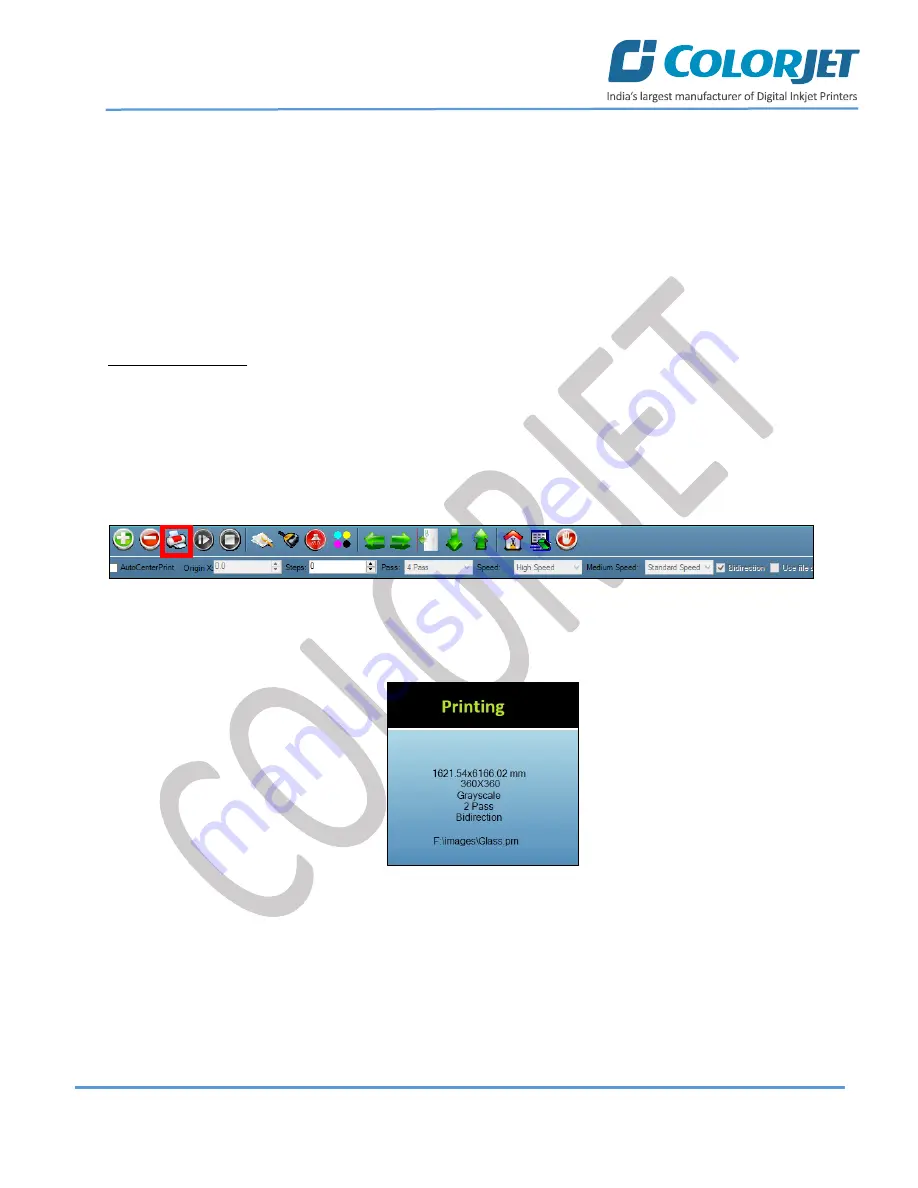
the color corrections in the image. Now, you can print an image on the selected media simply by clicking on the
Print Job
button available on the
Quick Access Toolbar,
as shown below:
Fig 42: Issuing the Print Job Command
After issuing the Print command, the printing gets started and its progress details displays in the Job Information
area, as shown below:
Fig 43: Displaying the Printing Details


