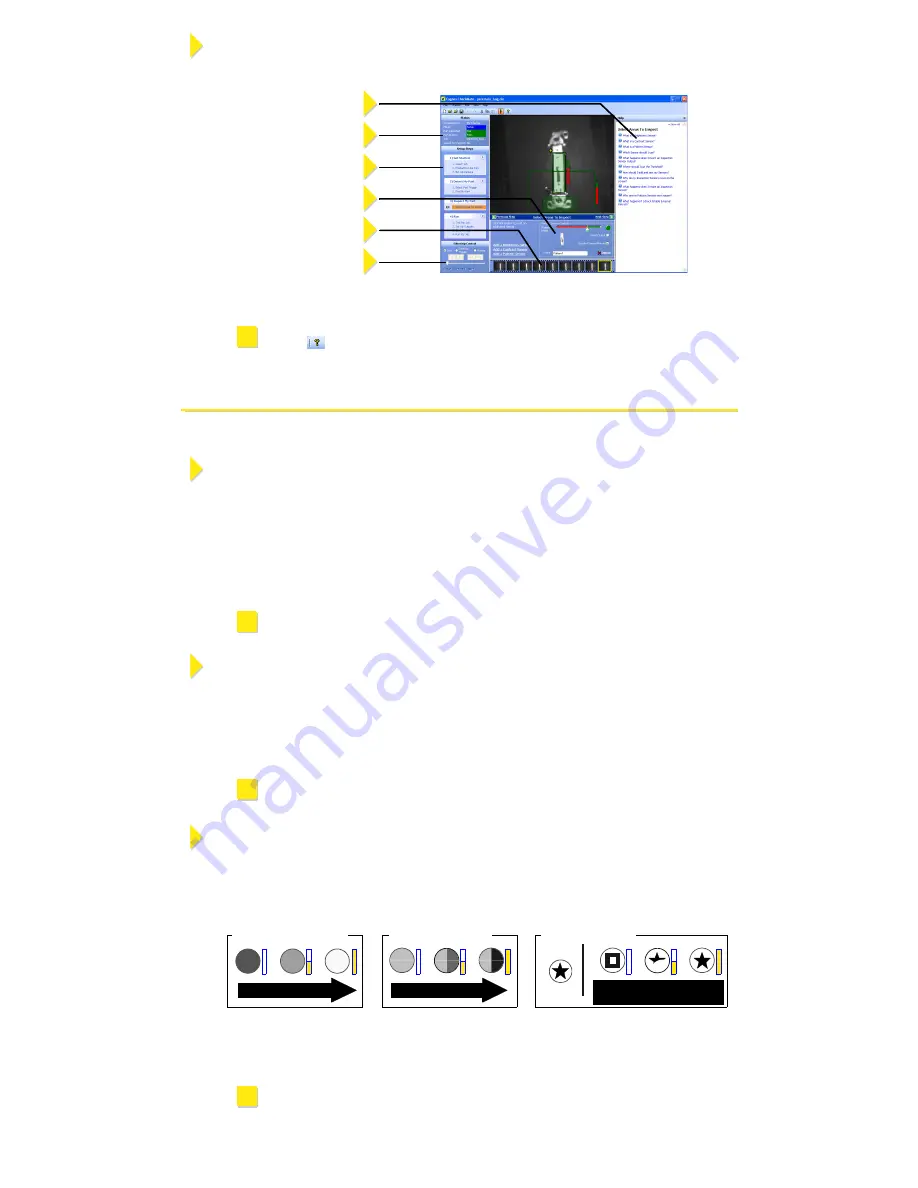
Start the CheckMate Software
Start CheckMate by double-clicking on the CheckMate icon. (The first time that you start
CheckMate, it may take a moment before your PC recognizes Checker.)
CheckMate always displays a list of questions and answers related to the current state of
CheckMate.
Setting Up Your Job
A Checker
job
contains all of the information that Checker needs to check your part. You set up a
Checker job in four simple steps using CheckMate.
1. Get Started
•
Create a new job.
•
Enter your line speed and direction.
•
Place a ruler at the same distance from Checker as your part will be, and enter the size of
Checker’s field of view.
If you specify a horizontal machine direction, this size is the distance between the left and right
edges of what Checker can see; if you specify a vertical machine direction, the size is the
distance between the top and bottom of what Checker can see.
•
Adjust the image brightness and focus Checker on your part.
Detect My Part
Before Checker inspects your part, it must detect that your part is present. Checker can detect your
part in two ways:
1
Checker can detect parts using a
Part Finding Sensor
. Simply create a Part Finding Sensor
and place it over a part feature that Checker can always see.
2
You can use an external photoelectric sensor to tell Checker that the part is present. Checker
uses the rising edge of the input signal.
Inspect My Part
Create an
Inspection Sensor
for each part feature that you want to check. The result of an
Inspection Sensor can be
pass
or
fail
. The results of all Inspection Sensors must be
pass
for
Checker to pass your part. If the result of any Inspection Sensor is
fail
, Checker will fail your part.
Checker provides three types of Inspection Sensors:
Brightness Sensors
detect bright features;
Contrast Sensors
detect high-contrast features; and
Pattern Sensors
detect matching patterns.
To create an Inspection Sensor, click on the feature to check, then adjust the Sensor’s threshold so
that good parts are above the threshold and bad parts are below it. For Brightness and Contrast
sensors, you can adjust the Sensor’s range and sensitivity to better distinguish between good and
bad parts.
For detailed information on how Checker works and how to use CheckMate, click
on the
button to open the User’s Manual.
Checker is shipped with its focus unlocked. If you have tightened the focus lock,
make sure to loosen it before adjusting the focus.
If you use both an external photoelectric sensor and a Part Finding Sensor, both
the photoelectric sensor and the Part Finding Sensor must indicate that the part
is present before Checker will inspect the part.
You can invert the result of an Inspection Sensor if you need to detect dark
features instead of bright features, low-contrast features instead of high-contrast
features, or mismatched patterns instead of matching patterns.
3
Checker Status
Job Setup Steps
Filmstrip Control
Filmstrip
Controls
Questions and Answers
!
1
!
2
!
3
Brightness Sensor
Contrast Sensor
Pattern Sensor
Brighter
More contrast
No
match
Match
Partial
match
!
Summary of Contents for Checker 101
Page 1: ...Quick Reference...


