Intro
Operation
Customer
Assistance
Warranty
Notice
Main Icons
Secondary Icons
Intro
Operation
Customer
Assistance
Warranty
Notice
Main Icons
Secondary Icons
Intro
Operation
Customer
Assistance
Warranty
Notice
Secondary Icons
Customer Assistance
Warranty
Introduction
15
Operation
Intro
Operation
Customer
Assistance
Warranty
Notice
Main Icons
Secondary Icons
b.
Press the
Mode/Lock
button to enter the channel/privacy
code in the selected memory location and proceed to other
functions on the channel/privacy code displayed before you
entered mode functions.
While de-programming a memory location, if you do not press
any buttons for 15 seconds, your radio will automatically return
to
Standby
mode on the channel/privacy code displayed before
you entered mode functions.
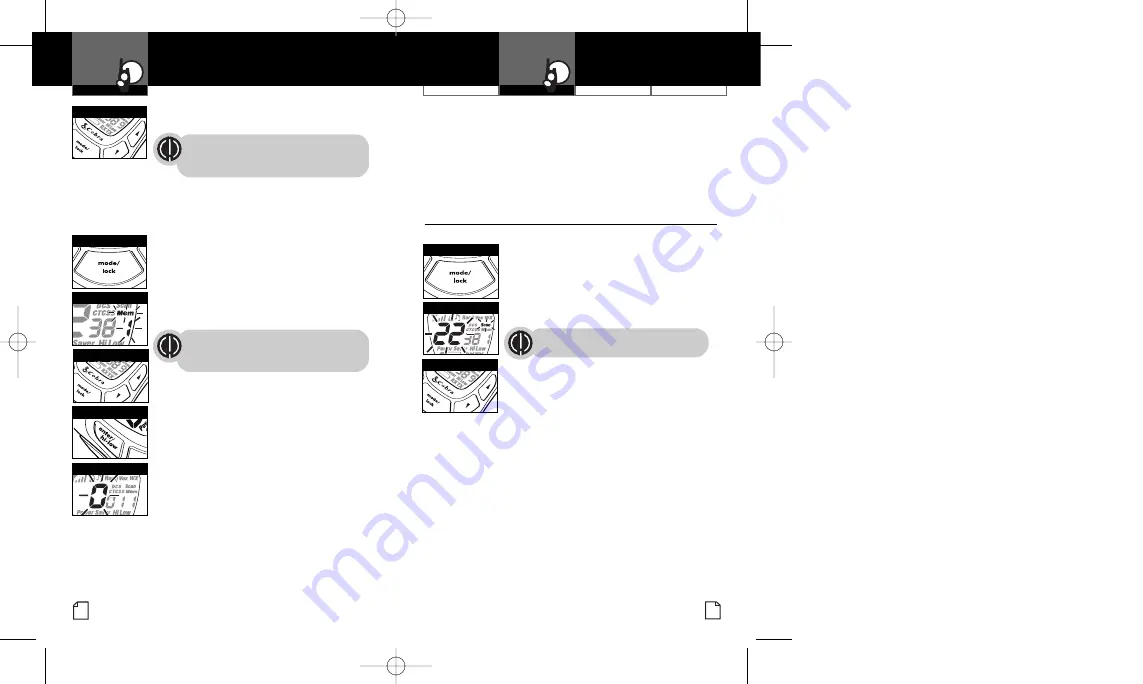
Channel Scan
•
Your microTALK radio can automatically scan channels.
To scan channels:
1.
Press the
Mode/Lock
button until the
Scan
icon and the channel numbers
flash on the display.
2.
Press the
Channel Up
or
Channel Down
button to begin scanning channels.
The radio ignores specific privacy
codes while scanning channels.
The
Scan
icon will continue to be displayed
when scan is
on
. Your radio will continue to
scan all channels and stop if an incoming
transmission is detected. Your radio will
remain on that channel for 10 seconds.
While setting channel scan, if you do not press any buttons for
15 seconds, your radio will automatically return to
Standby
mode
on the channel or channel/privacy code displayed before you
entered mode functions.
During channel scan (while receiving an incoming transmission),
you can choose from the following:
a.
Press and hold the
Talk
button to communicate on that
channel. Your radio will remain on that channel and return
to
Standby
mode.
b.
Press the
Channel Up
or
Channel Down
button to resume
scanning channels.
14
Mode Functions
3.
Press the
Talk
button to return to
Standby
mode on the selected memory location.
A memory location can be reprogrammed
at any time it is displayed. Press the
Enter/Hi•Low
button to begin.
While recalling a stored memory location, if you do not press
any buttons for 15 seconds, your radio will automatically return
to
Standby
mode on the channel/privacy code displayed before
you entered mode functions.
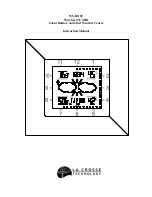
To de-program a memory location:
1.
Press the
Mode/Lock
button until the
Memory
icon and the memory location
flash on the display.
2.
Press the
Channel Up
or
Channel Down
button to select the memory location
(0 through 9).
If a location has been programmed
before, its associated channel/privacy
code will be shown on the display.
3.
Press the
Enter/Hi•Low
button. The channel
numbers will flash on the display.
4.
Press the
Channel Up
or
Channel Down
button to select Channel 0.
5.
Choose one of the following:
a.
Press the
Enter/Hi•Low
button to enter
the channel/privacy code in the selected
memory location and return to the
beginning of memory location options.
Operation
Intro
Operation
Customer
Assistance
Warranty
Notice
Main Icons
Secondary Icons
Channel Buttons
Memory Icon
Enter/Hi-Low Button
Channel 0
Channel Buttons
Mode/Lock Button
Scanning Channels
Mode/Lock Button
Channel Buttons
PR4200WX_PH3b.qxd 5/11/07 12:41 PM Page 14