- 1 -
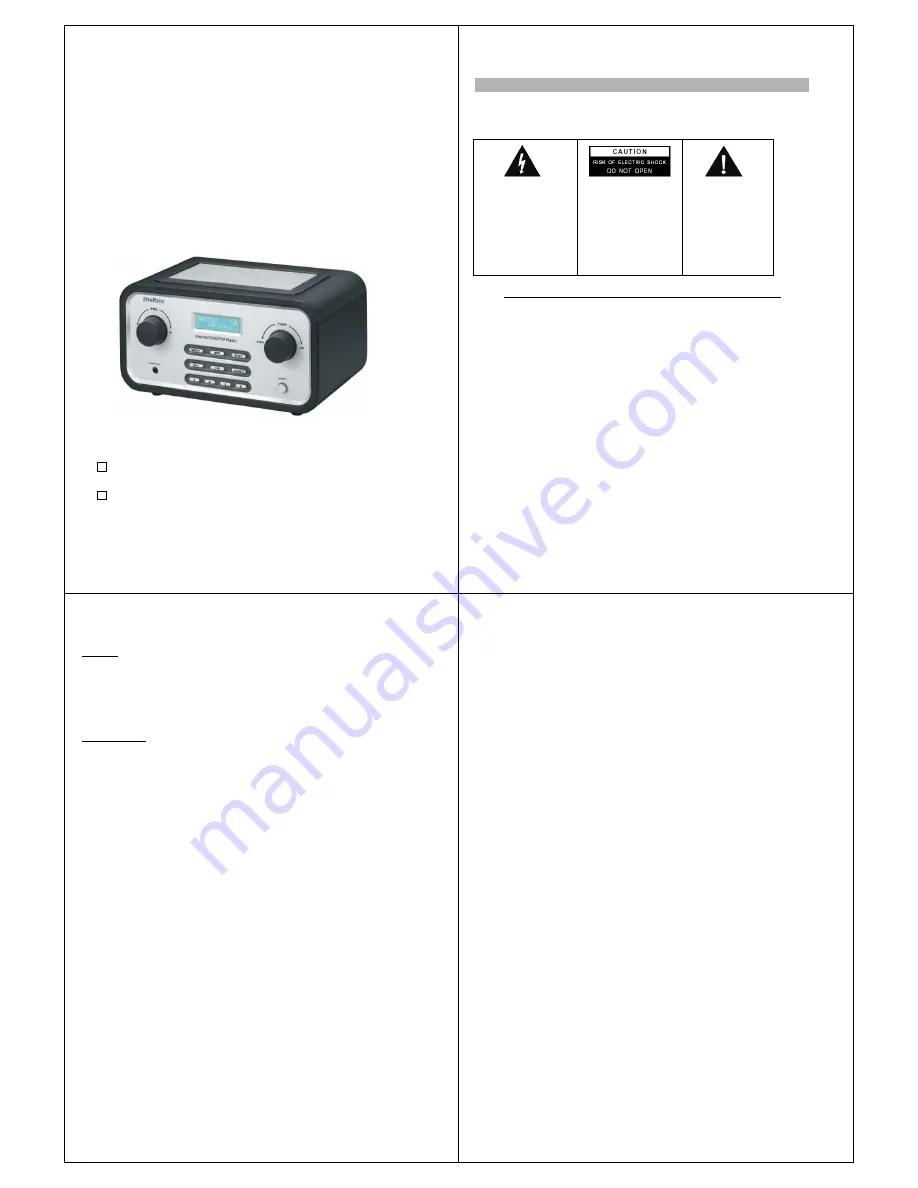
Internet/DAB/FM Radio
with LAN
Manual
BT-H1503 Internet/FM Radio
BT-H1506 Internet/DAB/FM Radio
- 2 -
C A U T I
O N
TO PREVENT FIRE OR SHOCK HAZARD, DO NOT USE THIS PLUG WITH AN EXTENSION
CORD, RECEPTACLE OR OTHER OUTLET UNLESS THE BLADES
CAN BE FULLY INSERTED TO PREVENT BLADE EXPOSURE. TO PREVENT FIRE OR SHOCK
HAZARD, DO NOT EXPOSE THIS APPLIANCE TO RAIN OR MOISTURE.
IMPORTANT SAFETY INSTRUCTIONS
1.) Read these instructions.
2.) Keep these instructions.
3.) Heed all warnings.
4.) Follow all instructions.
5.) Do not use this apparatus near water.
6.) Clean only with dry cloth.
7.) Do not block any ventilation openings. Install in accordance with the manufacturer’s instructions.
8.) Do not install near any heat sources such as radiators, heat registers, stoves, or other apparatus
(including amplifiers) that produce heat.
9.) Protect the power cord from being walked on or pinched particularly at plugs, convenience receptacles,
and the point where they exit from the apparatus.
10.) Only use attachments / accessories specified by the manufacturer.
11.) Unplug this apparatus during lightning storms or when unused for long periods of time.
12.) Refer all servicing to qualified service personnel. Servicing is required when the apparatus has been
damaged in any way, such as power-supply cord or plug is damaged, liquid has been spilled or objects have
fallen into the apparatus, the apparatus has been exposed to rain or moisture, does not operate normally, or
has been dropped.
13.) This appliance shall not be exposed to dripping or splashing water and no object filled with liquids such
as vases shall be placed on the apparatus.
14.) Do not overload wall outlet. Use only power source as indicated.
15.) Use replacement parts as specified by the manufacturer.
16.) The product may be mounted to a wall only if recommended by the manufacturer.
17.) Upon completion of any service or repairs to this product, ask the service technician to perform safety
checks.
The lightning flash with arrowhead
symbol, within an equilateral
triangle is intended to alert the user
to the presence of insulated
‘dangerous voltage’ within the
product’s enclosure that may be of
sufficient magnitude to constitute a
risk of electric shock to persons.
WARNING: TO REDUCE THE
RISK OF ELECTRIC SHOCK
DO NOT REMOVE COVER
(OR BACK ) , NO USER
SERVICEABLE PARTS INSIDE
REFER SERVICING TO
QUALIFIEDSERVICE
PERSONNEL.
The exclamation point within
an equilateral triangle is
intended to alert the user to
the presence of important
operating and maintenance
(servicing) instructions in the
literature accompanying
the appliance.
- 3 -
Welcome
Thank you for purchasing radio BT-H1503/1506. Your BT-H1503/1506 is designed to
provide you with hours of music enjoyment with simple, convenient access to thousands of
Internet radio stations worldwide and furthermore with DAB/FM and music streaming
options. No matter whether you are in Alaska and wants to listen to Hawaiian music, or
whether you want to listen to classical music, hard rock or jazz the BT-H1503/1506 brings
you home the radio station of your choice.
Table of content
1. Content of package··················································································Page 5
2. Before you start ·······················································································Page 5
3. Overview of BT-H1503/1506····································································Page 5
3.1 Front panel ·········································································Page 5
3.2 Back panel··········································································Page 7
4. Turning on BT-H1503/1506 ·····································································Page 7
5. General menu navigation·········································································Page 7
6. Setting up the BT-H1503/1506 (Quick Guide) ·········································Page 8
6.1 Wizard ················································································Page 8
6.2 Manual Configuration ·························································Page 9
6.3 View Settings······································································Page 9
6.4 Using the BT-H1503/1506 ················································Page 10
7. Setting the time and date ·······································································Page 10
7.1 To set the time manually ··················································Page 10
7.2 Set clock···········································································Page 10
7.3 Set date ············································································Page 10
7.4 Auto update ······································································Page 10
7.5 Set 12/24 Hour ·································································Page 10
7.6 Set sleep ··········································································Page 11
7.7 Set alarms ········································································Page 11
8. Setting up the music player····································································Page 11
8.1 Enter the music player ······················································Page 12
9. The Main Menu······················································································Page 15
9.1 Internet Radio ······················································································Page 15
9.2 Music Player ························································································Page 15
9.3 DAB(BT-H1506 only) ···········································································Page 15
9.4 FM········································································································Page 15
10. System Setup (Step by step) ·······························································Page 15
10.1 Wizard································································································Page 16
10.2 PC Settings ························································································Page 16
10.3 View Settings ·····················································································Page 16
10.3.1 Active Adapter·················································································Page 17
10.3.2 MAC Address··················································································Page 17
10.3.3 DHCP······························································································Page 17
10.3.4 PC Settings ·····················································································Page 17
- 4 -
10.3.5 SSID ·······························································································Page 17
10.4 IP Settings ·························································································Page 17
10.4.1 IP Address ······················································································Page 17
10.4.2 Subnet Mask···················································································Page 17
10.4.3 Gateway Address············································································Page 17
10.4.4 Primary DNS ···················································································Page 18
10.4.5 Secondary DNS ··············································································Page 18
10.5 Manual Settings ·················································································Page 18
10.5.1 DHCP Enable··················································································Page 18
10.5.2 DHCP Disable·················································································Page 19
10.6 Time Setup ························································································Page 21
10.7 Factory Reset ····················································································Page 21
10.8 Software upgrade···············································································Page 22
10.9 Info·····································································································Page 22
10.9.1 Adding favourites and stations ························································Page 22
11. Using Internet Radio ············································································Page 22
12. Using DAB Radio(BT-H1506 only)·······················································Page 25
13. Using FM Radio ···················································································Page 27
14. Presets·································································································Page 27
Mit FinePrint gedruckt - bitte bei www.context-gmbh.de registrieren.


