Preface
VI
Preface
4.
Avoid interference.
Keep the computer away from high capacity transformers, electric motors, and other strong mag-
netic fields. These can hinder proper performance and damage your data.
5.
Take care when using peripheral devices
.
Power Safety
The computer has specific power requirements:
•
Only use a power adapter approved for use with this computer.
•
Your AC adapter may be designed for international travel but it still requires a steady, uninterrupted power supply. If you are
unsure of your local power specifications, consult your service representative or local power company.
•
The power adapter may have either a 2-prong or a 3-prong grounded plug. The third prong is an important safety feature; do
not defeat its purpose. If you do not have access to a compatible outlet, have a qualified electrician install one.
•
When you want to unplug the power cord, be sure to disconnect it by the plug head, not by its wire.
•
Make sure the socket and any extension cord(s) you use can support the total current load of all the connected devices.
•
Before cleaning the computer, make sure it is disconnected from any external power supplies.
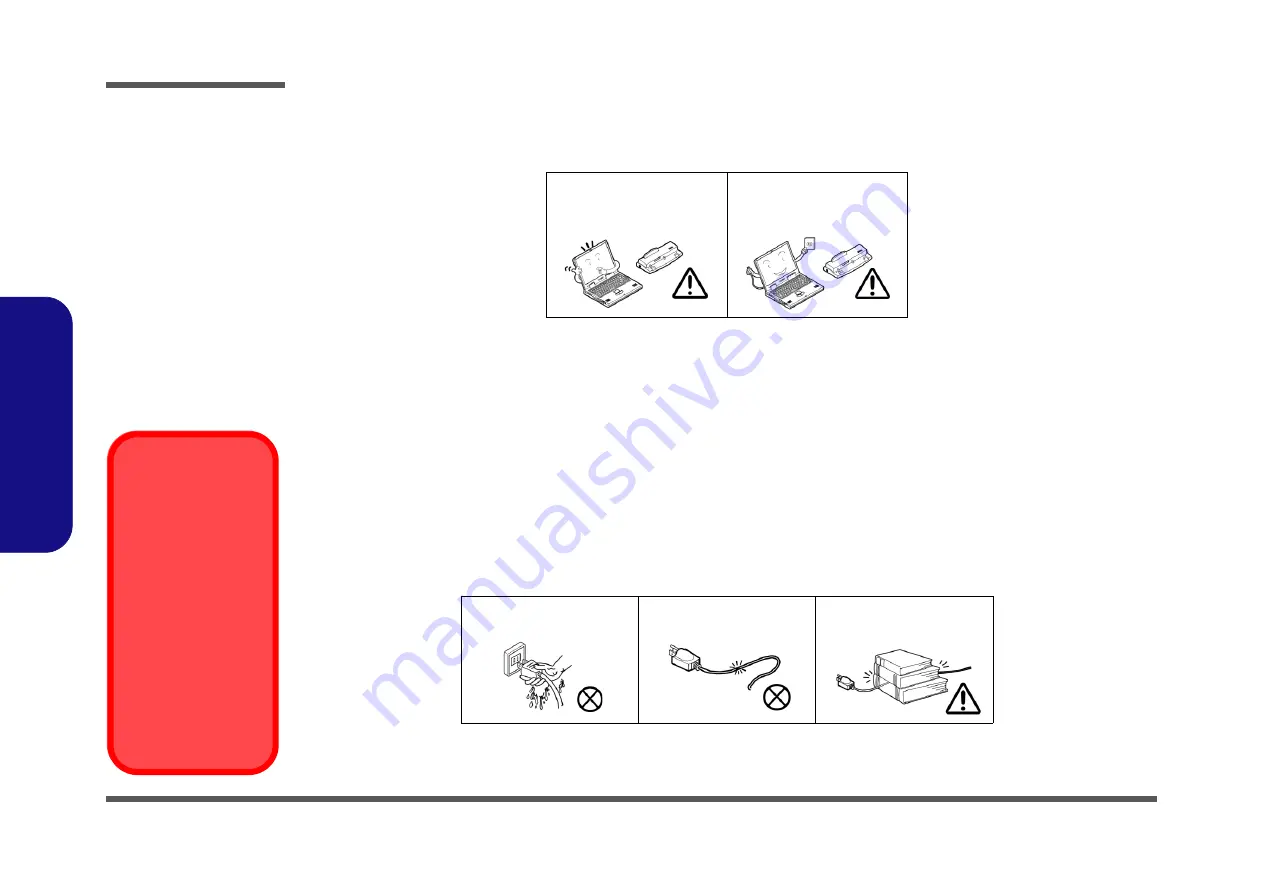
Use only approved brands of
peripherals.
Unplug the power cord before
attaching peripheral devices.
Do not plug in the power
cord if you are wet.
Do not use the power cord if
it is broken.
Do not place heavy objects
on the power cord.
Power Safety
Warning
Before you undertake
any upgrade proce-
dures, make sure that
you have turned off the
power, and discon-
nected all peripherals
and cables (including
telephone lines and
power cord). It is advis-
able to also remove
your battery in order to
prevent accidentally
turning the machine
on.
Summary of Contents for PA70HS
Page 1: ...PA70HS G PA71HS ...
Page 2: ......
Page 3: ...Preface I Preface Notebook Computer PA70HS G PA71HS Service Manual ...
Page 11: ...Preface IX Preface ...
Page 12: ...Preface X Preface ...
Page 26: ...Introduction 1 12 1 Introduction ...
Page 48: ...Disassembly 2 22 2 Disassembly ...
Page 51: ...Top A 3 A Part Lists Top Figure A 1 Top ...
Page 52: ...A 4 Bottom A Part Lists Bottom Figure A 2 Bottom ...
Page 53: ...Main Board A 5 A Part Lists Main Board Figure A 3 Main Board ...
Page 54: ...A 6 HDD A Part Lists HDD Figure A 4 HDD ...
Page 55: ...LCD A 7 A Part Lists LCD Figure A 5 LCD ...
Page 56: ...A 8 A Part Lists ...


