Cleveland 24-CGA-10.2 Installation And Maintenance Instructions Manual Download Page 1


Part No. 

GEMINI-INM  B

 7/02 


Installation and Maintenance Instructions 


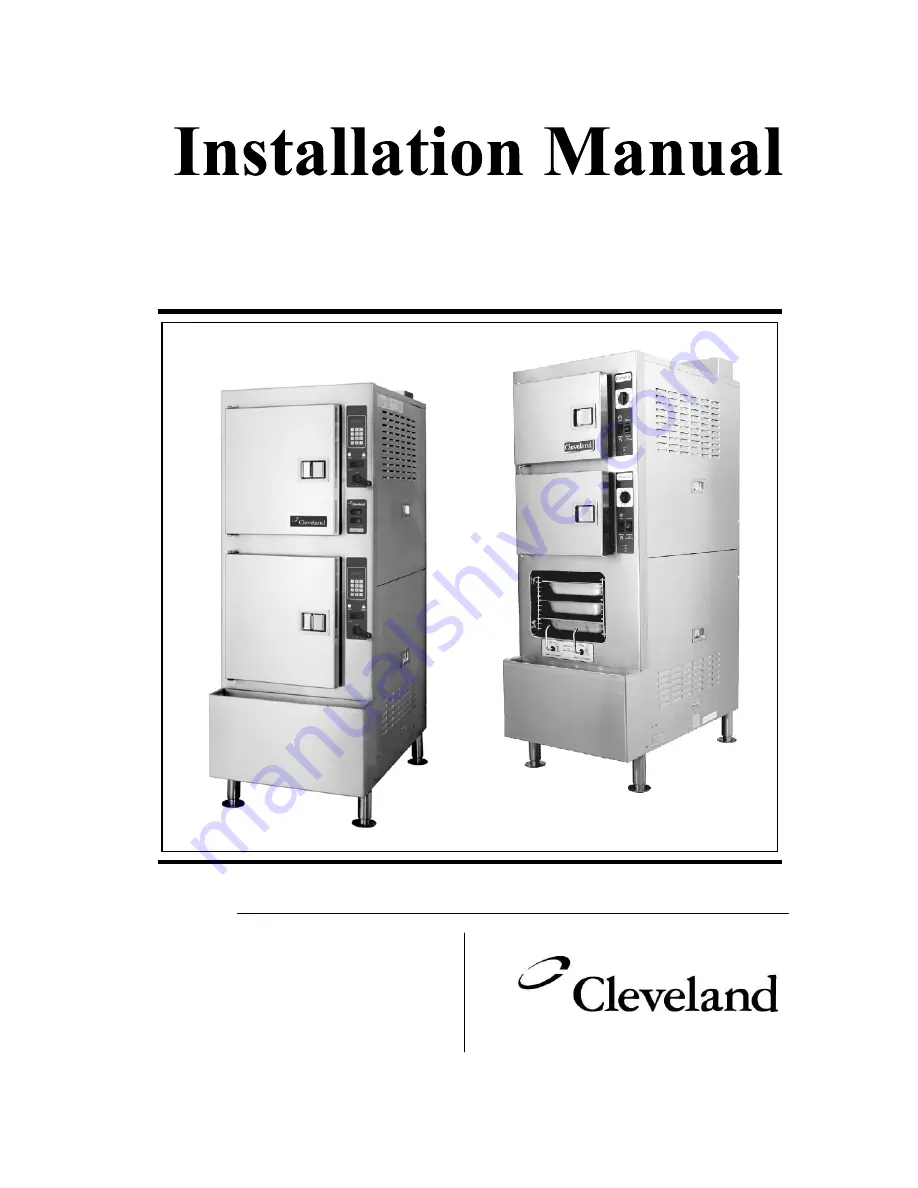
Dual Gas Steam Generator & Convection Steamer 


Series: Gemini Model Nos. 24CGA6.2, 24CGA10.2


  1333 East 179

th

 Street

  Cleveland, Ohio 44110

Phone: (216) 481-4900

Fax: (216) 481 3782

24CGA6.2 

24CGA10.2

Summary of Contents for 24-CGA-10.2

Page 1: ...nstallation and Maintenance Instructions Dual Gas Steam Generator Convection Steamer Series Gemini Model Nos 24CGA6 2 24CGA10 2 1333 East 179th Street Cleveland Ohio 44110 Phone 216 481 4900 Fax 216 4...

Page 2: ...CLEVELAND RANGE AUTHORIZED TECHNICIAN The wiring diagram is located on the back of the lower front panel RETAIN THIS MANUAL FOR YOUR REFERENCE FOR YOUR SAFETY Do not store or use gasoline or other fla...

Page 3: ...___________________________________ 10 c Testing Gas Supply Lines ___________________________________________ 11 5 Install Electric Power Lines _____________________________________________ 11 6 Water...

Page 4: ...te generators This manual covers all standard features and options available on Gemini gas steamers Other than selection of options there are presently no significant design parts or operating differe...

Page 5: ...COMPARTMENT RIGHT UPPER COMPARTMENT DESCALING PORTS AIR VENTS CONTROL PANEL UPPER RIGHT SIDE SERVICE PANEL DRIP TRAY POWER ON OFF CONTROLS PRODUCT INFO PLATE ON LEFT ACCESS PANEL CONTROL PANEL LOWER R...

Page 6: ...MENT DESCALING PORTS AIR VENTS CONTROL PANEL UPPER RIGHT SIDE SERVICE PANEL DRIP TRAY POWER ON OFF CONTROLS UPPER PRODUCT INFO PLATE ON LEFT ACCESS PANEL CONTROL PANEL LOWER RIGHT SIDE SERVICE PANEL N...

Page 7: ...ailable within 12 ft of the steamer b An electrical supply matching the power requirements found on the rating plate must be available c A gas supply matching the fuel requirements found on the rating...

Page 8: ...e unit and at least a 3 inch clearance at the back A 12 in clearance is recommended on the right side for servicing the steamer Approximately 24 inches of clearance is recommended in front of the unit...

Page 9: ...ng 3 4 N P T 50 000 each 150 watts each 1 3 8 dia IPS for Generator REAR 3 00 units to this drain Supply pressure Supply pressure Generator 1 3 8 dia IPS for FRONT 24 00 4 50 W C Min 14 00 W C Max 11...

Page 10: ...ng 3 4 N P T 72 000 each 150 watts each 1 1 4 dia IPS for Generator REAR 3 00 units to this drain Supply pressure Supply pressure Generator 1 1 4 dia IPS for FRONT 24 00 4 50 W C Min 14 00 W C Max 11...

Page 11: ...r c Positioning and Leveling the Steamer NOTE If there is not enough room to work on the drain electrical gas and water lines with the unit in place postpone positioning and leveling the unit until al...

Page 12: ...line e Free air venting requires a minimum of 1 inch of clearance between the end of the drain line and the top of the floor drain f Do not connect the steamer drain directly to drains or plumbing of...

Page 13: ...Installation Code CAN CGA B149 2 as applicable 2 THE GAS SUPPLY PRESSURE TO THE STEAMER MUST NEVER EXCEED 14 WATER COLUMN psi If the gas supply pressure exceeds 14 water column a pressure regulator m...

Page 14: ...and have the electrical power lines installed in accordance with local codes and or the National Electric Code ANSI NFPA No 70 LATEST EDITION USA or the Canadian Electrical Code CSA C22 2 as applicabl...

Page 15: ...lines to the Gemini Steamer If softened or chlorinated water is used in a Gemini steam generator a carbon type filter must be used for the water before it enters the steamer to remove Chlorine or oth...

Page 16: ...ng must be increased beyond that recommended in the maintenance schedule Chapter 3 If more frequent descaling is selected as the means of protecting the steamer from premature failure the DESCALE REQU...

Page 17: ...ttings Read this procedure completely before starting The Descale Required Light Timer setting should be changed only by qualified maintenance technicians familiar with electrical safety procedures a...

Page 18: ...connecting the steamer to the water supply a Cleveland Range recommends the plumbing layout illustrated in either Figure 2 10 for installations using a single water supply or Figure 2 11 if a separat...

Page 19: ...threaded connection d Testing Water Supply Lines 1 Check all connections for proper tightness Remove the side panel to inspect water connections inside the steamer 2 Open the water supply valves 3 Che...

Page 20: ...nts 10 Verify Exhaust Hood Requirements 8 Test supply water quality 12 Check operating location clearances 6 or 7 Installation Verify steamer is level 8 Check drain line connection 9 Check Exhaust Hoo...

Page 21: ...lectrical power to the steamer at the main power switch NOTE When initial power is supplied to the steamer with the ON OFF lever switch in the OFF position a 3 minute blowdown cycle starts This blowdo...

Page 22: ...evers switches and the main power switch 2 Turn off gas supply at the main manual gas valve 3 Start up Test Procedure Gas Gemini Cleveland Range steamers have either a manual dial timer control panel...

Page 23: ...ll and drain valves are fully open while the steam generator drains are flushed with fresh water 2 Stop the blowdown cycle before it is complete by setting the ON OFF levers switches to the ON positio...

Page 24: ...As the water level in the steam generator rises Check that no water flows from the drain opening Check for plumbing leaks 4 When the water in the steam generator reaches a safe operating level which i...

Page 25: ...am generating cycle stops Press the TIMED end of the TIMED MANUAL switch for both compartments The main burners turn OFF and the condenser flow stops On DIAL timer models only the buzzer will sound fo...

Page 26: ...is complete turn the steamer OFF at the main power switch 14 Install the side panels and secure them in place with the screws See Figure 1 2 or 1 3 After completing the Startup and Blowdown Inspection...

Page 27: ...cap and replace the cap in the strainer 7 Open water supply valve s and check for water leaks B TROUBLESHOOTING GUIDE The Troubleshooting guide includes a list of symptoms that may be encountered dur...

Page 28: ...s see note 1 Water line strainer is clogged Clean water supply strainer Gas supply valve is closed Turn OFF unit and open gas supply valve Steamers gas valve is closed Turn gas valves to open position...

Page 29: ...om drain during blowdown cycle ON OFF lever switch is not turned fully to the OFF position Turn ON OFF lever switch to the full OFF position to start the proper blowdown operation Water coming from dr...

Page 30: ...t the Egg Test as follows Note This test is not valid for SteamCubs or pressure steamers A properly operating steamer will produce cooked eggs as follows Turn on the steamer so that steam is being pro...

Reviews: