CLEARSPAN
™
VALUE LINE
10
Revision date: 03.10.08
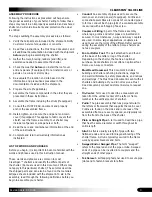
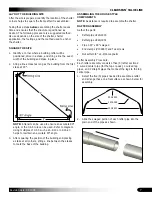
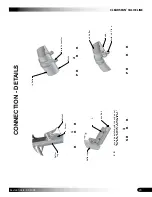
With the purlin in position, tighten the clamp at the peak
of the end rafter as shown below.
6.
FRAME ASSEMBLY (CONTINUED)
Align the pre-marked location on the purlin with the
center of the inside rafter to achieve the proper rafter
spacing and tighten the cross-connector.
7.
NOTE:
If needed, use a hammer to tap the cross-
connector and the purlin to the center mark.
Verify that both rafters are plumb and that the 5' on-
center rafter spacing is maintained after both clamps
are tightened.
You may need to loosen the clamp on the end rafter
and adjust the purlin if the second rafter is plumb but
the mark on the purlin does not align with the center of
the mid rafter.
DO NOT ALLOW THE PURLIN TO EXTEND BEYOND
THE OUTSIDE EDGE OF THE END RAFTER.
After tightening the cross-connector, install a Tek screw
(#FA4482B) through the cross-connector and into the
purlin.
Position the Tek screw so that it also secures the
joint of the purlin pipe
.
8.
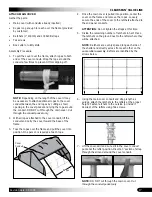
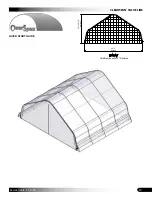
The first purlin and the first two rafters should appear
as shown below.
Reposition the rafter legs of the first interior rafter (if
needed) to achieve and maintain the 5' on-center rafter
spacing and the 22' center-to-center width.
Select the first section of the
second pre-marked purlin
and install it as you did the top/center purlin.
NOTE:
Slide the purlin through the cross-connector
as shown below at the joint of the curved leg pipe and
long straight pipe.
9.
10.
102857
End Clamp
End Rafter
Top purlin
End Rafter
First section of purlin
Interior Rafter
22'
center-to-center
5'
on-center
Tek Screw

