ClearOne Communications
~ www.clearone.com
38
Configuration
~ Various Advanced Settings
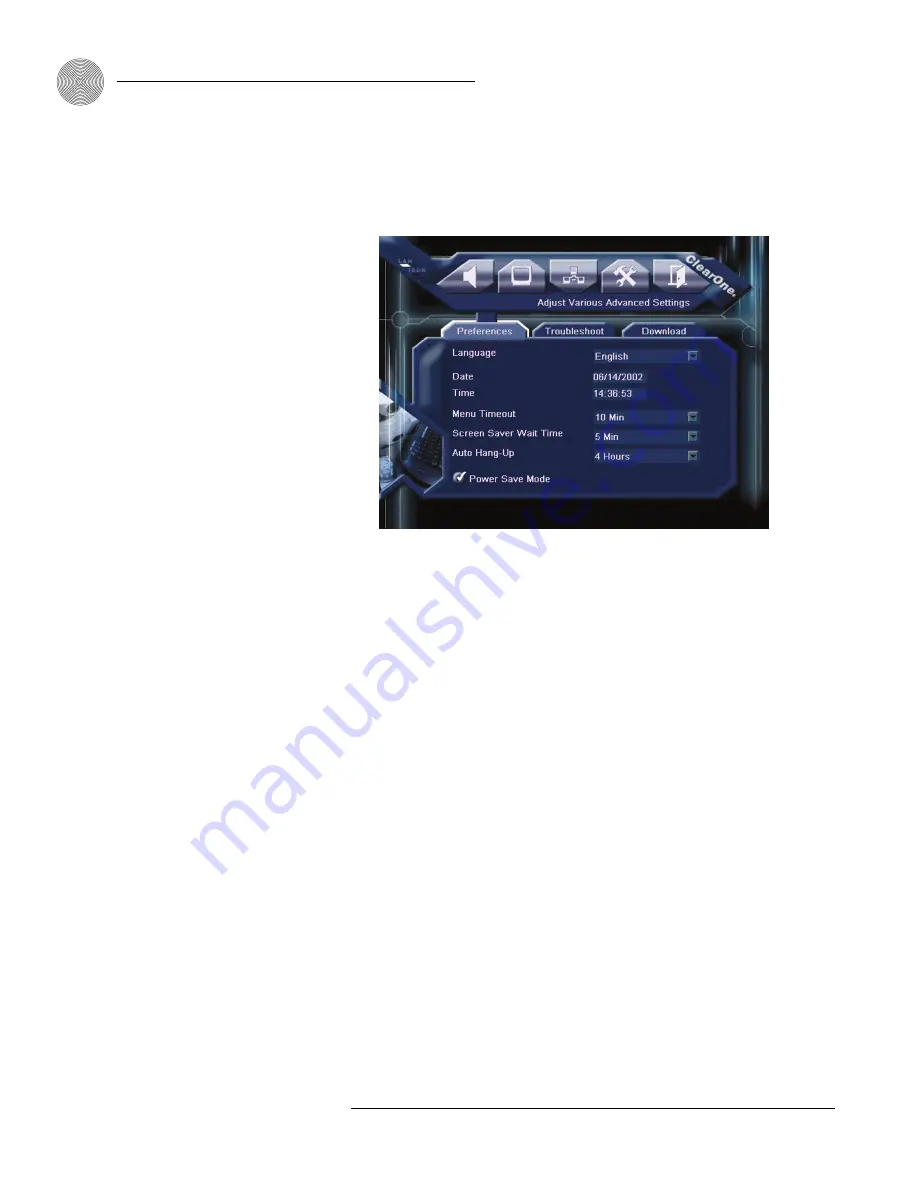
Figure 5.16 Adust Various
Advanced Settings/Preferences
screen
2.
Select the language you want the interface to display in.
3.
Navigate to the date and time fields and enter the current date and time.
The unit will maintain the current date and time when the unit is turned off (the
unit must still be connected to electrical power).
4.
Set the Menu Timeout for the number of minutes you want the menu to display
after the last keystroke you make.
5.
Set the Screen Saver Wait Time for the number of minutes you want the screen
to display after the last keystroke you make.
6.
Set the Auto Hang-Up for the amount of time you want the unit to remain in
a call. When a call reaches the designated call length, an onscreen prompt
asks you if you want to continue the call (which resets the timer and begins a
new countdown) or end it. If you do not respond to the prompt within 60
seconds, the unit automatically terminates the call. This feature works for
both ISDN and LAN calls. Select Disabled if you do not want to use this
feature.
7.
Enable Power Save Mode if you want the unit to go into sleep mode when not
in use. After selecting this check box, use the Power key to activate and
deactivate this mode.
Setting Advanced Preferences
1.
Click the Preferences tab in Adjust Various Advanced Settings. The
Preferences screen appears.
The unit automatically
places the screen saver on
both monitors when using
Dual Monitor Mode.
✍
Auto Hang-Up is useful for
preventing an unterm-
inated call from remaining
active beyond a designated amount
of time. It can therefore save you
unintentional line or service charges
that would otherwise accrue.
✍


