23 |
C O L L A B O R A T E L I V E : U s e r G u i d e
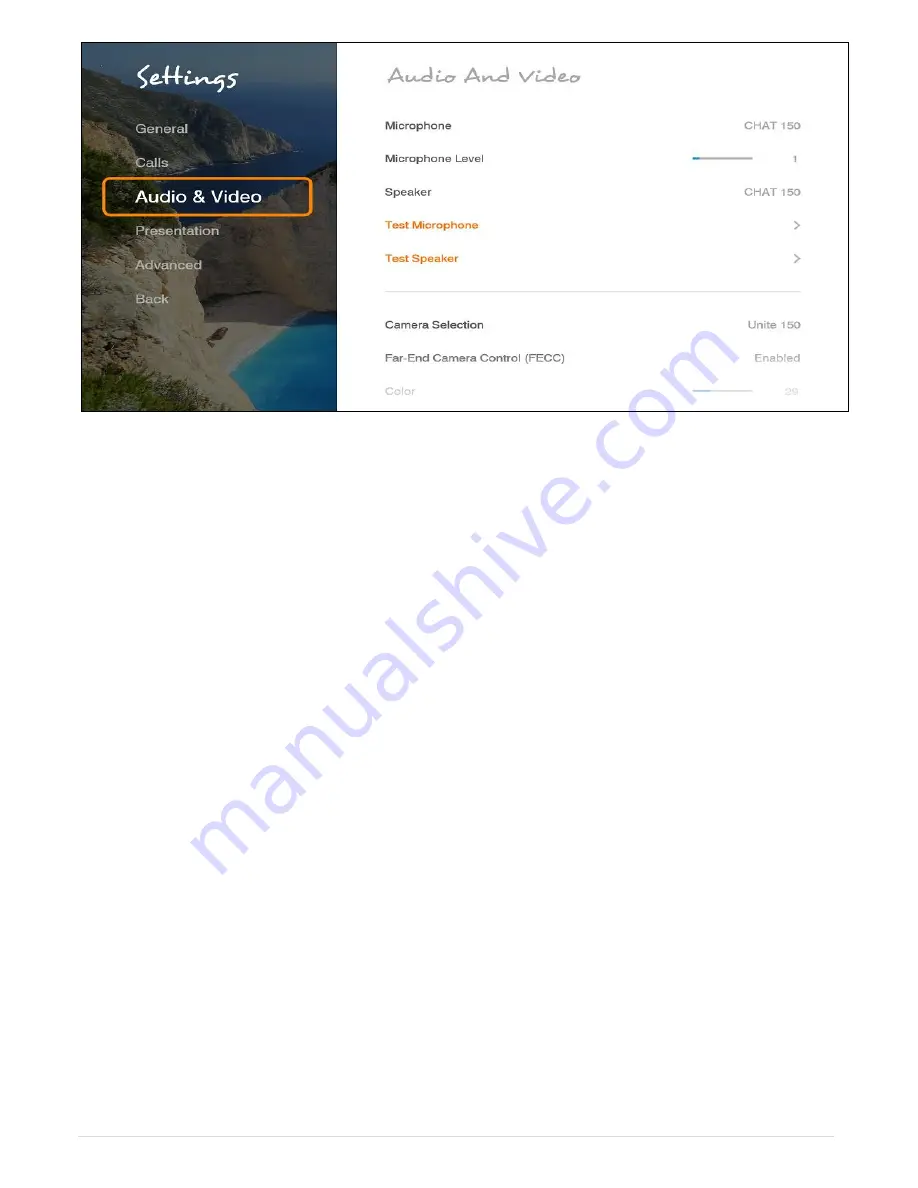
To configure the audio settings:
3. In the Audio Settings window, set the following properties of the selected audio input. USB
devices can be used if the system supports external USB hardware.
Microphone
– Select Chat Attach 150 to be your Microphone device
Microphone Level
– Adjust the microphone sensitivity level in percentage (%)
Speaker
– Select CHAT Attach 150 to be your Speaker device..
Test Microphone
– Check and test the Microphone by using this option
Test Speaker
– Check and test the Speakers by using this option
Note:
The audio of the COLLABORATE® Live 600 system must be optimized for the outputs
used and the room in which it is used. For best audio performance, ClearOne
recommends using Balanced Audio or Line output to a mixer or amplifier. HDMI audio
to a monitor is also supported, but monitor speakers are usually lower quality
.
Optimizing for Balanced and Line Audio Outputs
Connect to either a set of amplified speakers or a mixer using the Line output or Balanced
Audio connections. Set the COLLABORATE® Live Volume to 50%. Play the sample audio by
pressing the
Play
button. Use the external amplifier or mixer to adjust the volume within the
room to a comfortable level.
Afterward, the COLLABORATE® Live audio control can be used to increase/decrease the
audio to a desired level during sessions.
Volume
After attaching the HDMI output to the monitor, set the COLLABORATE® Live Volume
to 50%, then play the sample audio by pressing the Play button. Use the monitor
audio adjustment to set the volume within the room to a comfortable level. Afterward,
the COLLABORATE® Live audio control can be used to increase/decrease the audio
to a desired level during sessions
.


