Clear-Com®
Tempest®2400 2-Channel Wireless Intercom System
17
Configure the BaseStation
BaseStation settings can be configured in two ways: from the BaseStation menu or with the computer interface called “T-Desk” via a LAN
connection. While many functions are available through both methods, certain features may only be available through the BaseStation.
Using the Front Panel Controls
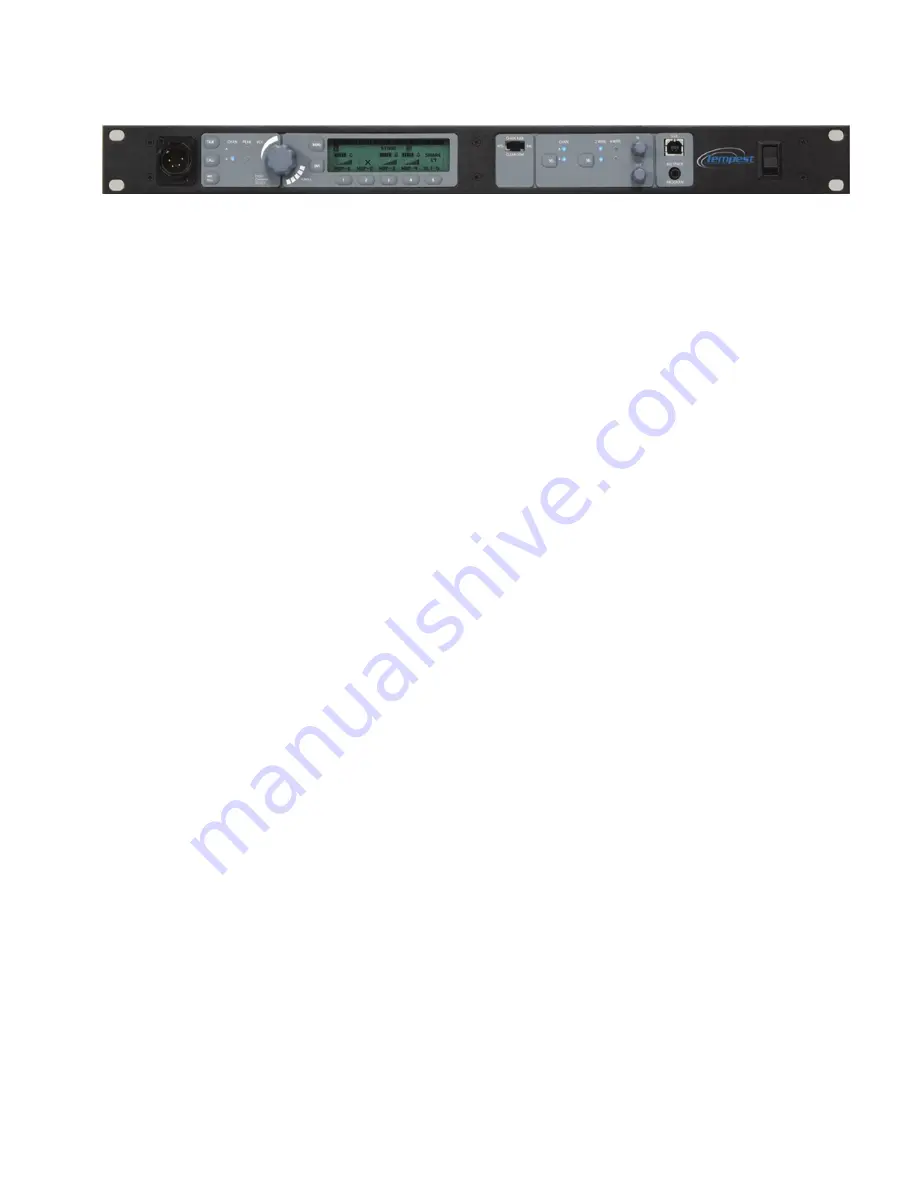
The Tempest BaseStation can be configured depending on user preferences and the tasks to be accomplished. The following
instructions will help you navigate the front panel and LCD user interface.
See the BaseStation Menu Structure section of this manual for more details of the menu.
The LCD screen is the focal point of the BaseStation functionality. While in Operational Mode the LCD displays the status
of all wireless BeltStations that are currently logged on to the BaseStation. In Menu Mode the LCD shows the menu items
or information.
The function of the Volume control depends upon the current Mode of the BaseStation. In Operational Mode turning the
Volume control adjusts the volume of the audio for the local headset. Press the Volume control to select the channel of the
local headset connector.
In Menu Mode turn the Volume control to scroll through the menu options of the current menu screen. A pointer “>” on
the left of the menu indicates the current option. Pressing the Volume control selects the current menu option and is the
same as pressing the Enter button (ENT). A menu item is not selected and will not take affect until the Volume control or
the ENT button is pressed.
Pressing the MENU button while the BaseStation is in Operational mode will cause the BaseStation to enter Menu Mode.
The main menu screen will be displayed. Once in Menu Mode pressing the MENU button will act as an escape key and will
back out of the current menu screen and move up one level. Pressing the MENU button while at the main menu screen will
exit Menu Mode and return to Operational Mode.
The ENT button on the BaseStation is only used in Menu Mode. Pressing the ENT button selects the current menu option
and is the same as pressing the Volume control. A menu item is not selected and will not take affect until the ENT button
or the Volume control is pressed.
The 1 through 5 buttons below the LCD screen have multiple uses depending upon the mode of the BaseStation. In
Operational Mode a BeltStation that is communicating with the BaseStation will appear in a slot directly above a numbered
button. Pressing one of the numbered buttons will advance directly to the “BeltStation Settings” menu for that BeltStation.
In Menu Mode pressing one of the five numbered buttons selects the menu item with the corresponding number from
the current list of displayed menu items. This action produces the same result as scrolling with the Volume control to the
desired menu item and pressing ENT or the Volume control. To view and select additional menu items, rotate the scroll
knob and press ENT to select.
Summary of Contents for Tempest2400
Page 1: ...2 Channel Wireless Intercom Reference Manual Tempest 2400...
Page 2: ......
Page 8: ...iv www clearcom com This page intentionally left blank...
Page 13: ...Clear Com Tempest 2400 2 Channel Wireless Intercom System 5 This page intentionally left blank...
Page 59: ...Clear Com Tempest 2400 2 Channel Wireless Intercom System 51 BaseStation Menu...
Page 71: ...Clear Com Tempest 2400 2 Channel Wireless Intercom System 63 BeltStation Menu...
Page 80: ...72 www clearcom com This page intentionally left blank...
Page 86: ...78 www clearcom com This page intentionally left blank...
Page 96: ...88 www clearcom com Tempest Block Diagram...
Page 97: ...Clear Com Tempest 2400 2 Channel Wireless Intercom System 89 Tempest Block Diagram continued...
Page 100: ...92 www clearcom com This page intentionally left blank...
Page 102: ...www clearcom com...


