


4. Panel RefeRence | 13
4
Panel RefeRence
MaSTeR leVel
The
MASTER LEVEL
knob controls the overall amplitude
for the audio outputs - the line level outputs and the
headphone output. The knob’s physical position indi-
cates the output level and is not stored with a Program.
If you need to adjust the output level in individual
programs, use the Program Level knob above the display. The
setting of that control is stored with programs.
STORe
The
STORE
button is used for storing an edited program
to a location in the program banks. Storing a program
will overwrite the existing data in the selected memory
location.
M
When the Nord Wave 2 is shipped from factory its memory is
protected, in order to avoid accidental overwriting of programs. To
be able to store Programs, The Memory Protect parameter needs
to be set to “Off” in the System menu. Read more on how to do
this on page 31. The Memory Protect function does not affect
the five Live Mode programs or operations performed through the
Nord Sound Manager.
STORInG anD naMInG a PROGRaM
Here is how to store a program without changing its name:
1
Press the
STORE
button once. The Store button will start blinking,
and the display will show the name of the program and its location.
2
To select a different store location use the dial and/or
PAGE
3
/
4
buttons. a program can also be stored to one of the five live
program locations. This is done by pressing the
LIVE MODE
button
and then selecting the desired live program button. The program
at the selected store location can always be auditioned by playing
the keyboard.
M
To cancel an ongoing Store operation, press
EXIT
.
3
When a suitable location has been selected, press
STORE
again to
confirm the operation.
STORe aS
1
To store
and name
your program, press
STORE AS
(Shift + Store).
2
Hold down the
ABC
soft button to bring up a row of alphanumeric
characters and use the dial to select a character for the current po-
sition. letting go of the
ABC
button moves the cursor to the next
position. The dial or
PAGE
3
/
4
buttons can be used to move the
cursor freely. The
Ins
soft button is used for inserting a blank space
at the current position and the
Del
soft button is used for deleting
the currently selected character.
3
To assign a category to your program, press down on the
Cat
soft
button and select any of the categories from the list. Using catego-
ries makes it easer to quickly locate your programs later on.
4
Pressing
STORE
will now bring up the
Store Program To
screen.
Use the dial and/or
PAGE
3
/
4
and Program buttons to select a
location.
5
When a suitable location has been found, press
STORE
again.
Naming programs can also be done using the Nord Sound Man-
ager.
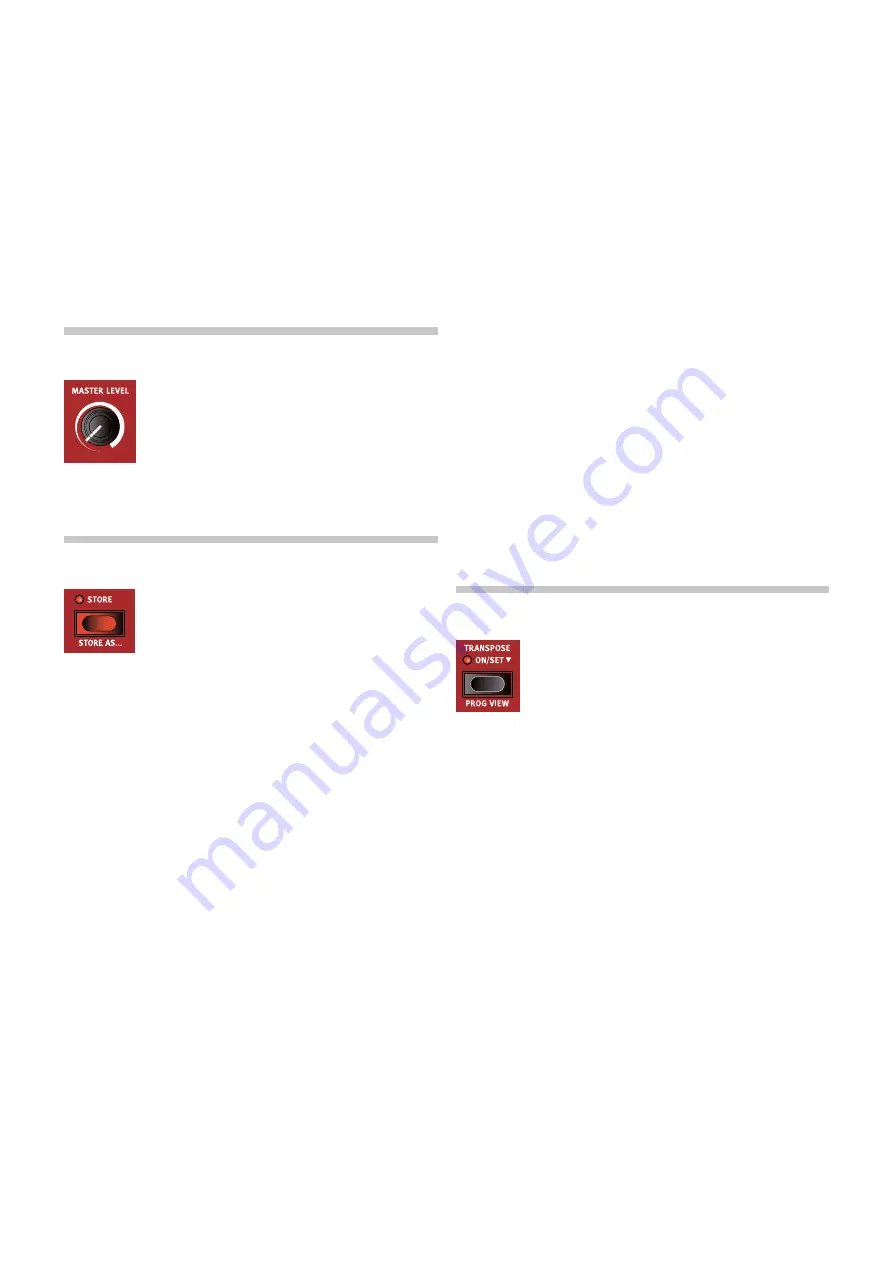
TRanSPOSe
The nord Wave 2 can be transposed in semitone steps
on a per-program basis, with a range of +6/-6 semi-
tones. Hold the Transpose button and set the trans-
position by turning the Value Dial. Press the Transpose
button again to de-activate a transposition.
Transpose settings are saved and recalled as part of a program, and
always affect all layers in a program.
To set up a transpose that affects
all
programs, use the Global
Transpose parameter in the System Menu.
PROG VIeW
There are three distinct modes for how programs are shown in the main
display. Use the
PROG VIEW
(Program View, Shift+Transpose) function to
switch between these modes.
The default view shows the Program name and number in large print,
with the bottom half of the display reserved for parameter hints. The
nord Wave 2 reverts to this view when it is powered on.
Pressing Prog View once activates the “category view”. In this mode the
category for the selected program is displayed, and the
VALUE
dial is
used for navigating programs in that category. The
PAGE
buttons are in
this mode used for switching between different categories.
M
Note that the 1-5 Program buttons are inactive in category view.
Pressing Prog View again activates the “layer view”. Here, the oscillator
selection for each active layer is shown in the bottom half of the display,
with the Program name and number displayed in small print in the upper
half.
Summary of Contents for Nord Wave 2
Page 40: ......