7
English
4. Setup
Note: The menu is only displayed in SETUP mode.
1. Move the function selector to
SETUP
mode.
2. Press [ MENU ].
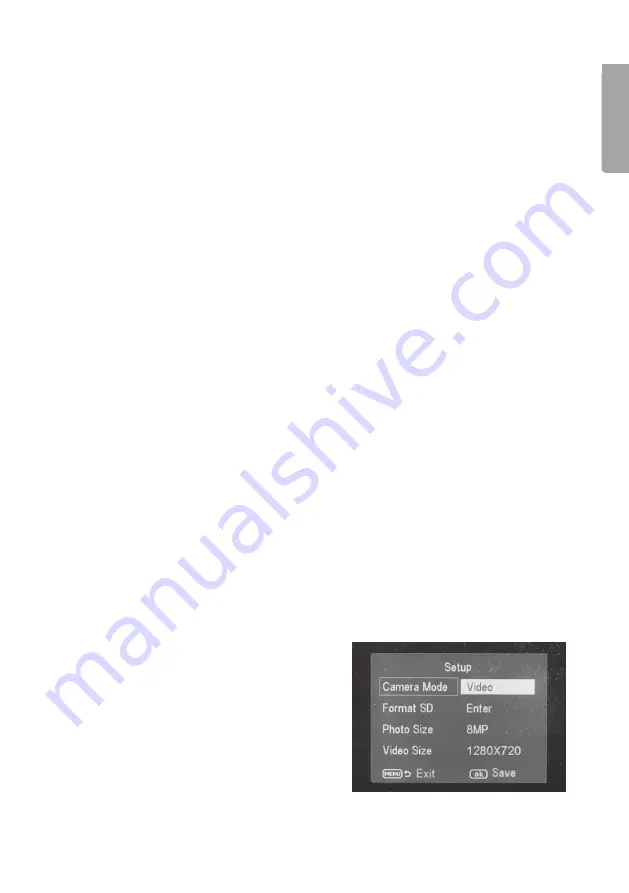
Menu 1
is displayed with the first sub-menu (Mode) highlighted.
3. Toggle to the desired sub-menu using [
▲
] or [
▼
].
1. Press [
►
] to choose the
Camera
(still
images) or
Video
(video recording) function.
2. Confirm by pressing [ OK ] (or [ MENU ]
to discontinue).
(The default value is
Camera
.)
Menu 1
•
Camera mode
(function)
•
Set clock
(time setting)
•
Photo size
(image size)
•
Photo burst
(number of images in burst sequence)
Menu 2
•
Video size
(video resolution)
•
Video length
(length of video recording)
•
Time lapse
(time-delayed photography)
•
PIR trigger
(motion sensor sensitivity)
Menu 3
•
PIR interval
(interval until a new detection is possible following a detection)
•
Camera posit
(name the camera)
•
Language
(language)
•
Recycle storage
(delete images/video when the SD card is full)
Menu 4
•
Format SD
(format the memory card)
•
Version
(info about the version)
•
Default set
(restores factory settings)
4. The current setting for the desired sub-menu is highlighted on the display.
5. If you want to change the setting for the desired sub-menu, press [
◄
] or [
►
]
to make the change. Each press will change the setting one step.
4.1 Camera Mode (function)


