11
E
n
g
li
s
h
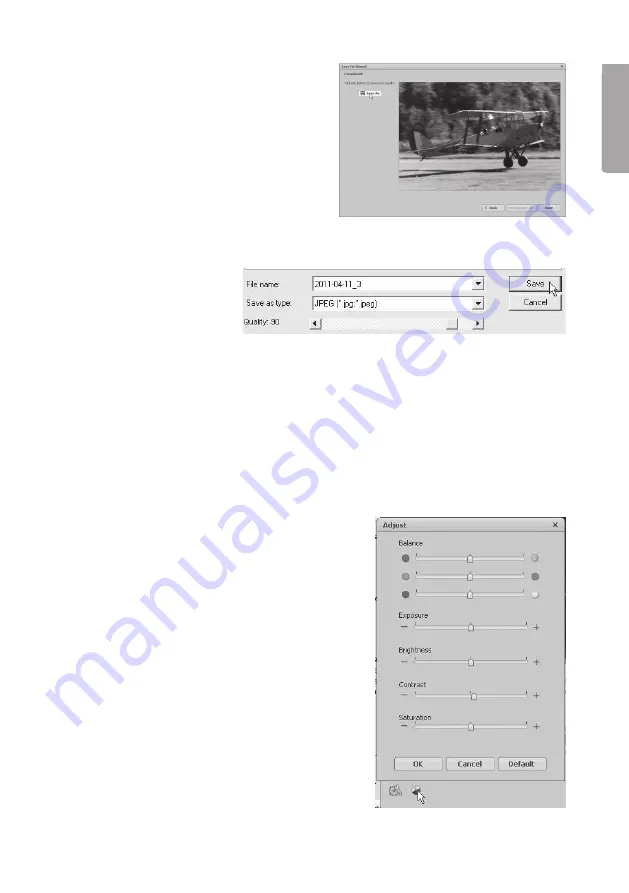
4. Click
Done
to finish.
5. Click
Save As
to save the image.
6. Choose file name, file format and quality, then click
Save
to save the image.
5. Care and maintenance
• Do not expose the scanner to extreme temperatures.
• Clean the scanner with the soft, dry cloth. Avoid strong cleaning agents as they
may damage the case.
6. Troubleshooting
Poor image quality
1. For optimum image quality you should wait
for five seconds after clicking
Capture
to let
the scanner set the white balance correctly.
2. The Adjust function lets you manually adjust
the contrast, brightness, colour saturation,
etc of the scanned image to give the best
possible result from the scanned image.
Click the colour symbol to open the settings
and adjust the result directly on the image.
3. When you have finished making changes,
click
OK
to save the image.


