25
Parts & Service: 020 8988 7400 / E-mail: [email protected] or [email protected]
hole to keep the blade in place as you remove the rest of the cap screws.
3. Inspect the blade cutting edge that was in use, for wear, nicks, or burrs.
• If the cutting edge shows wear or nicks and the other cutting edge
has not been used, rotate the blade and re-install it.
• If both cutting edges are worn or nicked, either properly sharpen the
cutting face or replace the blade.
4. Re-install the holddown bar, then check that the shearing blade gap
adjustment is correct as instructed in “Shearing Blade Gap Adjustment”
below.
SHEARING BLADE GAP ADJUSTMENT
The shearing blade gap adjustment determines the accuracy of the cut.
Follow the procedures below to make sure this adjustment is correct for the
workpiece material being processed.
PERFORMING THE SHEAR TEST
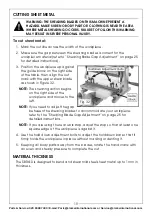
1. While keeping your fingers clear of the shear blades, shear a piece of scrap
material that is the same as your workpiece along the full length of the
blade, then inspect the cut.
• If the machine correctly cuts to your satisfaction along the entire
length of the blades, no adjustments are necessary.
• If the cut is clean at one end and not the other, perform the
following
ADJUSTING THE SHEAR TABLE
• If the condition of the cut on the ends is different from the cut in the
middle, perform the following “Adjusting the Blade Bow” on
page 26.
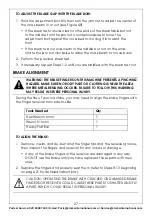
WARNING: THE SHEARING BLADES ON THIS MACHINE PRESENTS AN
HAZARD. MAKE SURE NO BODY PART OR CLOTHING IS NEAR THE AREA
WHERE METAL SHEARING OCCURS. FAILURE TO FOLLOW THIS WARNING
MAY RESULT IN SEVERE PERSONAL INJURY.
Summary of Contents for 6560005
Page 36: ......


