2-4
2.4 Printer Setup Mode
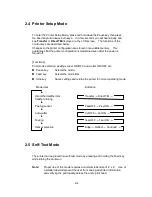
To enter the Printer Setup Mode, press and hold down the Pause key then press
the Feed key and release both keys. In a few seconds you will hear a beep and
see
Transfer
or
DirectTM
displayed on the LCD screen. The functions of the
control keys are described below.
Changes to the printer configuration are stored in nonvolatile memory. This
guarantees that the printer configuration is maintained even after the power is
turned off.
[Functions]
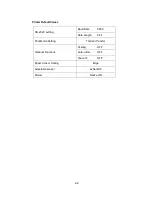
Print mode selection, peeling sensor ON/OFF, auto-cutter ON/OFF, etc.
n
Pause key:
Selects the mode.
n
Feed key:
Selects the mode item.
n
Stop key:
Saves settings and returns the printer to normal operating mode.
Mode
item
Indication
¯
¯¯
¯
Direct-thermal/thermal
Transfer
®
Direct TM
®
transfer
printing
¯
¯¯
¯
Peeling
sensor
Peel
OFF
®
Peel ON
®
¯
¯¯
¯
Auto-cutter
Cut
OFF
®
Cut ON
®
¯
¯¯
¯
Tearing
Tear
OFF
®
Tear ON
®
¯
¯¯
¯
Sensor
selection
Edge
®
Reflect
®
ContinuP
®
2.5 Self-Test Mode
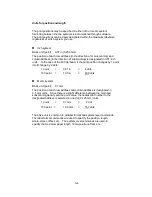
The printer can be placed into self-test mode by pressing and holding the Feed key
while turning the printer on.
Note:
Proper use of this mode requires a minimum label size of 4” x 4”. Use of
a smaller label will prevent the user from seeing all printed information,
and verifying the print quality across the entire print head.
Summary of Contents for CLP-6401
Page 1: ...CLP 6401 User s Manual C ITOU...
Page 13: ...xii...
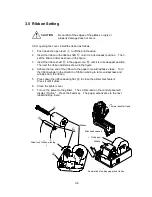
Page 36: ...3 7 Roll paper Roll paper Notch for alignment Reference plane...
Page 40: ...3 11 Heating element b...
Page 57: ...4 11...
Page 59: ...4 13...
Page 63: ...5 4...
Page 82: ...6 19...

