3
Install the Router
Install the Hardware
ENABLE
ENABLE
EJECT
SLOT 0
SLOT 1
NORMAL
CPU HALT
RESET
AUX.
CONSOLE
ROUTE SWITCH PROCESSOR 2
SLAVEMASTER
SLAVE/MASTER
I
O
DC FAIL
AC POWER
I
O
DC FAIL
AC POWER
53488
Note
To rack-mount the router, refer to the
“Rack-Mount the Router (Optional)” section on
page 4.
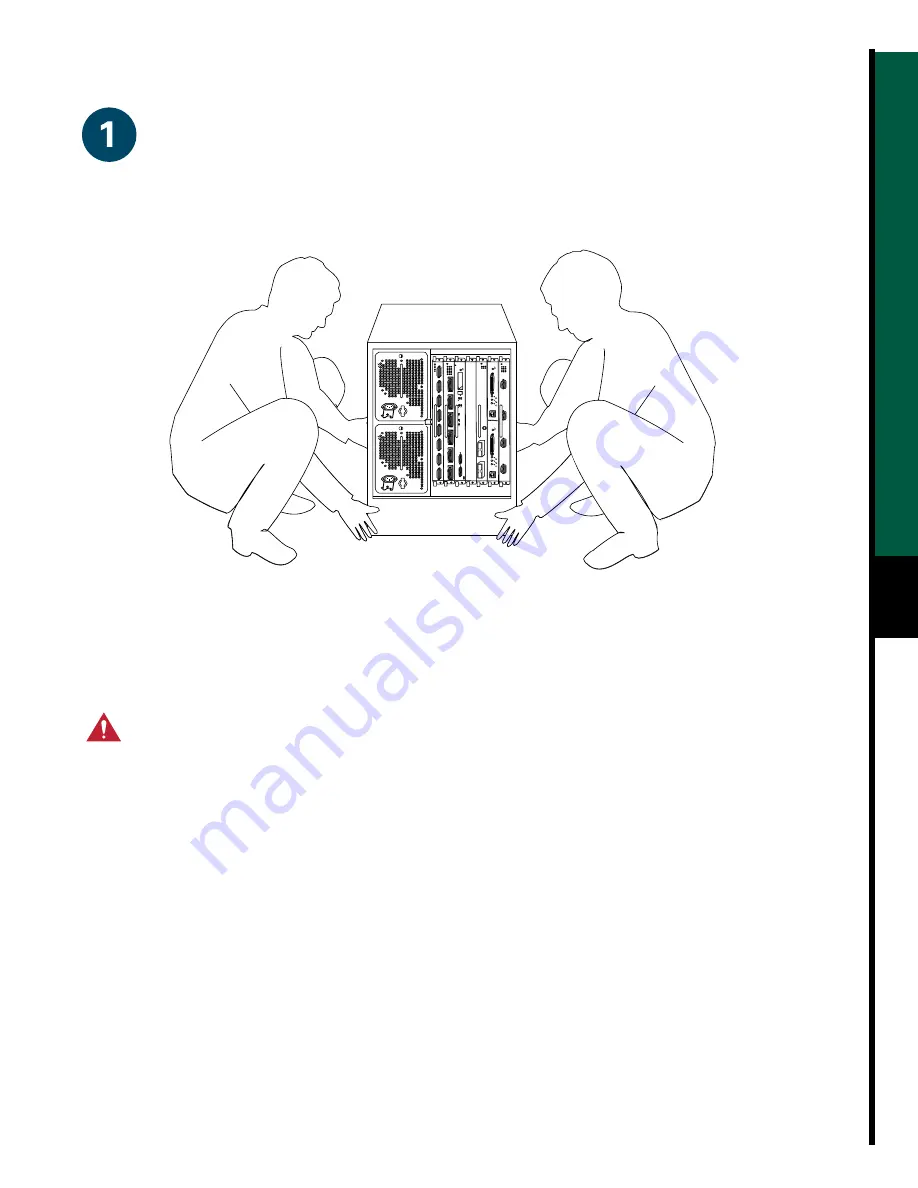
Caution
Two people are required to
perform this step. Avoid sudden twists or
moves to prevent injury.
Step 1
With a person positioned at either side of
the chassis, grasp the bottom edge of the
chassis with one hand near the front and
the other near the back. Slowly lift the
chassis in unison. Place the chassis on a
bench or tabletop where the air intake
vent on the front of the chassis is not
drawing in exhaust air from other
equipment.
Step 2
Ensure that you have at least 3 or 4 feet
(0.91 to 1.22 m) of clearance around the
rear of the chassis to install power
supplies and perform maintenance on the
chassis.
Step 3
Proceed to the “Install Interface
Processors, Fillers, VIPs, or RSPs” section
on page 10.


