ESIGNO_SYSTEM_USER_MANUAL_101.DOCX
67/71
M
M
M
M
AINTENANCE
AINTENANCE
AINTENANCE
AINTENANCE
(4)
(4)
(4)
(4)
SSSS
ERVICE
ERVICE
ERVICE
ERVICE
O
O
O
O
PERATIONS
PERATIONS
PERATIONS
PERATIONS
E
E
E
E----C
C
C
C
YLINDER
YLINDER
YLINDER
YLINDER
IIII
NSTALLATION
NSTALLATION
NSTALLATION
NSTALLATION
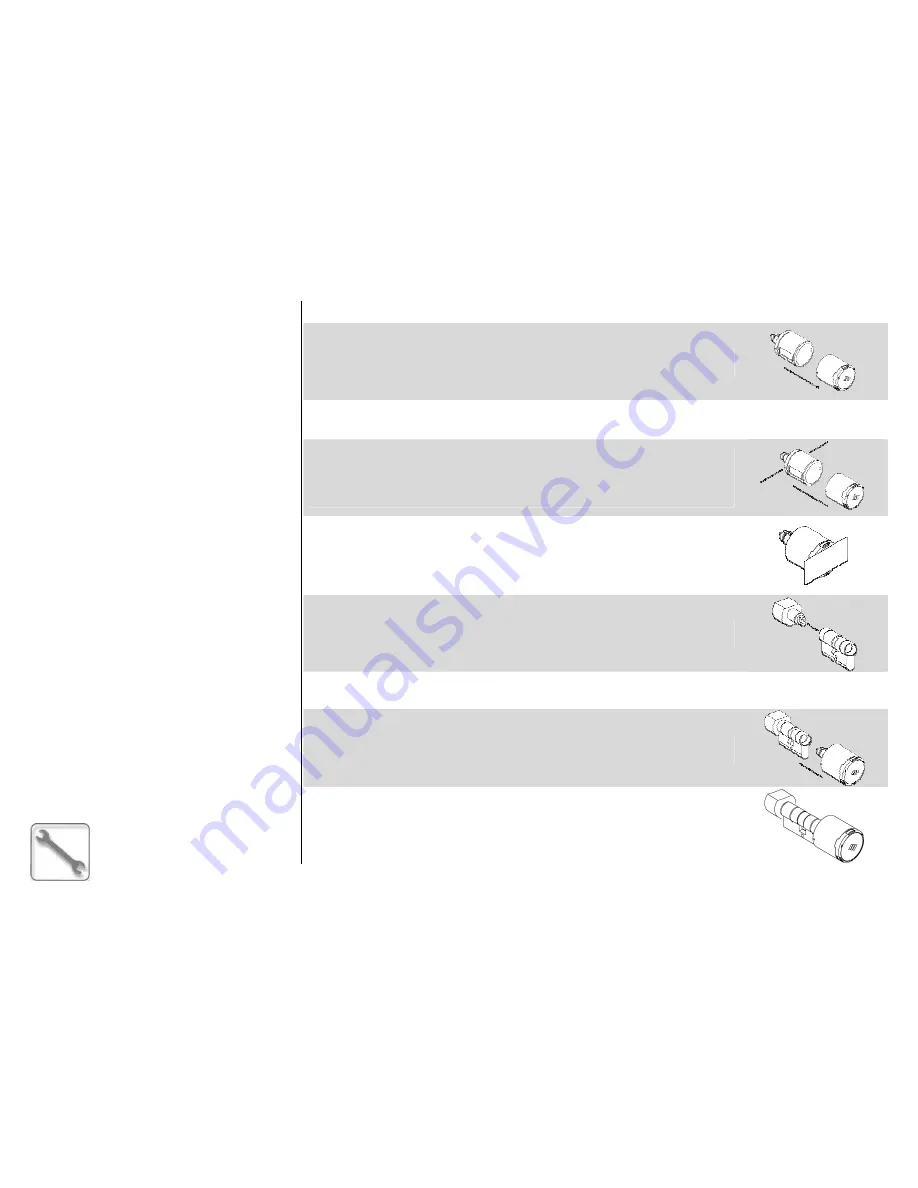
1.
Remove the electronic thumb turn from the package and extract the cover
from the electronic thumb turn.
2.
Pull out the plastic tag from the housing of either battery located inside the
electronic thumb turn.
3.
Insert the cover on the electronic thumb turn by using the special guides.
By pressing the side stops on the thumb turn, complete cover insertion.
After completing the operation, check that the side stops come out of the
special cover holes.
4.
Issue an Init card through the eSIGNO Encoder in HHI mode and present
it immediately to the cylinder; keep the card in front of the cylinder until
the successful initialization completion signal is received (two beep sounds
and 3 green light flashes followed by one red light flash).
5.
Mount the mechanical thumb turn on the cylinder body, by turning and
applying a light pressure until you hear it click in.
6.
Introduce the cylinder body in the door hole, then fix it with the specially
supplied screw.
7.
Introduce the (previously initialized) electronic thumb turn in the cylinder
body already in place in the door, turning until you hear it click in.
8.
The electronic cylinder has now been correctly installed.


