21
English
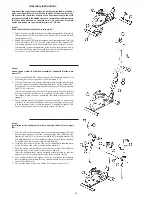
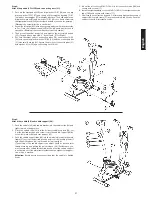
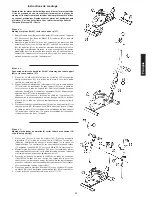
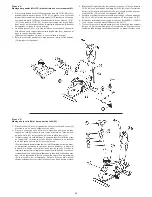
Step 4:
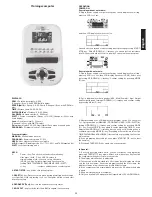
Attach the pedals (35L+35R) and connecting bars (31).
1. Put onto the right pedal (35R) one big washer 15//31 (36) and one big
plastic washer 15//31 (37) and then put it through the bushing 15//31
(38) and connecting bar (31) with right direction. Then slide again one
big plastic washer (37) and a washer 13//31 (39) onto it and screw into
the right pedal crank (42R) at the right-hand side. (as seen in operation.)
(Warning! the screw direction is clockwise).
2. Screw the left pedal (35L) with all necessary parts same way as describe
in Pos.1 into the left pedal crank (42R) at the left-hand side (as seen in
operation.) (Warning! the screw direction is anti-clockwise).
3. Then mount the pedal straps left and right on the associated pedals
(35). (The pedals are sign with “L” for Left and “R” for Right.)
4. Put onto the threat ends of connection tubes (16) one washer 10//19
(34) and one small plastic washer 10//22 (33) and the connecting bar
(31) with small bushing (32). Secure the position of connecting bar (31)
with washer 8//24 (30) and self-locking nut M8 (29).
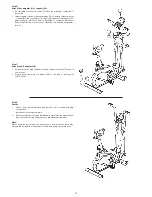
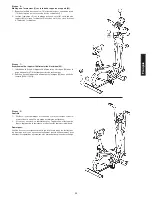
Step 5:
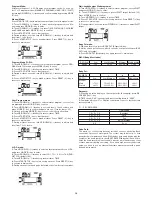
Attach the saddle (20) and saddle support (26).
1. Push the saddle (20) with saddle bracket into the saddle slide (22) and
tight it up in desired position.
2. Place the saddle slide (22) into the holder of saddle support (26), set
it at the desired position and screw it onto the saddle support (26) by
screw (23) washer (24) and star grip nut (25).
3. Push the saddle support tube (26) into the matching locator in the main
frame (57), set it at the desired position and lock it by inserting the bolt
with the quick release (28) in place and doing it up tight.
(The setting of the saddle support can adjust easily as desired later
through turning and pulling the quick release (28).) Furthermore, you
must ensure when setting this desired position that the saddle support
is not pulled out of the main frame further than the highest setting posi-
tion, which is marked.
Attention:
Ensure before every exercising that the saddle is tighten
firmly
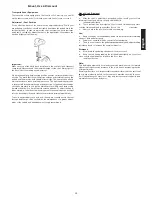
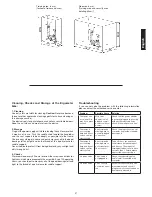
5. Mount the left cover set (18L-1+18L-2) to left connection tube (16L) and
secure with screws (17).
6. Install the right handgrip cover set (18R-1+18R-2) to the right connection
tube (16R) and secure with screws (17).
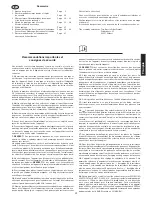
7. Now turn the construction by hand 3-4 times and tighten the screws of
support (92) to main frame (57) as mentioned in Step 2 firmly. Push the
support cover (89) into right position.


