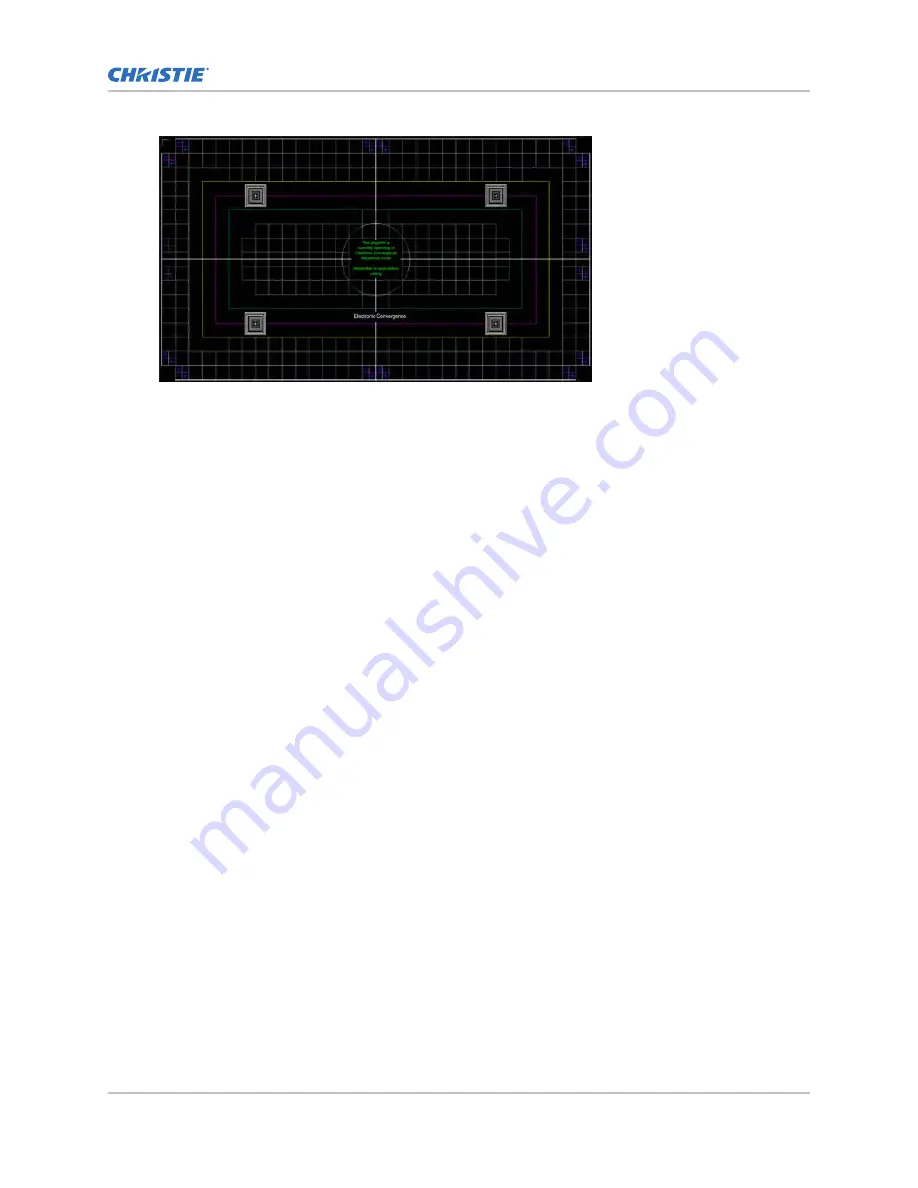
Until electronic convergence is completed, the displayed image may appear to be blurred and
difficult to read, especially for white text, due to the mis-convergence of the red, green, and
blue pixels.
3. From the Select Corner to Adjust list, select the corner you want to adjust first.
By default, the top-left position is selected.
4. From the Select Sprite Color to Adjust list, select the sprite or combination of sprites you want
to adjust.
By default, red is selected.
It may be helpful to obtain a better view of the position of a particular sprite if one or two of
the other sprites are deselected (set in step 5).
5. To show one or more sprites for each corner, select Show Red Sprite, Show Green Sprite,
and/or Show Blue Sprite.
By default, all three sprite colors are selected.
6. From the Select Step Size list, select the size of the step adjustment.
By default, 1/8th is selected.
7. To modify the position for the selected sprite(s), select Adjust.
8. In the ADJUST SPRITE POSITION dialog, use the arrow keys to adjust the sprite(s) position.
You cannot move the selected sprite outside the resolution range.
9. To check the results of the adjustment on the screen, select Apply.
10. To retry the convergence or convergence the next color and sprite, repeat steps 4 to 9.
11. To adjust remaining corners, repeat steps 3 to 11.
12. To apply and store the new settings, select Save.
13. To reset the electronic convergence, select Reset.
14. From the RESET CONTROL POINTS dialog, select the reset options.
•
Points—Reset all or the selected control points.
•
Reset to—Reset to the last saved e-convergence settings or to the factory defaults.
15. Select OK.
16. When complete, clear the Enable E-Convergence Adjustment checkbox.
This turns off the Convergence test pattern.
Installation and setup
Christie M RGB Series Installation and Setup Guide
40
020-103483-04 Rev. 1 (04-2022)
Copyright
©
2022 Christie Digital Systems USA, Inc. All rights reserved.


